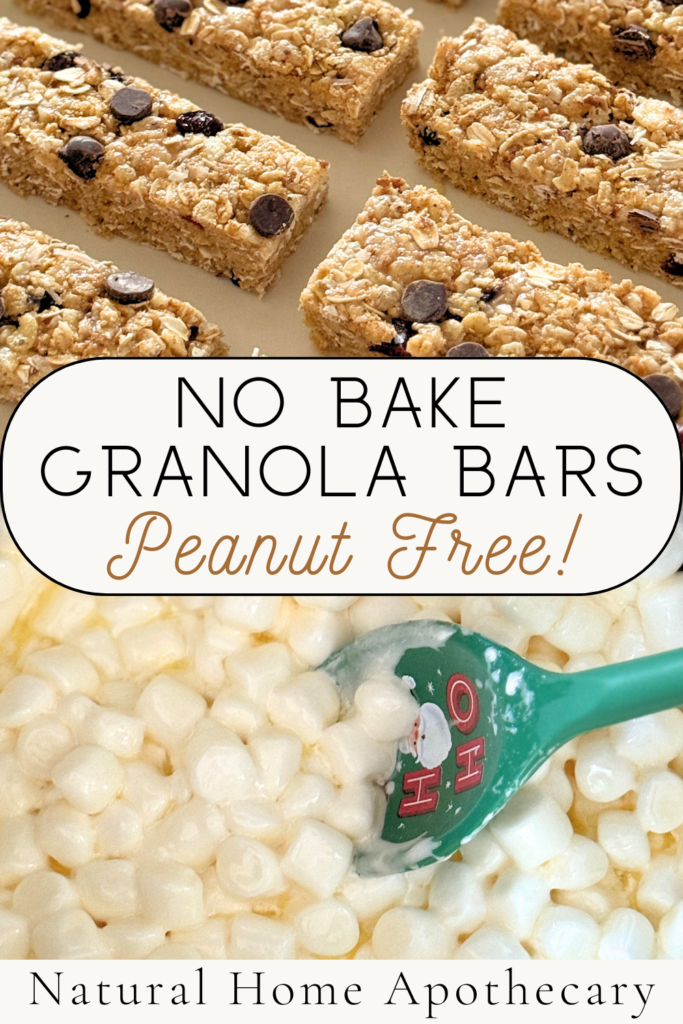
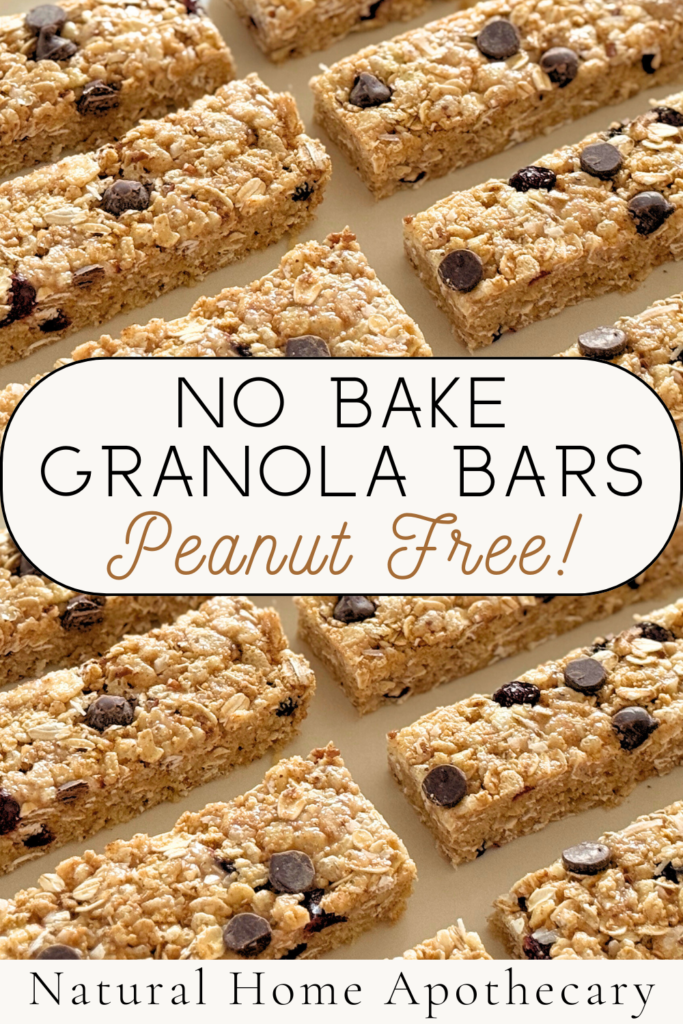
Homemade No Bake Granola Bars (Peanut Free)
Last Updated on January 14, 2026 by Kiersten James
These peanut free, no bake granola bars are what dreams are made of. Soft, chewy, and packed with flavor – you’ll never buy boxed bars again.
If unsupervised, my kids will go through an entire box of store-bought granola bars in about 30 minutes. 30 minutes at $5 a pop, plus tax, and a subsequent complaint that they’re hungry is not my jam.
It will never be my jam.
Even if we hit Mega Millions. Just…no. I will lose my sh*t every time.
I tried a few different homemade no bake granola bar recipes, and while they were edible for adults, there’s no way they would fool my minion food critics. That was until I found this one.
The original base recipe came from a wonderful cookbook called Hope’s Table, but it contained peanut butter.
While I don’t have any peanut allergies in my house, we have some very dear friends at school who it could be deadly for.
Some measurements were played with, and the peanut butter was swapped out for almond butter to achieve this final version. Trust me…it’s worth it.
Peanut Free No Bake Granola Bars
Ingredients:
- 4 1/2 cups Rice Krispies cereal
- 2 cups rolled oats
- 1 sleeve of plain graham crackers (about 9)
- 1/2 cup chopped pecans
- 1/2 cup dried cranberries
- 1/2 cup shredded sweetened coconut
- 2 tablespoons wheat germ
- 4 tablespoons (1/2 stick) salted butter
- 10 ounce bag of mini marshmallows
- 1/4 cup raw honey
- 1/4 cup almond butter
- 1/2 cup semi-sweet chocolate chips
- Coconut oil to grease the pan
Instructions:
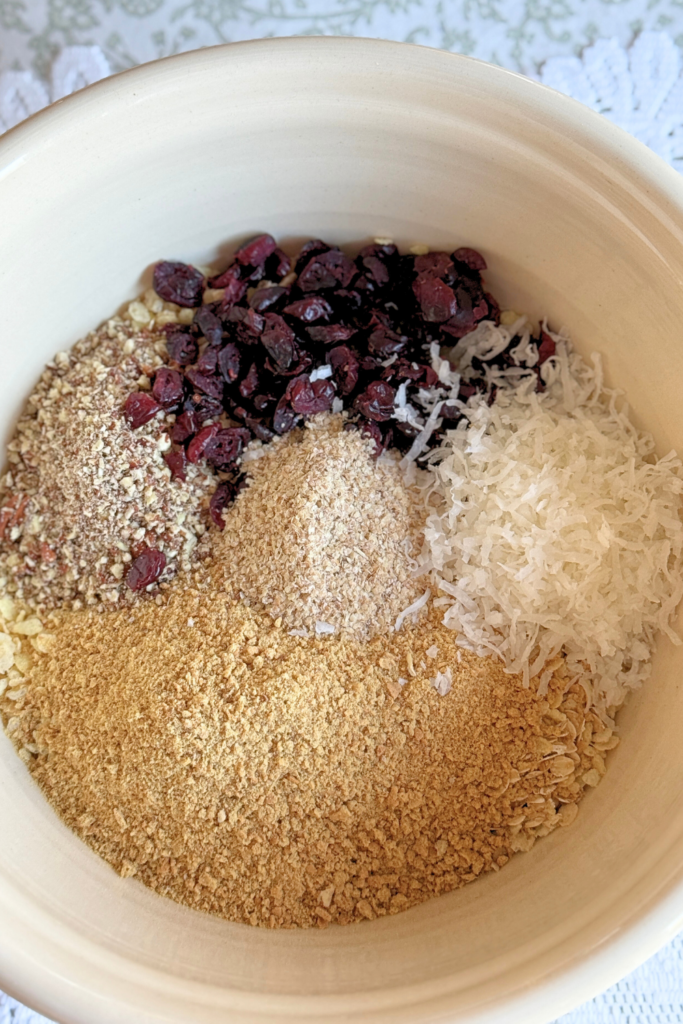
In a very large bowl or stock pot, combine the Rice Krispies, oats, dried cranberries, shredded coconut, and wheat germ.
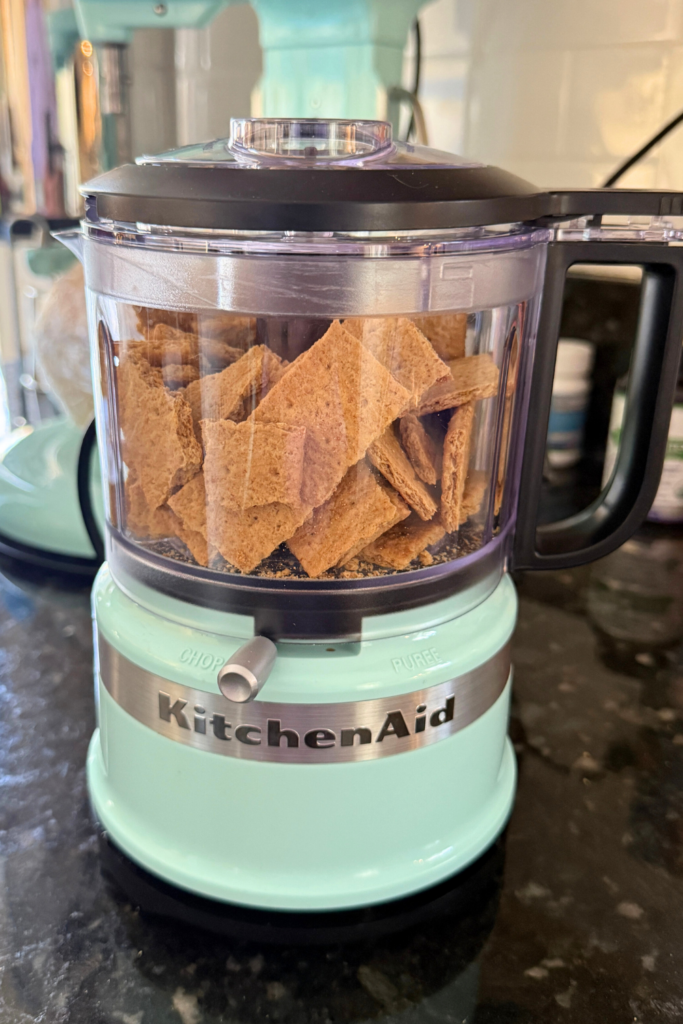
Using a food processor or mini processer like mine, run the graham crackers through to crush them. Add to the large bowl. Do the same with the pecans, and add to the bowl.
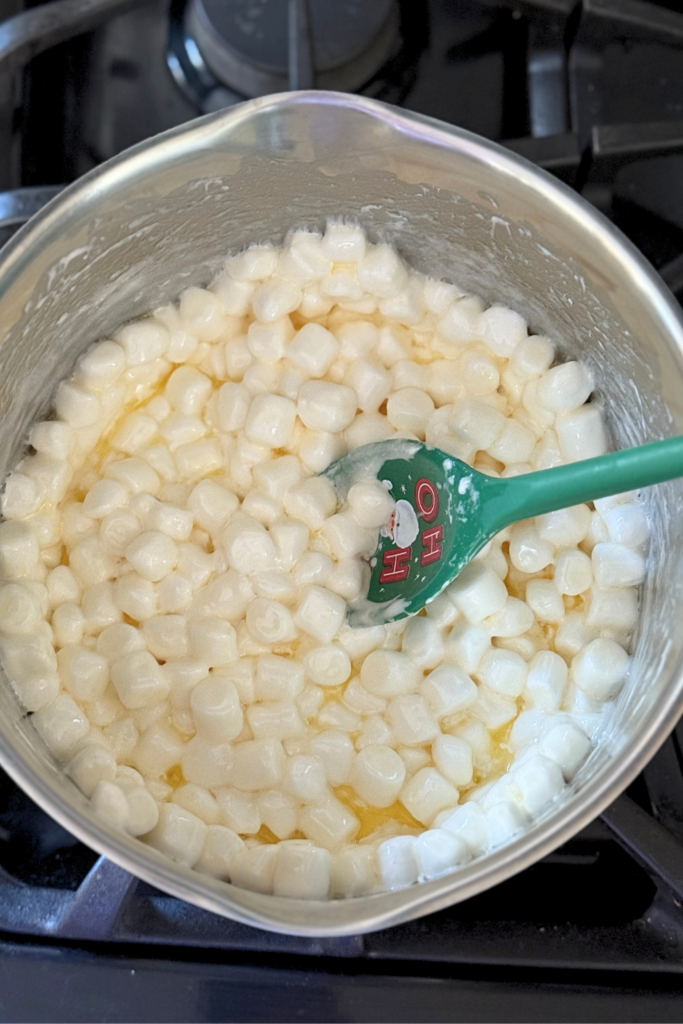
In a small pot, melt the butter and marshmallows over low heat. Stir often to encourage liquification.
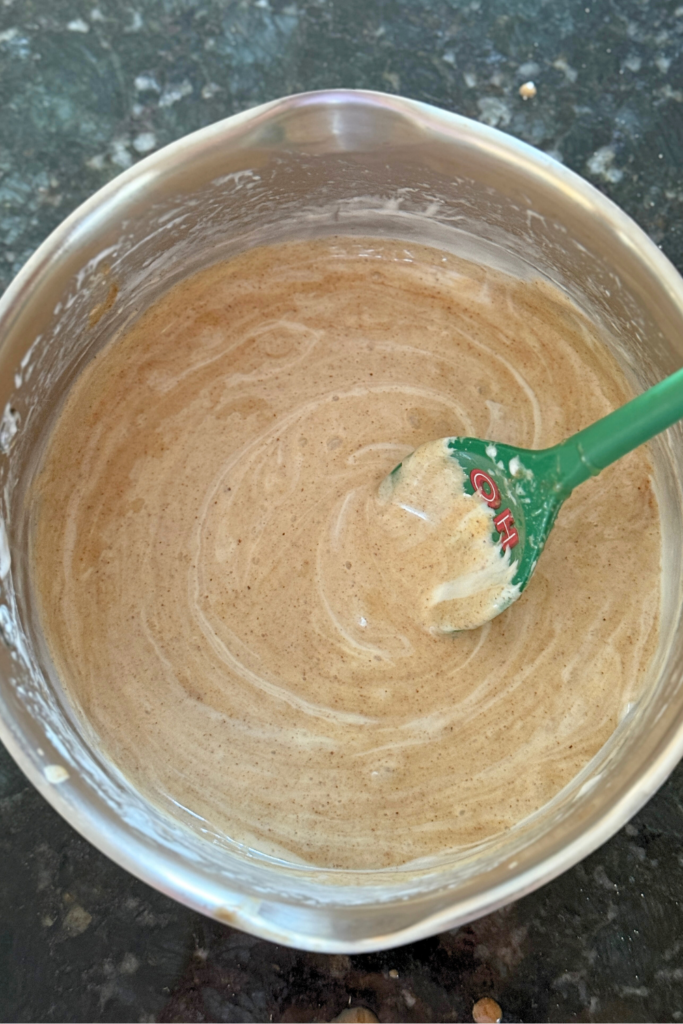
When melted and no bumps are left, remove the pot from the heat. Stir in the almond butter and honey.
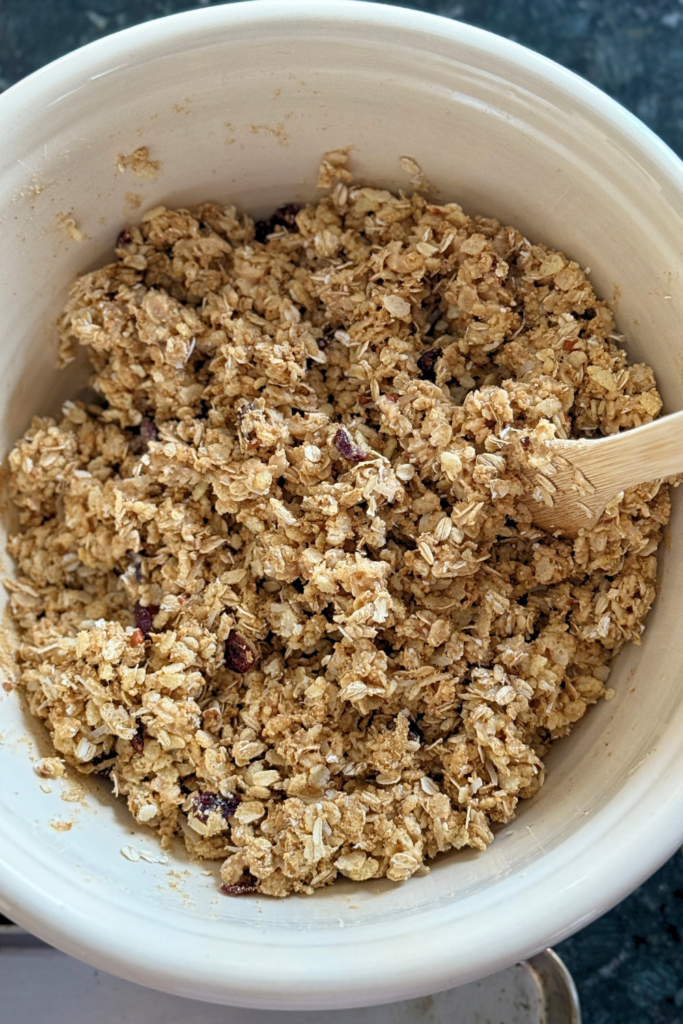
Add the marshmallow mixture to the dry ingredients in the large bowl. Stir continuously until a big, sticky clump forms. It takes a while and requires some elbow grease – about 5 minutes.
Grease a 13×18 baking sheet with coconut oil.
Scrape the granola mixture out of the bowl and onto the baking sheet. Press the mixture flat and into the sides of the sheet using the flat parts of your knuckles.
Gently and evenly work across the baking sheet until you get a tight, shallow, uniform layer.
Sprinkle the chocolate chips over the baking sheet and place a piece of wax paper over the baking sheet.
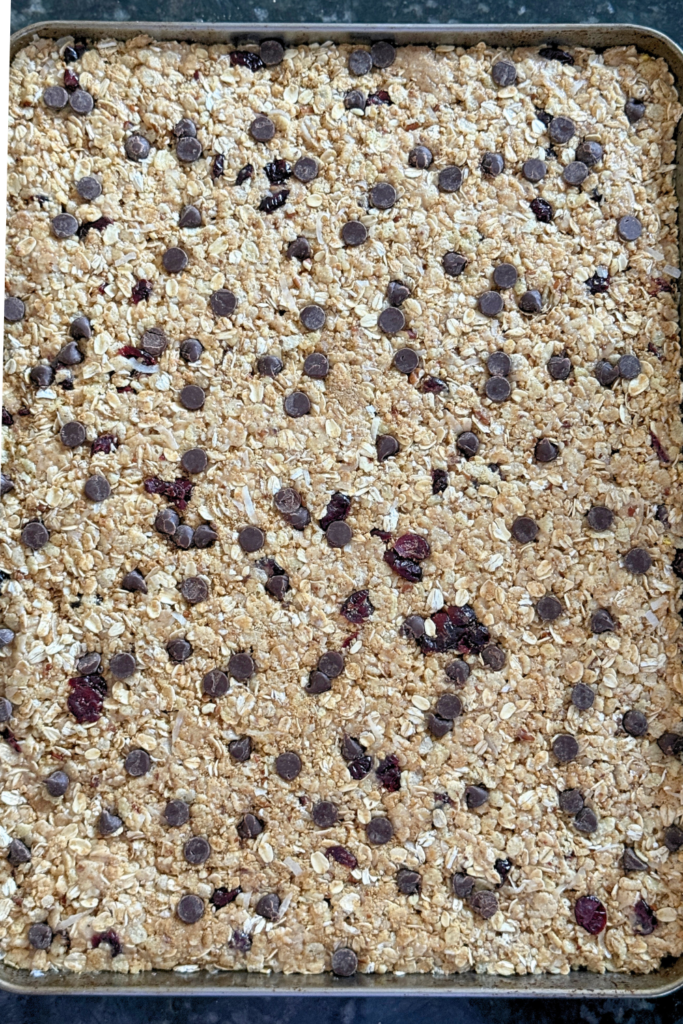
Using the side of a mason jar or a small rolling pin, roll the chocolate chips into the granola by pressing down on the wax paper.
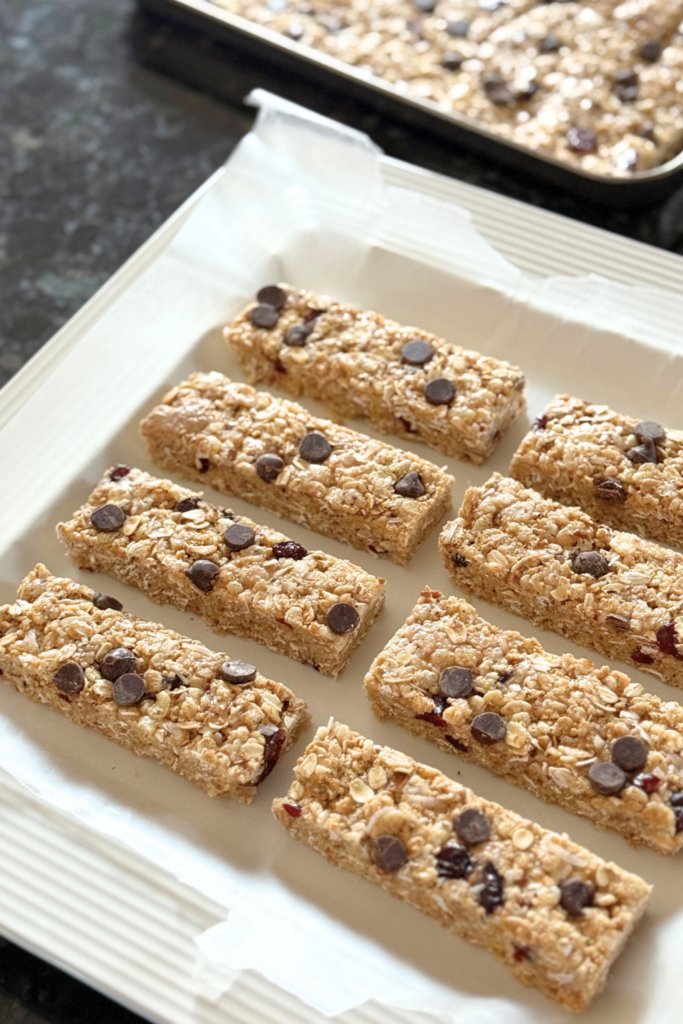
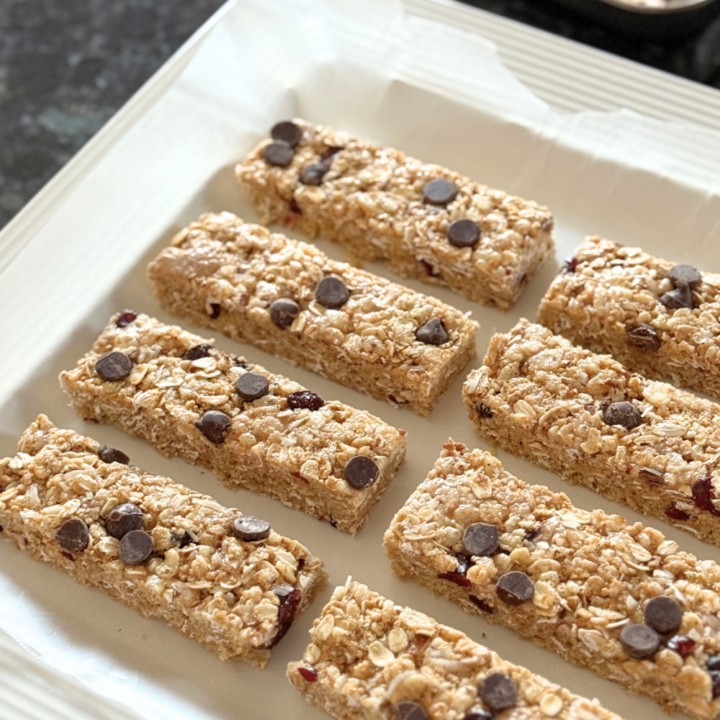
Using a very sharp knife, cut 8 vertical rows 1.5″ apart. Cut 3 horizontal lines 5″ apart. Each granola bar should be approximately 1.5″x5″.

One 13×18 baking sheet will produce 32 granola bars.
Storage & Freezing:
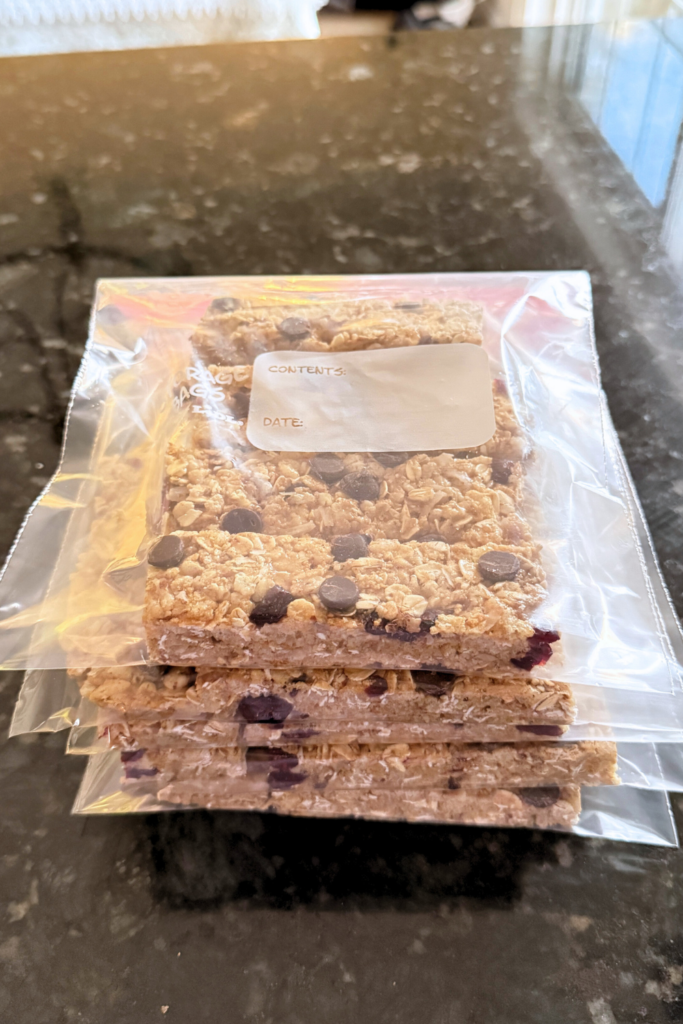
I place quantities of 6 homemade granola bars into a quart-sized storage bags. One bag stays on the counter or pantry shelf and the others go into the freezer.
When there are 1 or 2 bars left, I’ll pull another bag out to defrost and keep it at room temperature until they’re eaten.
After I pull the last bag out of the freezer, another batch of 32 bars will be made.
Peanut Free No Bake Granola Bars
These peanut free, no-bake granola bars are what dreams are made of. Soft, chewy, and packed with flavor - you'll never buy boxed bars again.
Ingredients
- 4 1/2 cups Rice Krispies cereal
- 2 cups rolled oats
- 1 sleeve of plain graham crackers (about 9)
- 1/2 cup chopped pecans
- 1/2 cup dried cranberries
- 1/2 cup shredded sweetened coconut
- 2 tablespoons wheat germ
- 4 tablespoons (1/2 stick) salted butter
- 10 ounce bag of mini marshmallows
- 1/4 cup raw honey
- 1/4 cup almond butter
- 1/2 cup semi-sweet chocolate chips
- Coconut oil to grease the pan
Instructions
- In a very large bowl or stock pot, combine the Rice Krispies, oats, dried cranberries, shredded coconut, and wheat germ.
- Using a food processor or mini chopper like mine, run the graham crackers through to crush them. Add to the large bowl. Do the same with the pecans and add to the bowl.
- In a small pot, melt the butter and marshmallows over low heat. Stir often to encourage liquification.
- When melted and no bumps are left, remove the pot from the heat. Stir in the almond butter and honey.
- Add the marshmallow mixture to the dry ingredients in the large bowl. Stir continuously until a big, sticky clump forms. It takes a while and requires some elbow grease - about 5 minutes.
- Grease a 13x18 baking sheet with coconut oil.
- Scrape the granola mixture out of the bowl and onto the baking sheet. Press the mixture flat and into the sides of the sheet using the flat parts of your knuckles.
- Gently and evenly work across the baking sheet until you get a tight, shallow, uniform layer.
- Sprinkle the chocolate chips over the baking sheet and place a piece of wax paper over the baking sheet.
- Using the side of a mason jar or a small rolling pin, roll the chocolate chips into the granola by pressing down on the wax paper.
- Using a very sharp knife, cut 8 vertical rows 1.5" apart. Cut 3 horizontal lines 5" apart. Each granola bar should be approximately 1.5"x5".
- One 13x18 baking sheet will produce 32 granola bars.
Storage & Freezing:
I place quantities of 6 homemade granola bars into a quart-sized storage bags. One bag stays on the counter or pantry shelf and the others go into the freezer.
When there are 1 or 2 bars left, I'll pull another bag out to defrost and keep it at room temperature until they're eaten.
After I pull the last bag out of the freezer, another batch of 32 bars will be made.
Recommended Products
This post may contain affiliate links, which means I may make a small commission at no extra cost to you.
My Kids’ Most Loved Recipes
How to Make Apple Sauce With Fresh Apples
Cozy Apple Cake With Caramel Glaze
Sourdough Discard Cinnamon Coffee Cake
Chewy Ginger Molasses Crinkle Cookies
Save It For Later!