With this easy basic salve recipe, I show you how to turn any herbal oil into a soothing salve to mend a variety of ailments.

“Salve” in the United States is pronounced with a silent L – as in Savv. Breaking it down to the simplest of terms, a salve is just wax added to oil. That’s it!
Transforming an oil into a homemade basic salve is really easy.
First, Gather Your Materials
- Double boiler, or glass jar
- Pot
- Measuring equipment
- Spoon
- Water for heating
- Small glass salve jar
Basic Salve Recipe Ingredients:
- 4oz oil of choice
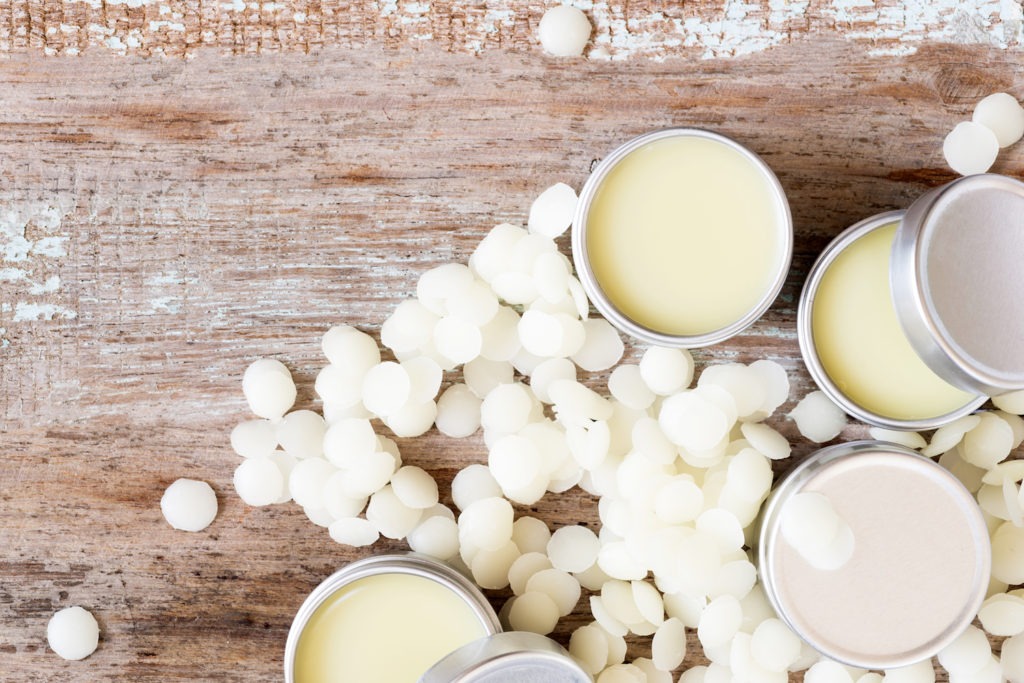
- 1oz beeswax, grated or pastilles
- 8 drops of essential oil (optional)
- 2 teaspoons herb (optional)
- 20 drops Vitamin E oil (optional)
Beeswax is by far the most common wax used to harden oils. To make a vegan product, solid plant butters work just as well. Some great plant options are shea, mango, cocoa, and kokum.
If you’re starting with a solid oil such as coconut, you’ll definitely want to reduce the amount of beeswax to get the right consistency.
How to Make An Easy Basic Salve
- Bring your oil to 110 degrees F. Try not to let it get above this temperature. Higher temperatures will remove most therapeutic properties from herbs or essential oils.
- Dissolve the beeswax in the oil in small amounts. Begin with 1 tablespoon adding more as needed based on the spoon test.
- Salve Spoon Test: place a spoon with the oil/wax mixture into the freezer for 2 minutes then check the consistency. If it’s too soft, add more wax. If it’s too hard, add more oil.
- When you get the consistency you like, let cool a bit.
- While the salve is still warm (right before you pour it into a storage jar), add the vitamin E, essential oils or herbs.
- Pour into a glass storage jar and label its contents, if desired.
Basic Salve Shelf Life
1-2 years if stored in a cool, dark place.
3 years if refrigerated.
Preventing Rancidity
An optional step is to add an antioxidant to prevent the salve from spoiling. Vitamin E oil is what I use. Add 5 drops of Vitamin E for every 1 fluid ounce of salve. Add to mixture with essential oils and herbs.
Scaling the Salve Recipe
1oz of beeswax or plant butter for every 4oz of liquid oil.
2 drops of essential oil for every 1 fluid ounce of salve.
1/2 teaspoon of herb for every 1 fluid ounce of salve.
Tips for Making An Easy Basic Salve
Less is more! Start with the smallest amount of beeswax and test with the spoon method (explained below). You can always add more to make the basic salve a bit harder.
Beeswax pastilles are by far the easiest way to go. While shaving down beeswax by hand is admirable, most of us don’t have that kind of time to devote to a recipe.
If you live in a warmer climate where temperature tend to be above 77 degrees F, I would recommend using kokum butter as an additive as this is the hardest butter available.
Due to its hardness, kokum butter can put off a waxy type smell. Be sure to add a few more drops of essential oil or herb material to balance it out.
Basic salves that are harder are less likely to soften or melt in a hot car but are harder to apply at room temperature.
Check Out My Carrier Oil Blend for Essential Oil Recipes
Best Carrier Oil Blend for Essential Oil Recipes
Pin It For Later


