Fool Proof Pie Crust
Last Updated on January 28, 2026 by Kiersten James
This fool proof Amish pie crust is what I use in all of my recipes. Very versatile and great for beginners. Blind baking instructions included.

A while back, a homemade pie crust always seemed so intimidating. I bought Marie Calendar’s ready-to-bake pie crusts for years before I decided to take the plunge and start making them from scratch.
After the first one I made turned out great, I was secretly embarrassed that I had always been so nervous.
As with most of my baking and cooking, this recipe has its origins from the Amish-Mennonite communities of Lancaster, Pennsylvania.
During our visit there a few weeks ago, I had this deep craving for a good, fresh strawberry pie since the warm weather had just set in. There is something about them that is just so refreshing.
That’s when I realized that I had never written about how to make a traditional Amish pie crust.
Here it is! I hope it serves your family as well as it does mine.
Fool Proof Amish Pie Crust Recipe
Ingredients:
- 2 cups flour
- 1/2 teaspoon salt
- 1/2 teaspoon baking powder
- 1 teaspoon cane sugar
- 1 cup shortening (Crisco)
- 1/4 cup water
- 1 egg white and a drop of cream if blind baking the crust unfilled
Instructions:
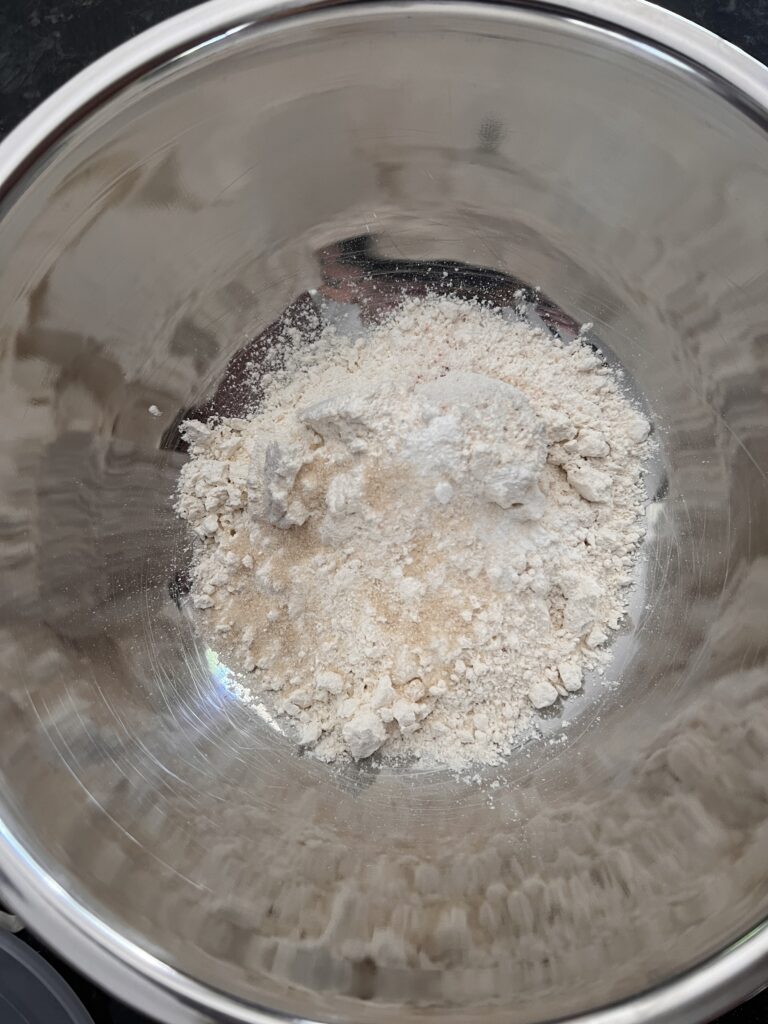
In a medium sized bowl, mix the flour, sugar, salt, and baking powder together.
Using a pastry cutter or the back of a fork, cut the shortening into the flour mixture until pea-sized clumps form.

Add 2 tablespoons of water and mix with a fork until incorporated. If the dough is still very crumbly, add one more tablespoon at a time until a ball can be formed.

Wrap the pastry dough ball in plastic and chill in the refrigerator for an hour, or until you are ready to roll out and form the pie crust. It can stay in the refrigerator for up to 5 days wrapped in plastic before rolling.
To make the crust, lightly flour your surface, rolling pin, and the ball of dough.

Divide the dough ball into two halves, setting one aside.
Roll each piece of dough into an even circle about 2″ larger than your pie dish.
Using a dough scraper or spatula, lift the dough off of the counter and fold it over onto itself – right to left, then top to bottom.
Lift the dough into the pie dish and gently unfold the layers to drape over the dish.
Using your fingers, press the dough firmly into the bottom and sides of the pie dish. Trim any excess dough from around the edges.
If you are going to make a pie that has a top layer of crust covering the filling, roll out the second half of dough the same way as the first but slightly thinner.
Using a sharp knife or the dough scraper, make a few slits in the center that are evenly spaced so steam can escape during the baking process.
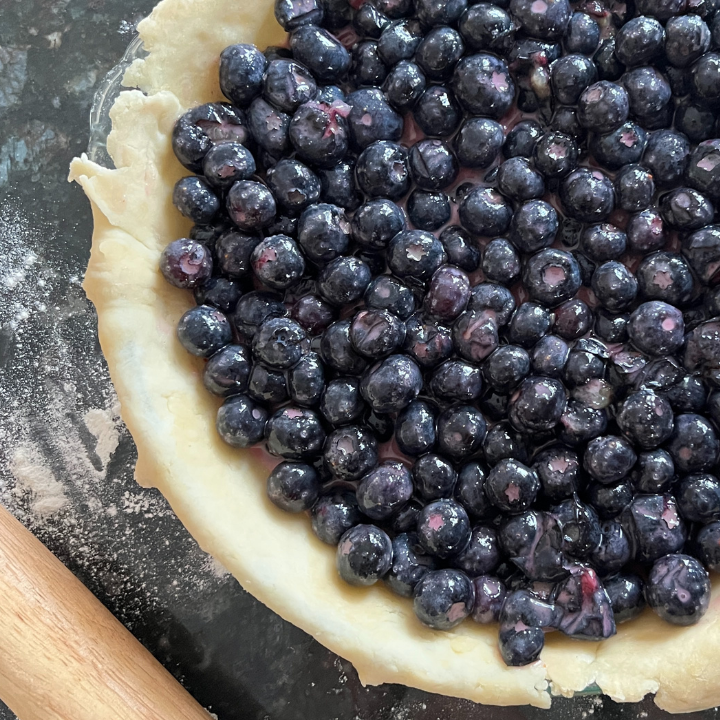
If your recipe does not call for a pre-baked pie crust, fill the bottom crust with your desired filling then wet the edges of the bottom crust already in the pie dish with water. I do this with my fingers.
Carefully lift and place the top crust layer over the pie like a blanket and squeeze the top and bottom crusts together to form a seal.
To make an attractive fluting, pinch the crust into little “V” shapes moving horizontally around the dish. You can also press down with the back of a fork to form indent lines.

Bake as per the pie recipe instructions.
How to Blind Bake an Unfilled Pie Crust
Preheat your oven to 425F and put a baking sheet on the middle rack.
Prick the bottom and sides of the pie crust with a fork to allow steam to release.

Crumple a piece of parchment paper so it is easily shaped and place over the pie crust.
Gently press it into the rounded edges with your fingers so it closely resembles the shape of the crust.

Fill the empty pie crust (on top of the parchment paper) with pie weights.
Note: I have never purchased commercial pie weights and just use dry red kidney beans. You can also use rice if that’s what you have on hand. The beans can be reused again and again indefinitely for baking, just not for cooking. I store mine in a container labeled “Pie Weights” in the pantry.

Reduce the heat to 400F and place the weighted pie crust in the oven for 25 minutes, or until the edges begin to lightly brown.

Remove the pie from the oven and carefully remove the pie weights (or beans, in my case).
Further reduce the heat of the oven to 375F.
After the weights are removed, you can slowly lift the parchment paper away from the crust.
The bottom of the crust will still likely be raw. If any of the dough is sticking to the paper, scrape it off with your fingers and press it back into the crust to seal the tear.

Brush the bottom and interior sides of the pie crust with an egg white wash consisting of one egg white and a drop (about a teaspoon) of heavy cream.

Once the parchment paper is removed, put the pie crust back into the oven for another 10-15 minutes until the bottom is cooked and lightly browned.

Remove from the oven and allow the crust to completely cool. Do not fill the crust until it is no longer warm or it will become soggy.
More From Scratch Baking Recipes
Amish Fresh Strawberry Pie Recipe (Without Jello)

Authentic Amish Pie Crust Recipe
This fool proof Amish pie crust recipe is the crust I use in all of my recipes. Very versatile and great for beginners.
Ingredients
- 2 cups flour
- 1/2 teaspoon salt
- 1/2 teaspoon baking powder
- 1 teaspoon cane sugar
- 1 cup shortening (Crisco)
- 1/4 cup water
- 1 egg white and a drop of cream if blind baking the crust unfilled
Instructions
- In a medium sized bowl, mix the flour, sugar, salt, and baking powder together.
- Using a pastry cutter or the back of a fork, cut the shortening into the flour mixture until pea-sized clumps form.
- Add 2 tablespoons of water and mix with a fork until incorporated. If the dough is still very crumbly, add one more tablespoon at a time until a ball can be formed.
- Wrap the pastry dough ball in plastic and chill in the refrigerator for an hour, or until you are ready to roll out and form the pie crust. It can stay in the refrigerator for up to 5 days wrapped in plastic before rolling.
- To make the crust, lightly flour your surface, rolling pin, and the ball of dough.
- Divide the dough ball into two halves, setting one aside.
- Roll each piece of dough into an even circle about 2" larger than your pie dish.
- Using a dough scraper or spatula, lift the dough off of the counter and fold it over onto itself - right to left, then top to bottom.
- Lift the dough into the pie dish and gently unfold the layers to drape over the dish.
- Using your fingers, press the dough firmly into the bottom and sides of the pie dish. Trim any excess dough from around the edges.
- If you are going to make a pie that has a top layer of crust covering the filling, roll out the second half of dough the same way as the first but slightly thinner.
- Using a sharp knife or the dough scraper, make a few slits in the center that are evenly spaced so steam can escape during the baking process.
- If your recipe does not call for a pre-baked pie crust, fill the bottom crust with your desired filling then wet the edges of the bottom crust already in the pie dish with water. I do this with my fingers.
- Carefully lift and place the top crust layer over the pie like a blanket and squeeze the top and bottom crusts together to form a seal.
- To make an attractive fluting, pinch the crust into little "V" shapes moving horizontally around the dish. You can also press down with the back of a fork to form indent lines.
- Bake as per the pie recipe instructions.
Notes
Instructions for blind-baking an unfilled pie crust are located in the body of the blog post.
Pin It For Later!