How to Brown Butter for Baking
Last Updated on February 14, 2026 by Kiersten James
Learn how to brown butter for baking without burning it. This beginner’s guide explains what brown butter is, how it changes the flavor, and how to measure it correctly after evaporation.
Brown butter sounds fancy, but it’s really just butter that you let cook a little longer after it’s melted down.
You’re not doing anything complicated. You’re just letting the butter go past melted until it turns golden and smells toasted and nutty.
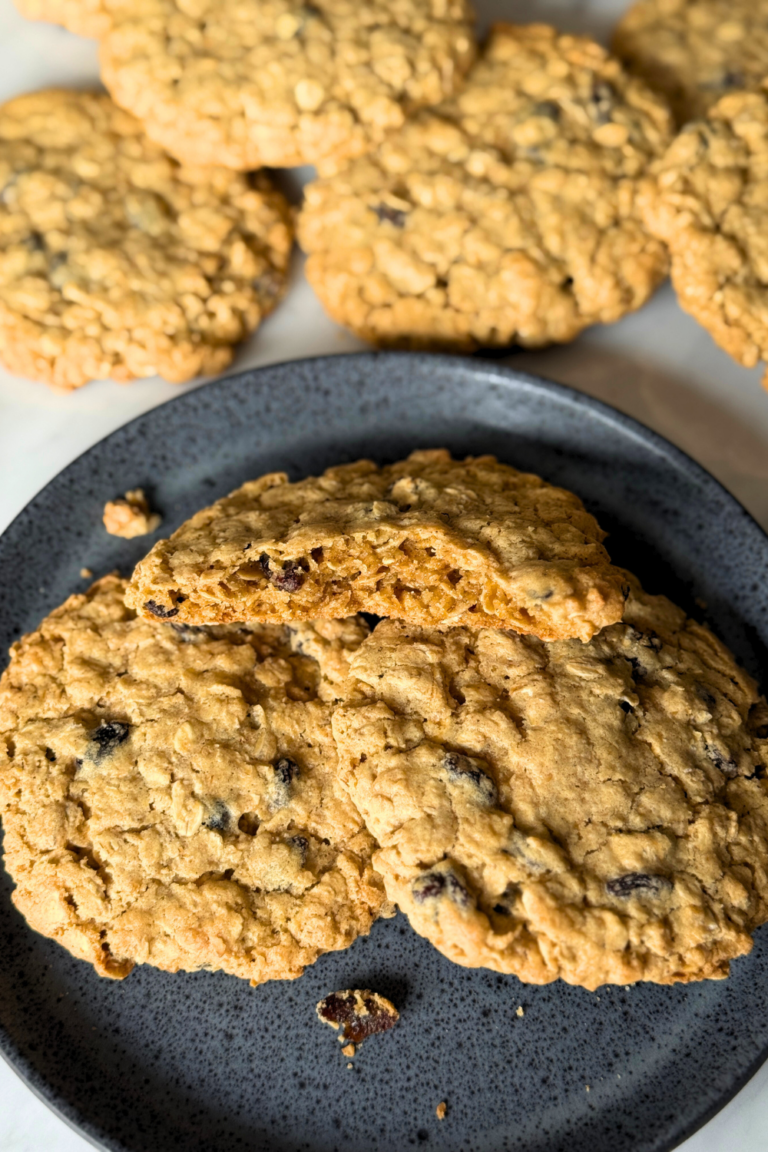
Once you start using it, you’ll understand why some cookies taste fine, and others taste as if they came from a real bakery.
The tricky part is timing. Pull it from the stove too early, and it’s just melted butter. Leave it too long, and it burns fast.
I’ll go over what brown butter is, how it affects baked goods, what to look for at every stage (with pictures!), how to avoid burning it, and how to measure it correctly since some of the liquid cooks off while it browns.
What Brown Butter Actually Is
Butter is made up of three things: fat, water, and milk solids.
When you brown butter:
Those little brown specks at the bottom of the pan are not burnt bits. That’s where all of the flavor comes from. If you strain them out, you’ve basically undone the whole point of browning the butter.
Why Use Brown Butter Instead of Melted Butter
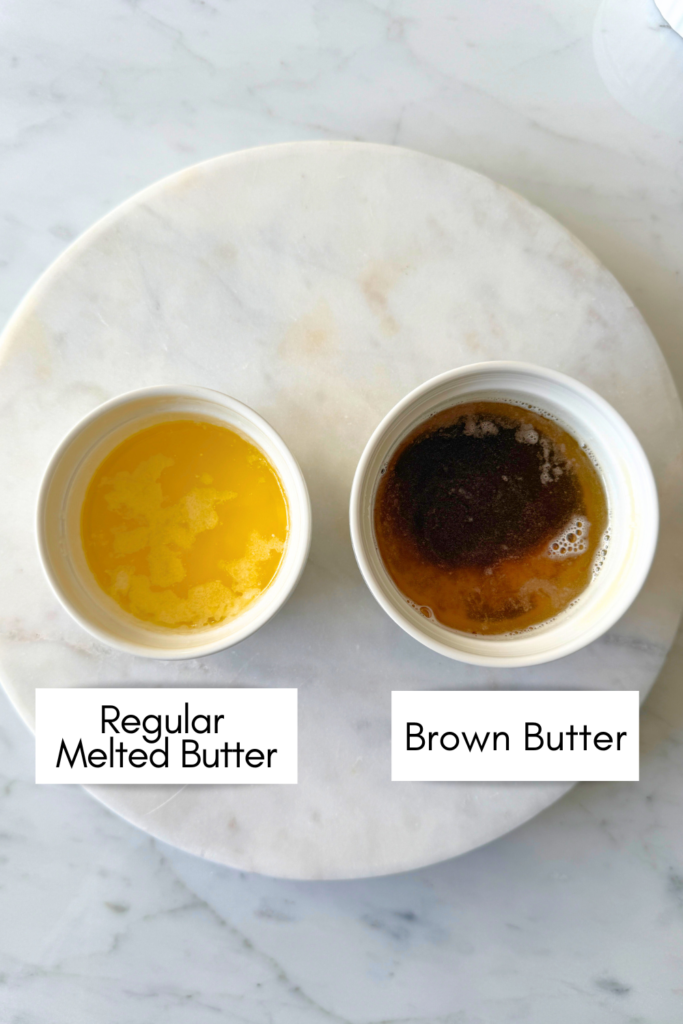
Melted butter gives moisture. Brown butter gives flavor.
That’s the difference.
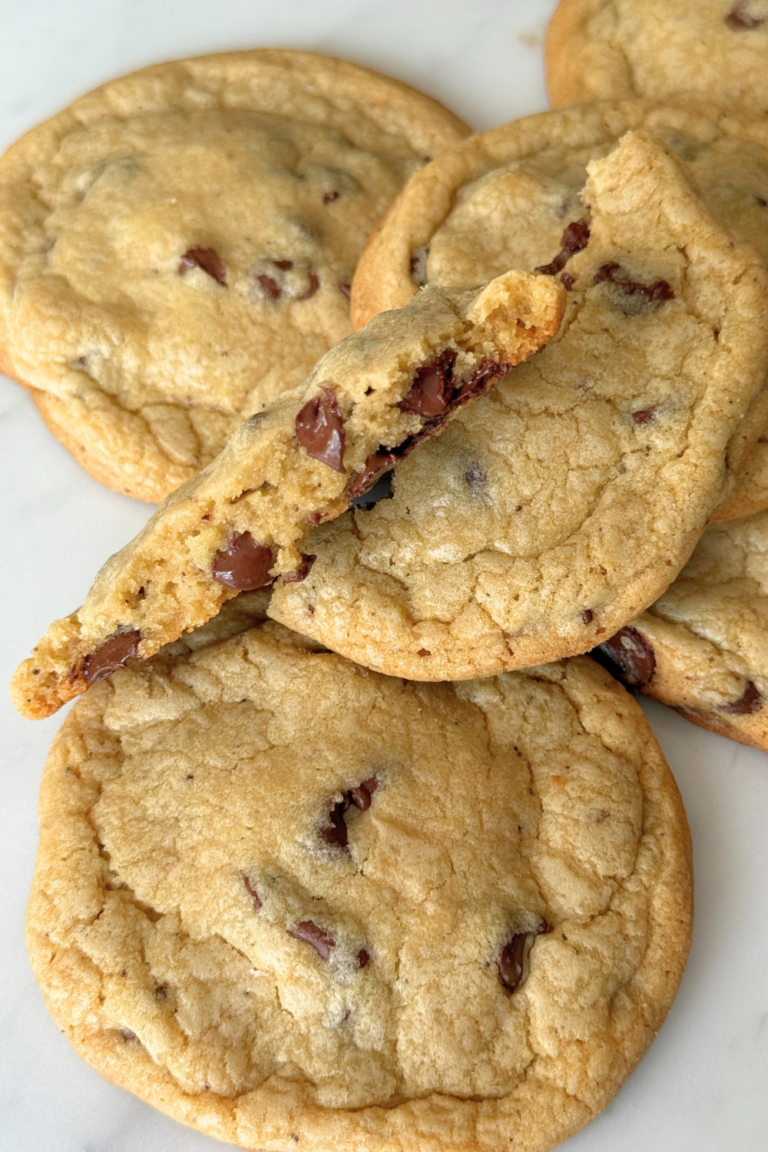
When you use brown butter in baking, you get a deeper, warmer taste that works especially well with chocolate, vanilla, brown sugar, cinnamon, and anything sweet and cozy.
It’s why bakery cookies taste richer than homemade ones, even when the ingredient list looks pretty much the same.
Brown butter works best in cookies, bars, blondies, snack cakes, and shortbread. If a recipe already calls for melted butter, brown butter is usually an easy way upgrade it.
How Brown Butter Changes the Final Result
Browning butter does two things at the same time.
- It removes some of the water, which slightly concentrates the fat and flavor.
- It toasts the milk solids, which adds that nutty, caramel-like taste people can’t always identify but definitely notice.
The texture of your baked goods usually stays the same, but the flavor gets noticeably deeper and more bakery style.
What You Need to Make Brown Butter
You only need one ingredient – unsalted butter.
Unsalted butter is better for baking because you control the salt level later. A light colored pan also helps because you can actually see the butter change color as it cooks.
This is my favorite pan that I’ve had for nearly ever. I tried the expensive ones like copper, ceramic, fancy brands and nothing compares to good old stainless steel for most things.
How to Brown Butter Without Burning It
This is a visual process more than a timed one. Don’t walk away, not even to pee or let the dog in. The phases go from one to the next that quickly!
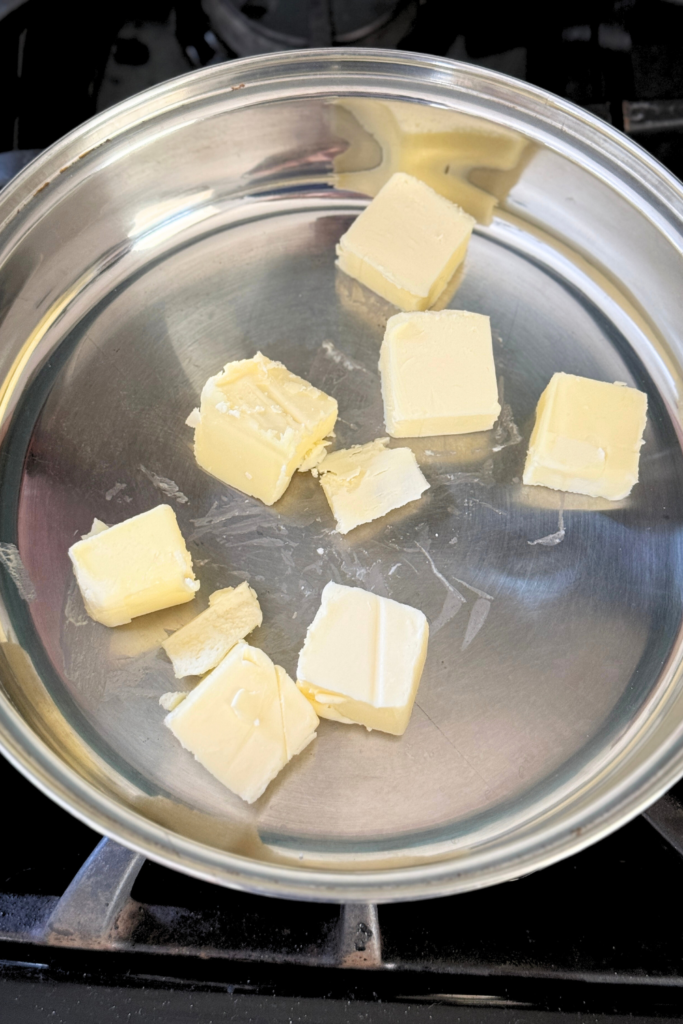
Step 1: Melt the butter over medium heat
Add the butter to the pan and let it melt completely. It will bubble and foam. That’s normal.
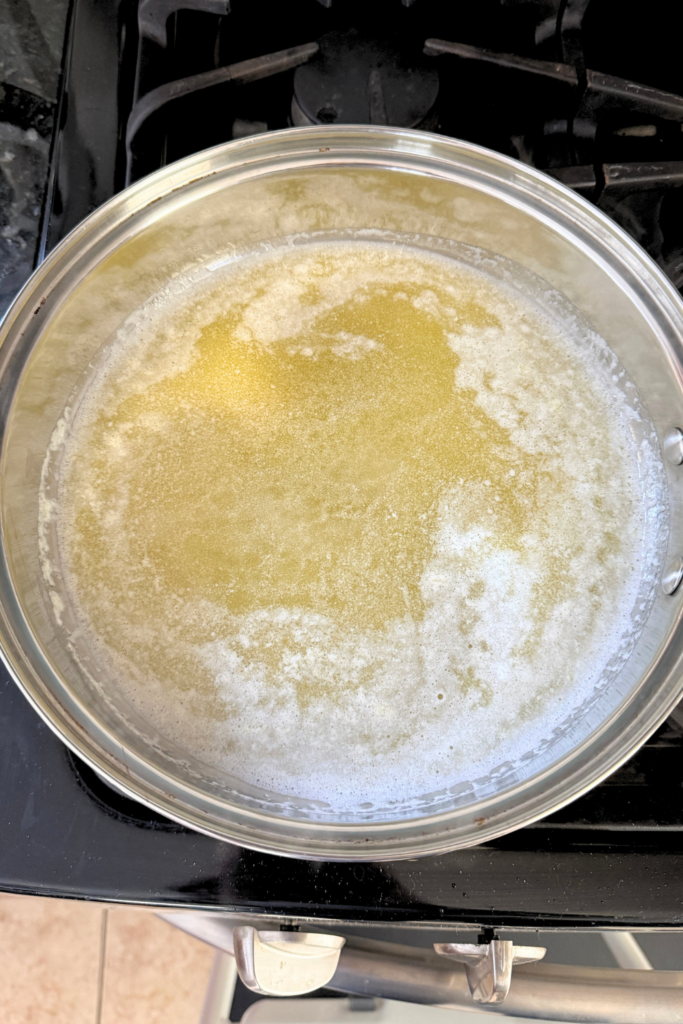
Step 2: Let it foam and cook
As the water evaporates, the butter will look messy and loud. This is where most people think they’ve ruined it. You haven’t!
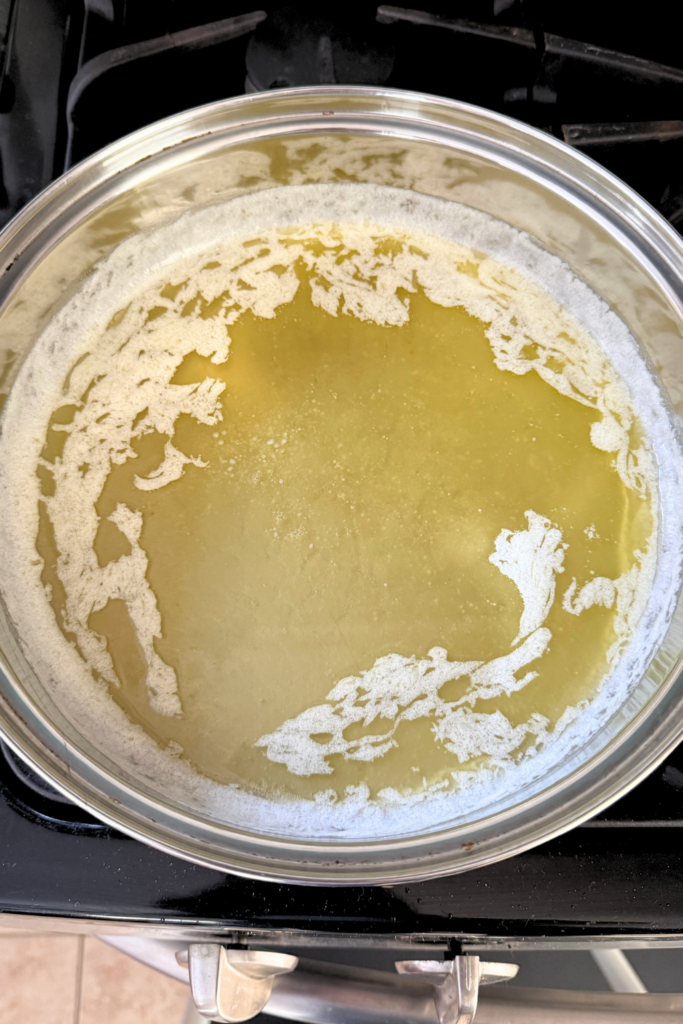
Step 3: Stir or swirl the pan
Once the foam starts settling to the edges of the liquid, gently stir or swirl the pan so the milk solids don’t sit in one spot and burn.
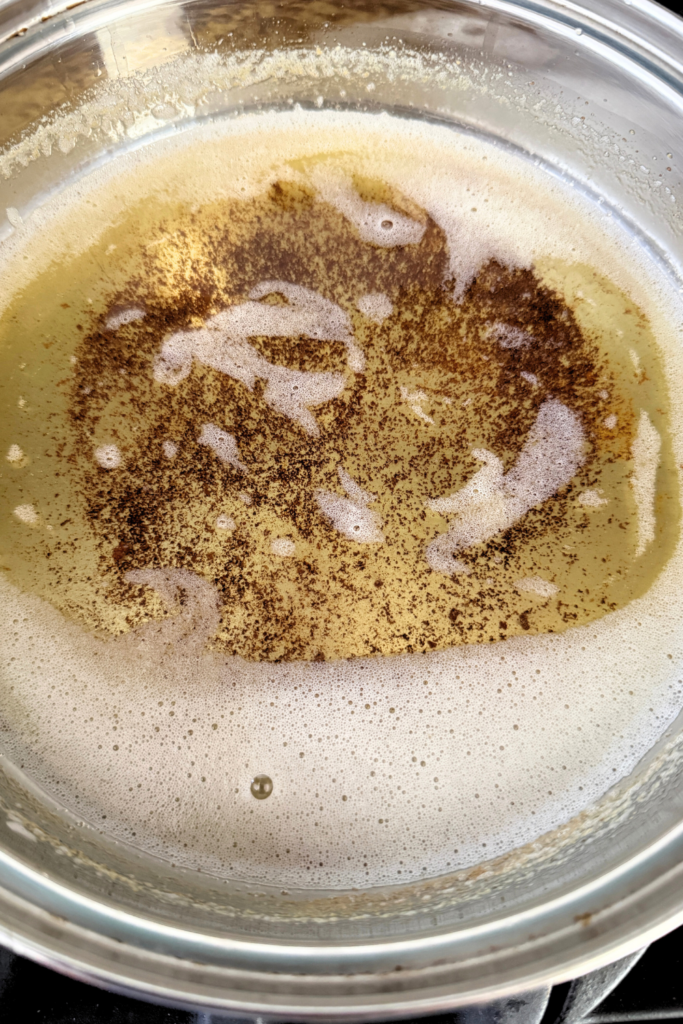
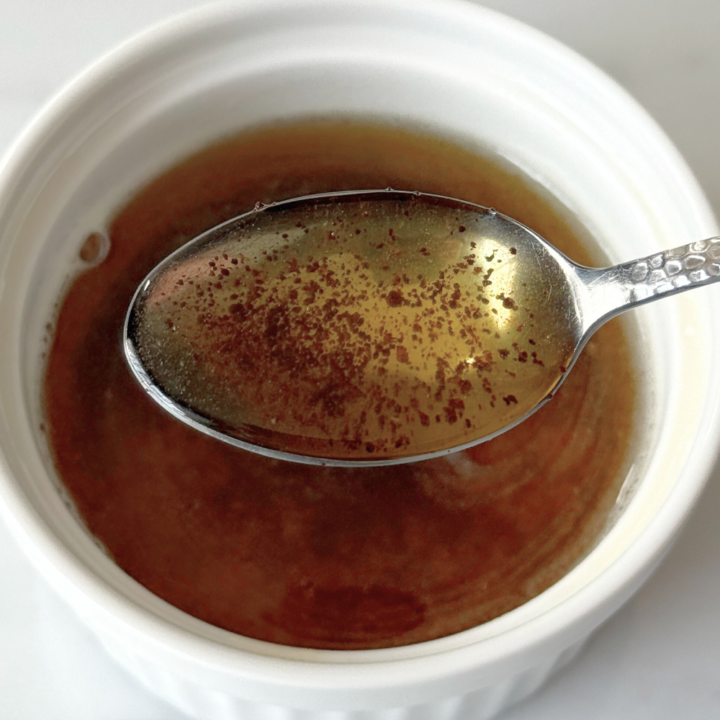
Step 4: Watch the color and smell
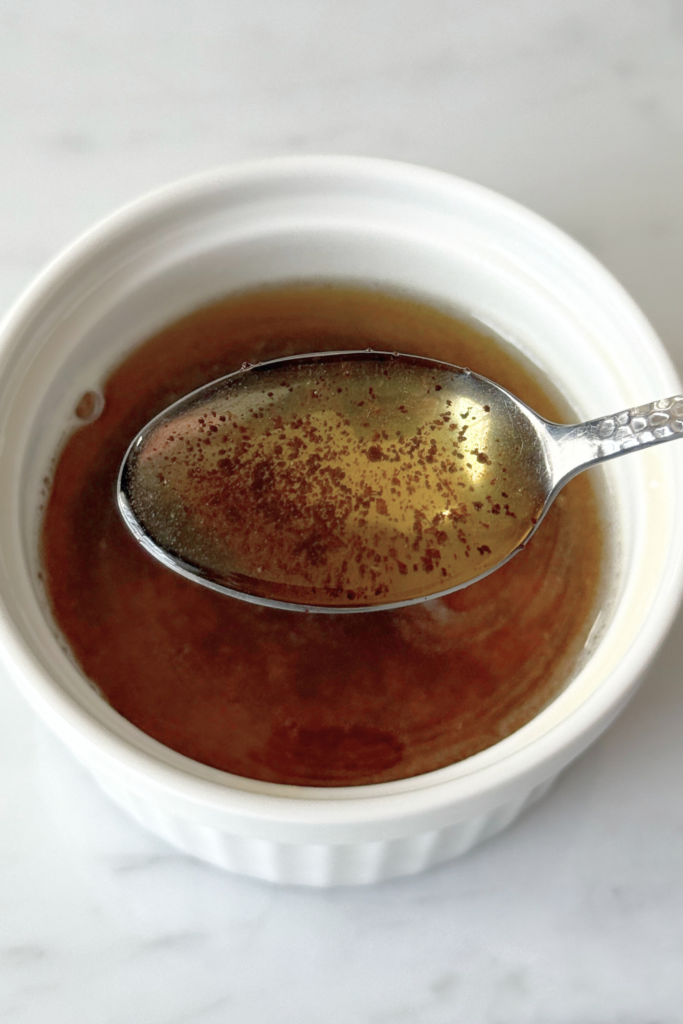
You’re looking for a warm golden brown color and brown specks forming at the bottom of the pan. The smell should be nutty and toasted, not sharp or burnt.
The second you smell that nutty aroma, it’s done!
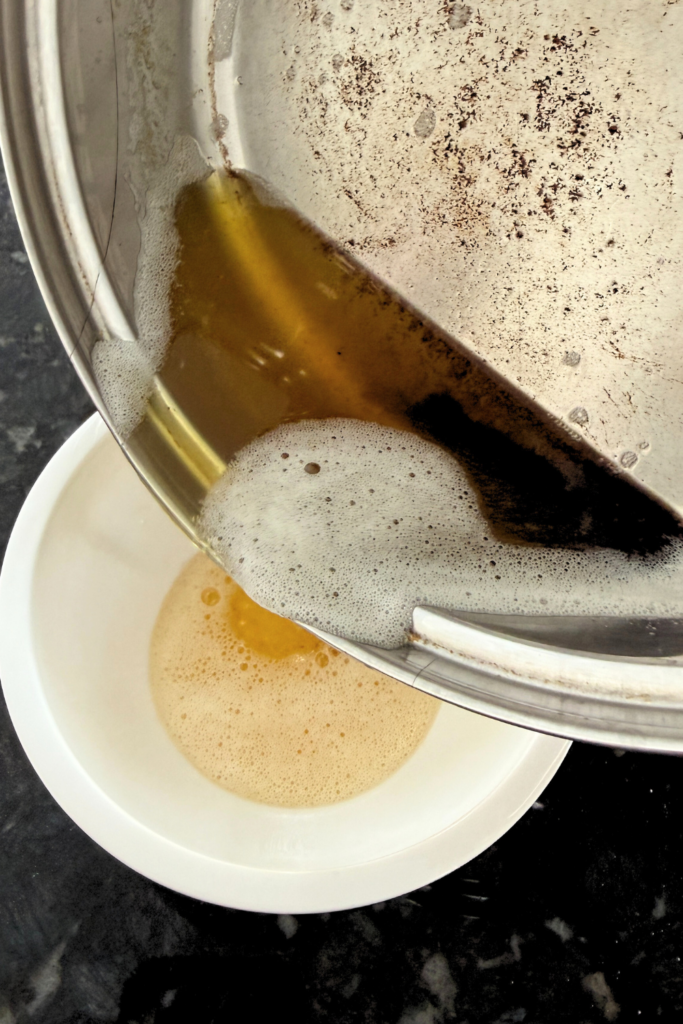
Step 5: Pull it from the heat immediately
Take the pan off the heat and pour the butter into a heat-safe bowl right away, scraping every bit out of the pan. If you leave the brown butter in the pan, it keeps cooking and will burn.
Brown Butter FAQs
Do I strain the brown bits?
No. Those toasted milk solids are the reason you browned the butter in the first place! They’re little flecks of amazing goodness and will transform your baking to new levels.
Why does my butter look foamy?
The foam is the water cooking off. It will settle as the butter finishes browning.
Can brown butter burn?
Yes, and it happens very quickly. That’s why medium heat and paying attention matter. I most definitely burned a few batches in the beginning before I really learned and understood the different phases of browning.
Can I use brown butter while it’s hot?
I would not. Let it cool slightly in the bowl before adding eggs or sugar. Hot butter can scramble eggs or melt sugar unevenly unless the recipe specifically says otherwise.
How to Measure Brown Butter for Baking
When butter browns, some of the water evaporates, so the volume does change slightly.
Here’s the easiest way to handle it:
Most home baking recipes are extremely forgiving, but this helps keep your results consistent.
Make Ahead, Freezing & Storage
Brown butter can be made ahead if you want to save time on baking days.
How to Brown Butter for Baking
Learn how to brown butter for baking without burning it. This beginner's guide explains what brown butter is, how it changes the flavor, and how to measure it correctly after evaporation.
Ingredients
Instructions
Step 1: Melt the butter over medium heat
Add the butter to the pan and let it melt completely. It will bubble and foam. That’s normal.
Step 2: Let it foam and cook
As the water evaporates, the butter will look messy and loud. This is where most people think they’ve ruined it. You haven’t!
Step 3: Stir or swirl the pan
Once the foam starts settling to the edges of the liquid, gently stir or swirl the pan so the milk solids don’t sit in one spot and burn.
Step 4: Watch the color and smell
You’re looking for a warm golden brown color and brown specks forming at the bottom of the pan. The smell should be nutty and toasted, not sharp or burnt.
The second you smell that nutty aroma, it’s done!
Step 5: Pull it from the heat immediately
Take the pan off the heat and pour the butter into a heat-safe bowl right away, scraping every bit out of the pan. If you leave the brown butter in the pan, it keeps cooking and will burn.
Recommended Products
This post may contain affiliate links, which means I may make a small commission at no extra cost to you.