Italian Rainbow Cookies
Last Updated on February 9, 2026 by Kiersten James
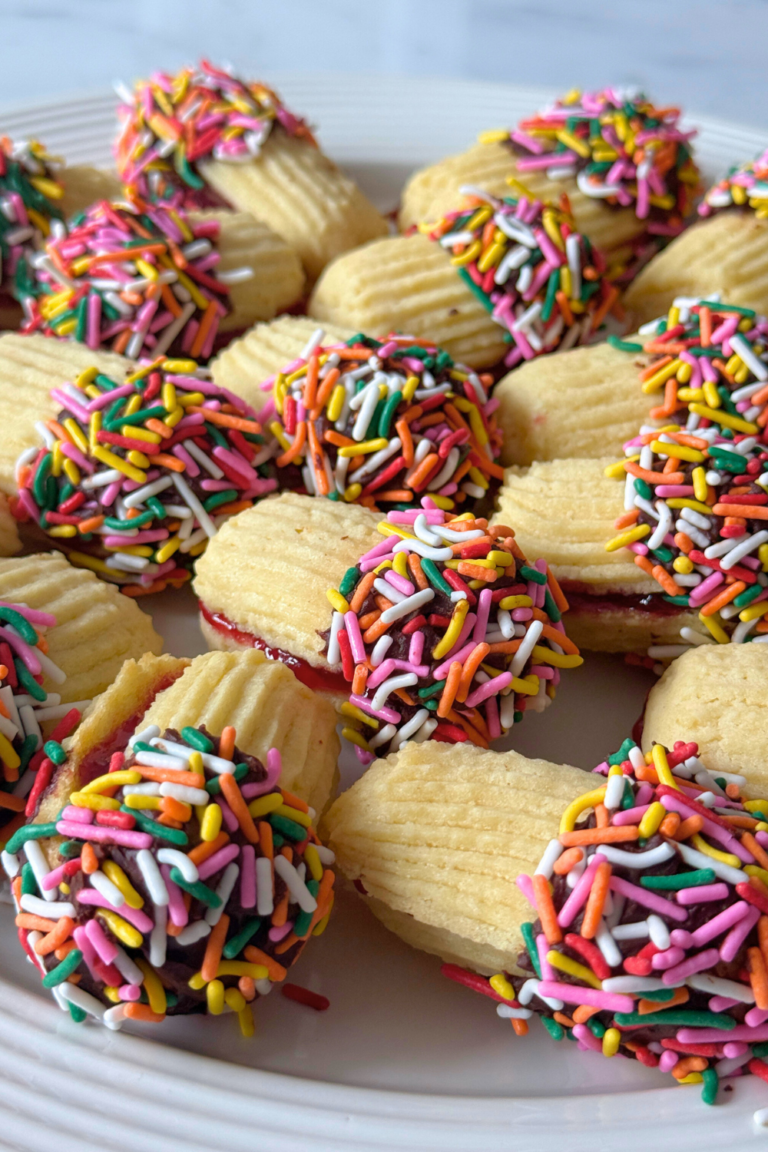
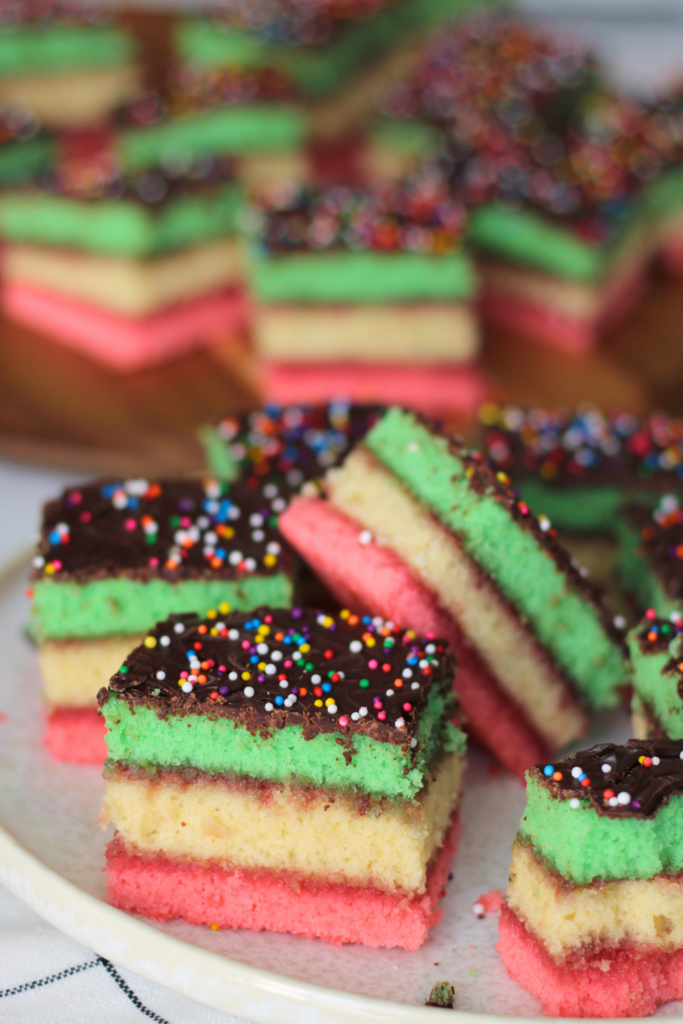
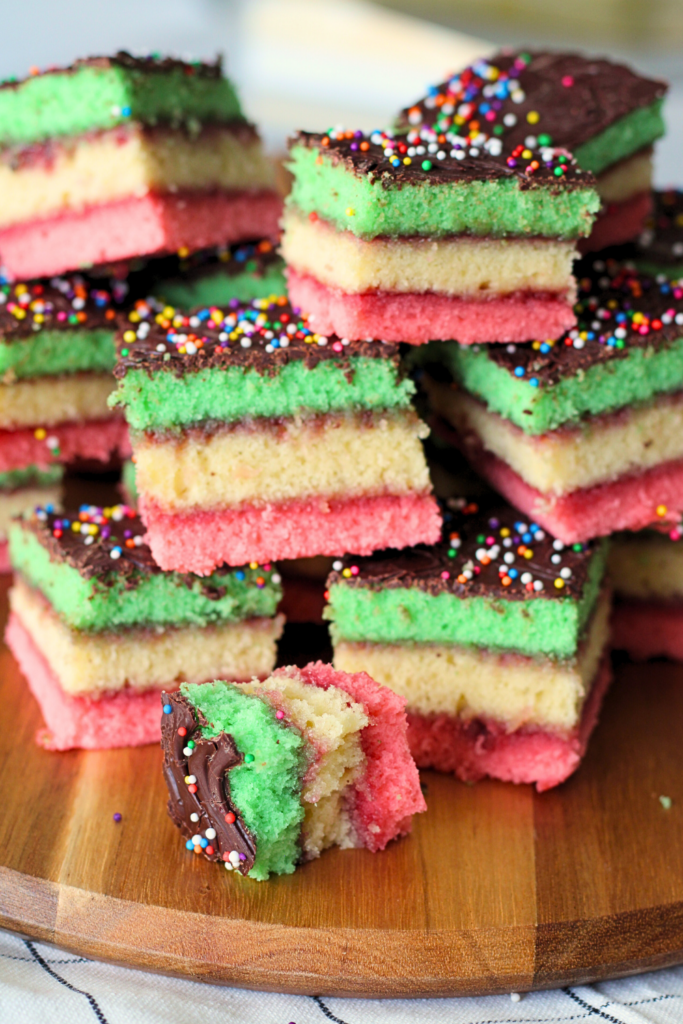
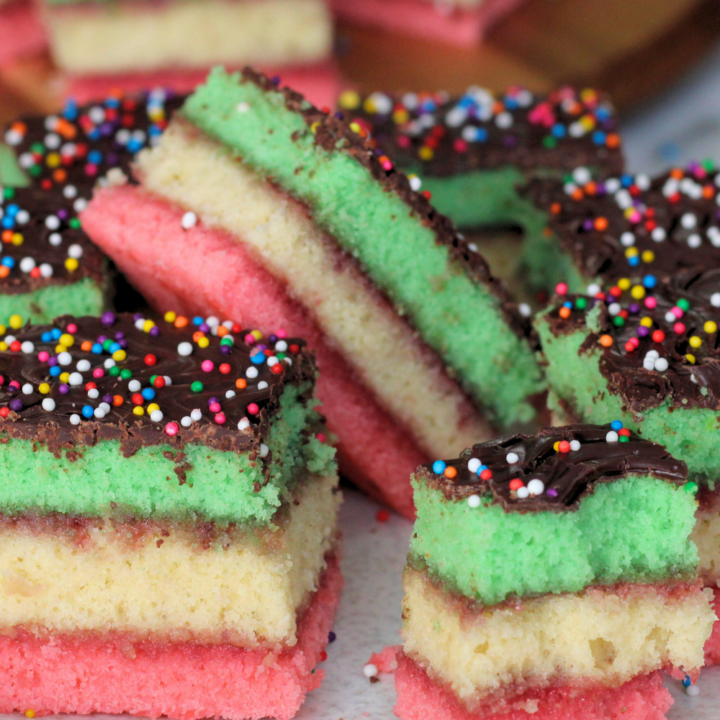
Classic Italian rainbow cookies just like the ones from Long Island bagel stores – dense almond layers, raspberry jam, chocolate topping, and nonpareil garnish.
If you grew up on Long Island, these don’t need explaining. Italian rainbow cookies are the ones sitting in clear plastic containers right next to the register at bagel stores, delis, and most Italian bakeries.
They’re always cut into neat little rectangles. Always stacked. Always in plastic clamshell containers. And somehow, no matter where you buy them from, they all taste roughly the same.
These are not soft cookies, but they’re not cake either. They’re their own thing, and if you know, you know.
Why You’ll Love These Italian Rainbow Cookies
- They taste exactly like the ones from Long Island bagel stores
- Dense, almondy layers with jam and chocolate in every bite
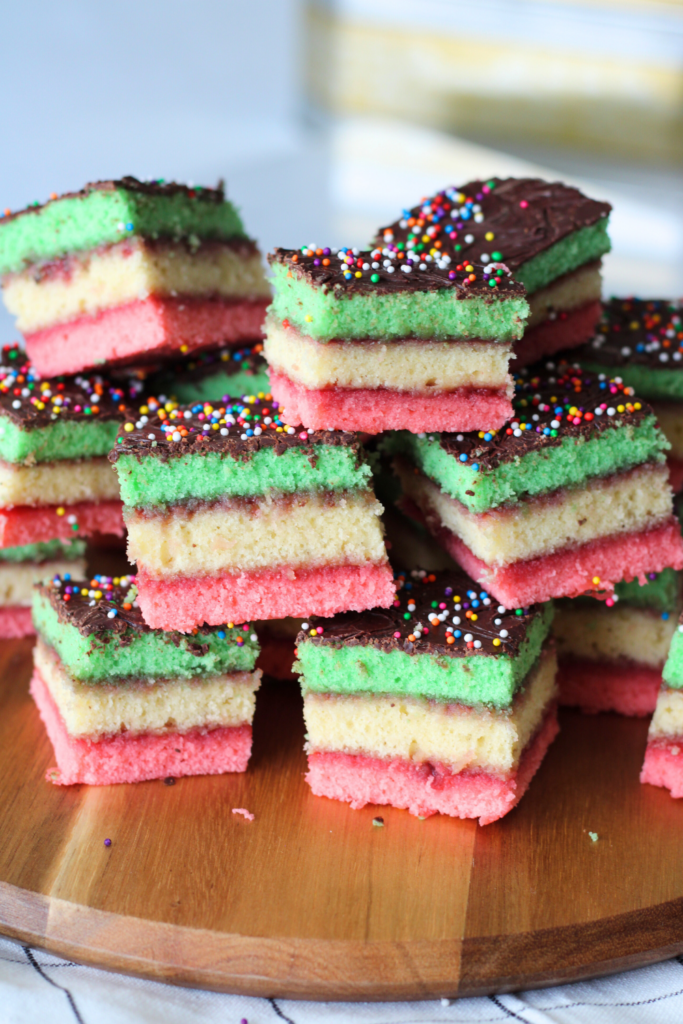
- They slice clean and look impressive on a cookie tray
- One batch makes a lot, which makes the effort worth it
- They freeze really well, so you can make them ahead of time without setting aside an entire afternoon
Quick Allergy Check!
For my beloved friends who have different dietary needs, I see you and want you to feel safe.
These Italian Rainbow Cookies contain the following allergens:
- Nuts (almond paste is used heavily)
- Gluten
- Eggs
- Dairy
If you’re baking for someone with allergies, this is one of those recipes where you don’t want to substitute with swaps. Make something else for them and let these be what they are.
Ingredients You’ll Be Using:
Almond paste: This is the backbone of the cookie. It’s what gives rainbow cookies that dense, almost marzipan-like texture you expect from deli versions. If you change this, you’re making a different cookie.
Cake flour: Keeps the layers tender without making them crumbly. These cookies are dense, but they shouldn’t ever be dry.
Eggs: Whipped into the batter to give structure and lift so the layers bake evenly and hold together when stacked.
Raspberry jam: Classic and sharp enough to cut the sweetness. Some recipes use apricot jam, but true Long Island Italian rainbow cookies will only be found with raspberry. Seedless is best so that the layers stay clean.
Chocolate: A generous layer on top finishes the cookie and gives you that crack when you bite in. This is part of the texture, not decoration.
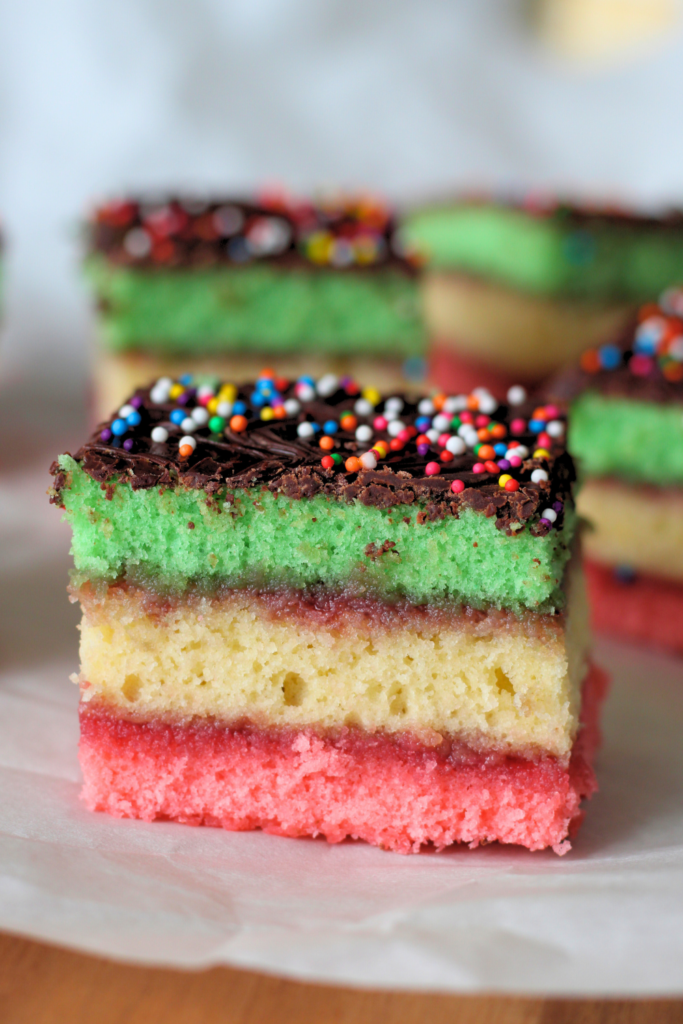
Food coloring: Used only for the red and green layers. The center stays plain on purpose to resemble the Italian flag. Don’t dye the middle layer yellow!
Tips for the Best Italian Rainbow Cookies Ever
The Colors Matter!
The green, white, and red layers are intentional. The center cake layer stays plain to represent the Italian flag. Yellow doesn’t belong there.
That said, Italian bakeries on Long Island have always played with the colors around the holidays. Blue gets swapped in for green around July 4th, Memorial Day, or Veterans Day.
I’ve also seen pink/white/pink and blue/white/blue made for baby showers.
Almond Paste Is Non-Negotiable
The dense texture is what separates deli rainbow cookies from homemade knockoffs. That comes from almond paste, not almond flour + extract.
Almond paste gives these cookies weight, and they should feel substantial when you pick one up.
Take Your Time
It’s no secret that Italian rainbow cookies take a really long time to make. Between baking, cooling, and setting, you will need an entire morning or afternoon.
Do not stress yourself out by attempting to make and bring these to a dinner party if it’s already 12 o’clock. You won’t have enough time to bake, decorate, and get ready.
Just to give you an honest idea – when I made these for this recipe post on Sunday, I started at 10:30 am, and the rainbow cookies weren’t sliced and ready to eat until around 4:30 pm.
The layers require the pan to cool in between baking, then the cakes have to cool on wire racks. After they’re fully cooled, the layers are assembled, then the chocolate has to set for another 2 to 3 hours.
Could I have done it faster? Probably. But I was doing things around the house that had to be taken care of during the cooling or setting periods.
Basic Overview
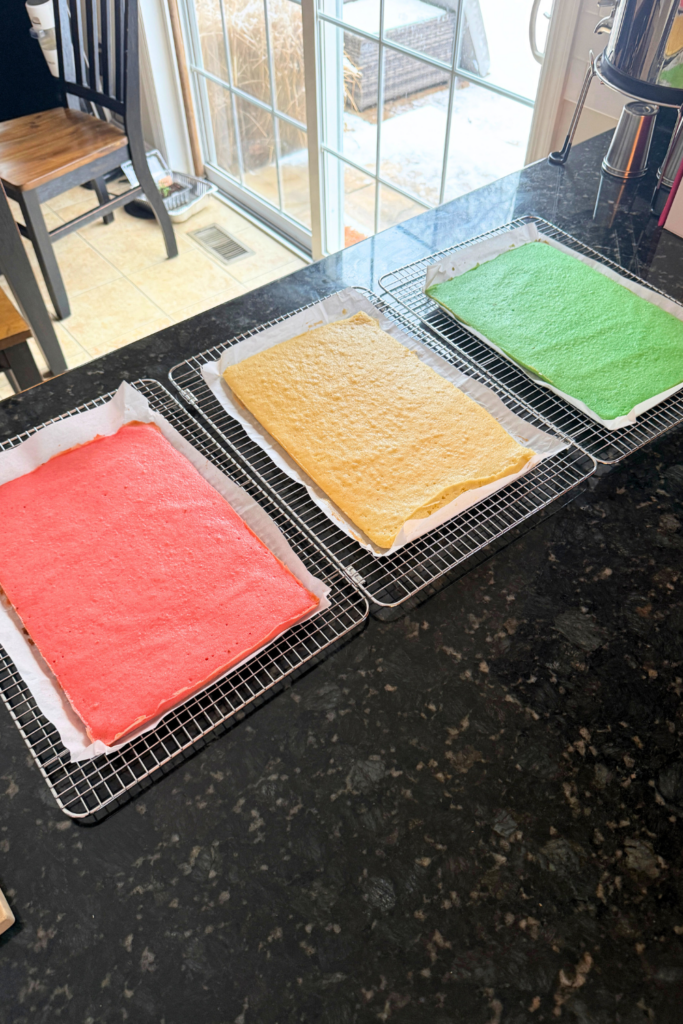
The batter is made in a large batch and then measured out into three separate portions; two of the portions are colored. One will be red, one will be green. Each layer is then baked separately in the same pan.
The layers cool completely before stacking, but there’s no chilling involved.
When filling the pan to bake, take your time spreading the batter so that it is thin and even – it can sometimes be the only difference between bakery style and sloppy.
How to Make Italian Rainbow Cookies
Equipment I Use:
- Food Processor
- Stand Mixer
- Angled Offset Spatula
- 3 Cooling Racks
- Whisk Attachment
- 9×13 baking pan with square edges
Ingredients:
- 2 cups cake flour
- 1/2 teaspoon baking powder
- 1 1/2 cups granulated sugar
- 8 ounces almond paste
- 7 large eggs
- 1 teaspoon vanilla extract
- 1/2 teaspoon salt
- 1 stick ( 8 tbsp) of unsalted butter, melted and cooled
- 1/8 teaspoon red food coloring
- 1/8 teaspoon green food coloring
- 2/3 cup seedless raspberry jam
- 2 cups semisweet chocolate chips
- Multicolored nonpareils, for garnish
Overview:
Set up your oven: Preheat your oven to 350°F and move the rack to the middle. Grease a 9×13 baking pan and line it with parchment paper, leaving extra hanging over the long sides so you can lift the layers out cleanly. Grease the parchment.
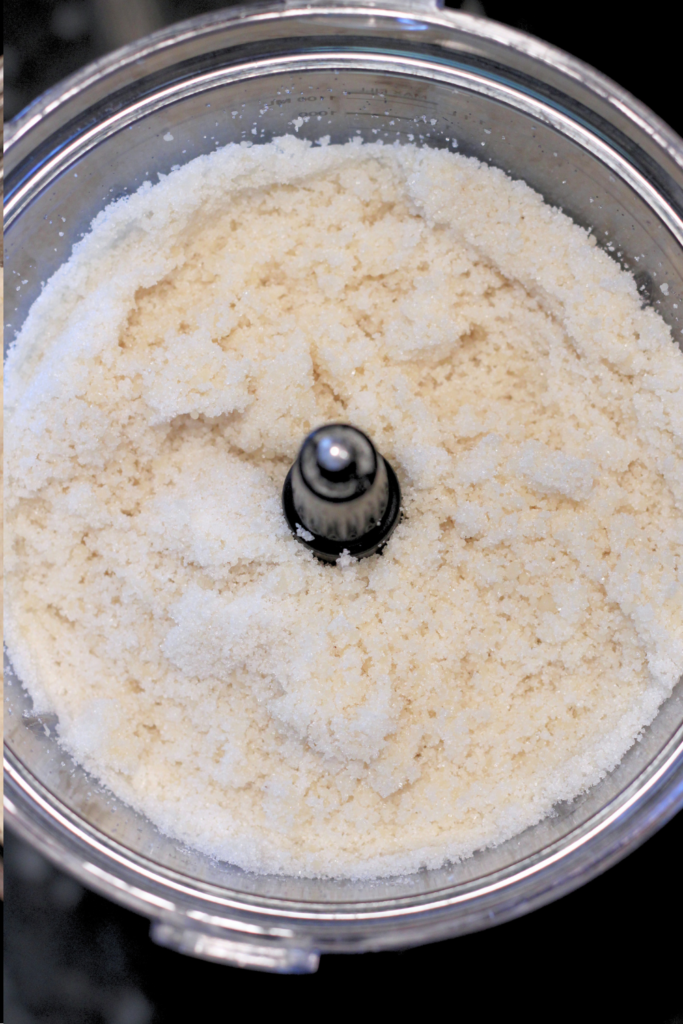
Process the almond paste and sugar: Cut the almond paste into 1″ pieces and process in a food processor with the granulated sugar until it looks like sand – about 30 seconds.
Combine dry ingredients: Whisk together the cake flour, baking powder, and salt in a small bowl and set aside.
Whisk wet ingredients: Transfer the sugar mixture to a stand mixer bowl and connect the whisk attachment. Add the eggs and vanilla, then whisk on medium-high speed until pale and thick, about 5 minutes.
Melt and cool the butter: Melt the stick of butter in the microwave while the mixer is running, and let it cool on the counter.
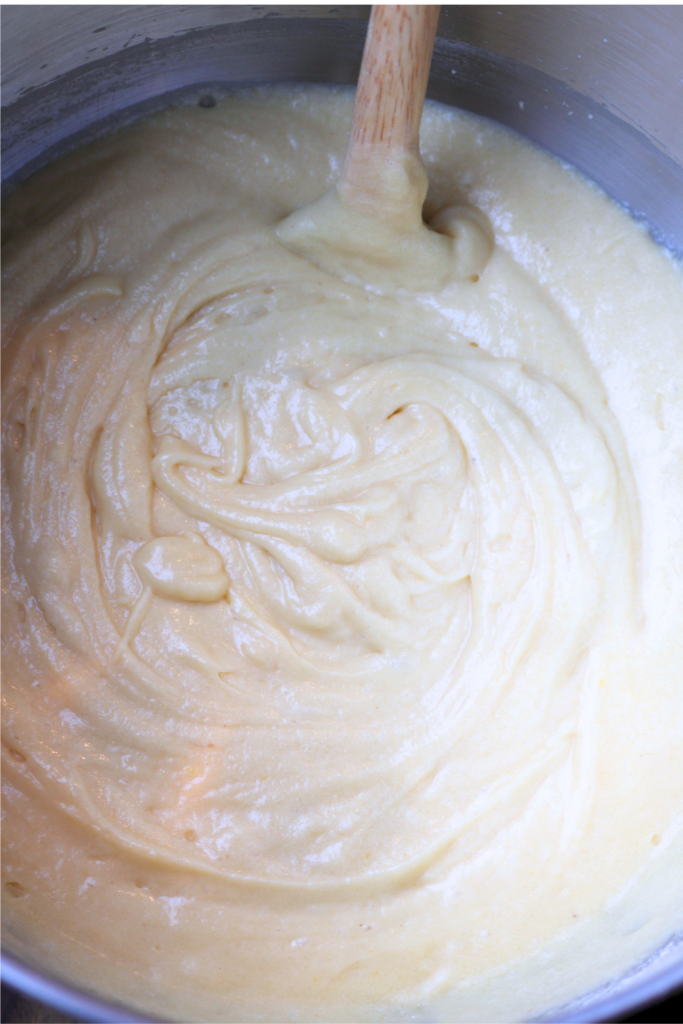
Mix in the butter and flour: Reduce the mixer speed to low and slowly pour in the melted butter. Add the flour mixture and mix just until smooth.
Bake the white middle layer: Measure out 2 cups of batter and spread it thin and even in the prepared pan. Bake until the top is set, and the edges just barely start to turn golden, about 12 to 15 minutes.
Let it cool briefly, then lift the layer out using the parchment sling and transfer to a wire rack. Let the pan cool before baking the next layer.
Color and bake the red and green layers: Divide the remaining batter evenly between two bowls. Color one portion with 1/8 teaspoon red food coloring and the other with 1/8 teaspoon green food coloring.
Line the pan again with fresh parchment and repeat the process for each colored layer, letting the pan cool between bakes.
Assemble the layers: Once all three layers are completely cool, line a cutting board with a large piece of wax or parchment paper.
Place the red cake layer on the cutting board and remove the parchment paper used for baking. Spread 1/3 cup of raspberry jam evenly over the entire surface. It’s okay if the jam falls down the sides; the edges will be sliced off and cleaned up later.
Next, add the plain layer on top of the red layer. Spread with 1/3 cup of jam, then finish with the green layer.
Add the chocolate layer: Melt the chocolate chips down in the microwave on low power. Spread the chocolate evenly over the top to create a finishing layer. Take your time doing this – an angled offset spatula is the best tool for the job here.
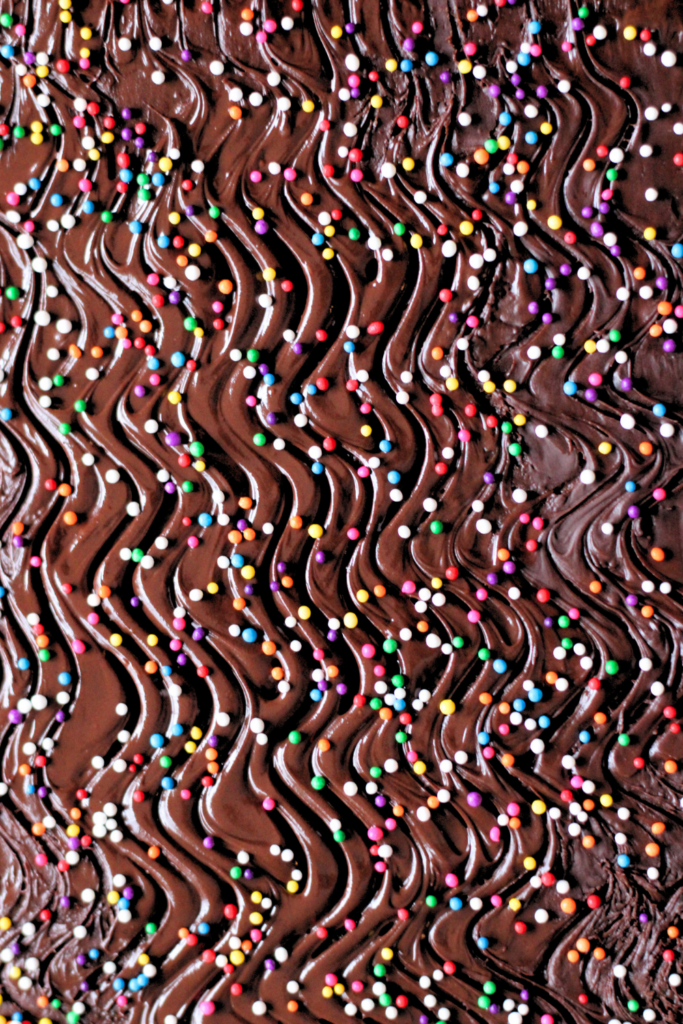
After a few minutes, once it starts to set but is still soft, gently run a fork lightly across the surface in a soft “s” pattern. This will create that classic bakery wave look.
Immediately garnish the chocolate with multicolored nonpareils before the chocolate fully sets.
Set & slice: Let the chocolate set completely at room temperature for 2 to 3 hours. With a long serrated knife, carefully trim off the messy edges to expose the beautiful, colorful layers.
*If you are freezing these, stop here and wrap the entire cake well in plastic wrap multiple times. Freeze unsliced.
To cut the cookies, cut 5 rows about 1 1/2″ apart down the long side and 10 evenly spaced rows down the short side to form 50 small rectangular cookies.
If you need 60 cookies, you can cut 12 rows an inch apart on the short side.
Storing & Freezing Italian Rainbow Cookies
Store rainbow cookies at room temperature in an airtight container for up to 5 days.
To Freeze: Wrap the entire cake in plastic wrap unsliced, and freeze for up to 2 months. Thaw and slice when ready to use. You can also wrap individual cookies in plastic wrap and freeze in a storage bag. Thaw on the counter when ready to eat or serve.
Italian Rainbow Cookies
Classic Italian rainbow cookies just like the ones from Long Island bagel stores - dense almond layers, raspberry jam, chocolate topping, and nonpareil garnish.
Ingredients
- 2 cups cake flour
- 1/2 teaspoon baking powder
- 1 1/2 cups granulated sugar
- 8 ounces almond paste
- 7 large eggs
- 1 teaspoon vanilla extract
- 1/2 teaspoon salt
- 1 stick ( 8 tbsp) of unsalted butter, melted and cooled
- 1/8 teaspoon red food coloring
- 1/8 teaspoon green food coloring
- 1 cup seedless raspberry jam
- 2 cups semisweet chocolate chips
- Multicolored nonpareils, for garnish
Instructions
Set up your oven: Preheat your oven to 350°F and move the rack to the middle. Grease a 9x13 baking pan and line it with parchment paper, leaving extra hanging over the long sides so you can lift the layers out cleanly. Grease the parchment.
Process the almond paste and sugar: Cut the almond paste into 1" pieces and process in a food processor with the granulated sugar until it looks like sand - about 30 seconds.
Combine dry ingredients: Whisk together the cake flour, baking powder, and salt in a small bowl and set aside.
Whisk wet ingredients: Transfer the sugar mixture to a stand mixer bowl and connect the whisk attachment. Add the eggs and vanilla, then whisk on medium-high speed until pale and thick, about 5 minutes.
Melt and cool the butter: Melt the stick of butter in the microwave while the mixer is running, and let it cool on the counter.
Mix in the butter and flour: Reduce the mixer speed to low and slowly pour in the melted butter. Add the flour mixture and mix just until smooth.
Bake the white middle layer: Measure out 2 cups of batter and spread it thin and even in the prepared pan. Bake until the top is set, and the edges just barely start to turn golden, about 12 to 15 minutes.
Let it cool briefly, then lift the layer out using the parchment sling and transfer to a wire rack. Let the pan cool before baking the next layer.
Color and bake the red and green layers: Divide the remaining batter evenly ( 2 cups each) between two bowls. Color one portion with 1/8 teaspoon red food coloring and the other with 1/8 teaspoon green food coloring.
Line the pan again with fresh parchment and repeat the process for each colored layer, letting the pan cool between bakes.
Assemble the layers: Once all three layers are completely cool, line a cutting board with a large piece of wax or parchment paper.
Place the red cake layer on the cutting board and remove the parchment paper used for baking.
Spread 1/3 cup of raspberry jam evenly over the entire surface. It's okay if the jam falls down the sides; the edges will be sliced off and cleaned up later.
Next, add the plain layer on top of the red layer. Spread with 1/3 cup of jam, then finish with the green layer.
Add the chocolate layer: Melt the chocolate chips down in the microwave on low power.
Spread the chocolate evenly over the top to create a finishing layer. Take your time doing this - an angled offset spatula is the best tool for the job here.
After a few minutes, once it starts to set but is still soft, gently run a fork lightly across the surface in a soft "s" pattern. This will create that classic bakery wave look.
Immediately garnish the chocolate with multicolored nonpareils before the chocolate fully sets.
Set & slice: Let the chocolate set completely at room temperature for 2 to 3 hours. With a long serrated knife, carefully trim off the messy edges to expose the beautiful, colorful layers.
*If you are freezing these, stop here and wrap the entire cake well in plastic wrap multiple times. Freeze unsliced for up to 2 months.
To cut the cookies, cut 5 rows about 1 1/2" apart down the long side and 10 evenly spaced rows down the short side to form 50 small rectangular cookies.
If you need 60 cookies, you can cut 12 rows an inch apart on the short side.
Storing & Freezing Italian Rainbow Cookies
Store rainbow cookies at room temperature in an airtight container for up to 5 days.
To Freeze: Wrap the entire cake in plastic wrap unsliced, and freeze for up to 2 months. Thaw and slice when ready to use. You can also wrap individual cookies in plastic wrap and freeze in a storage bag. Thaw on the counter when ready to eat or serve.
Recommended Products
This post may contain affiliate links, which means I may make a small commission at no extra cost to you.


More From the Oven
NY Bakery Style Black & White Cookies