Amish Friendship Bread Starter
Last Updated on July 16, 2026 by Kiersten James
Learn how to make your own Amish friendship bread starter at home. This sweet, easy starter is perfect for baking – no sourdough skills needed.
If you’ve never heard of Amish friendship bread starter before, you’re in for a treat. Unlike sourdough, which is wild harvested and tangy, friendship starter is soft, sweet, and made with milk, sugar, and flour.
It doesn’t require any special equipment or fermentation knowledge, which is probably why it’s been loved by generations of home bakers.
What Is Friendship Bread Starter?
Amish Friendship Bread starter is a simple fermented batter that bubbles and grows at room temperature over 10 days.
It’s made from flour, milk, sugar, and yeast and must be either stirred or fed daily.
At the end of the 10 days, you divide it up into usually 7 portions. You keep a portion for yourself, use a portion to bake, and traditionally pass the rest along to friends and family with instructions for baking.
It gained popularity in the 1980s, especially among church groups and mom clubs. Some will likely remember their mothers or grandmothers keeping Ziploc bags of the starter taped to the fridge with handwritten instructions clipped on.
Friendship Starter vs Sourdough Starter
Sourdough starter relies on wild yeasts from the air and has a distinct tang, sometimes sour bite.
Amish friendship bread starter is a little more predictable. It’s sweeter, more mild, and uses commercial yeast to get things going. This makes it easier for beginners or anyone who doesn’t want to babysit a sourdough starter.
Friendship starter is also more forgiving, and the end results are more like a cake or muffin than a crusty loaf of bread.
What Do You Use It For?
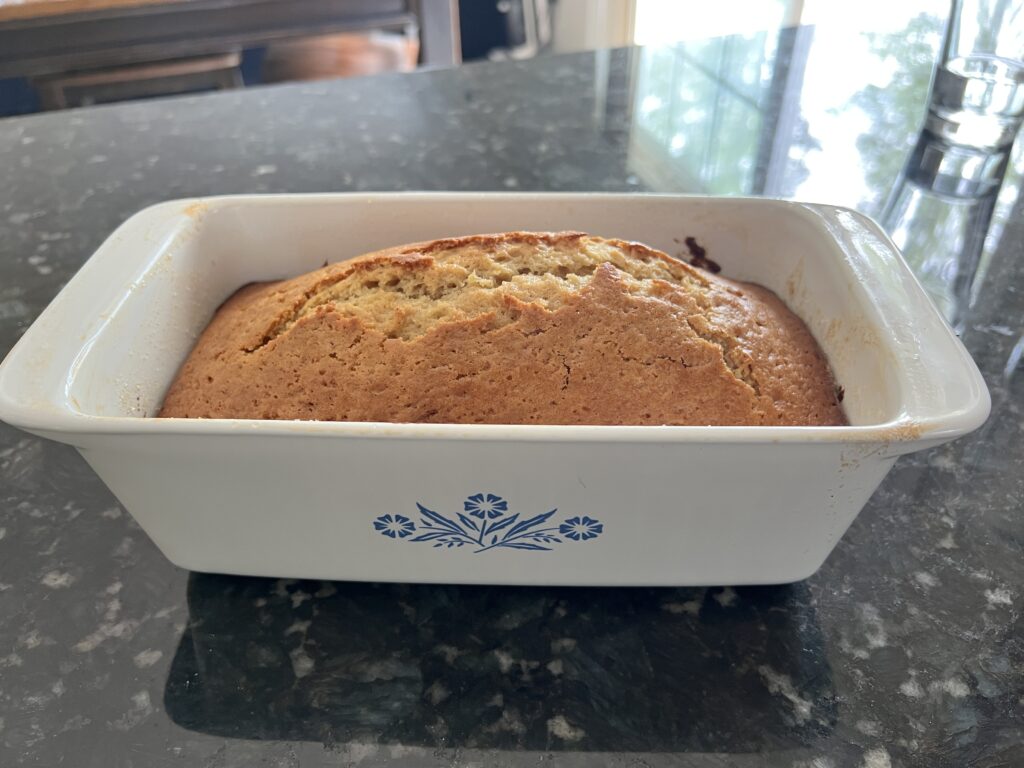
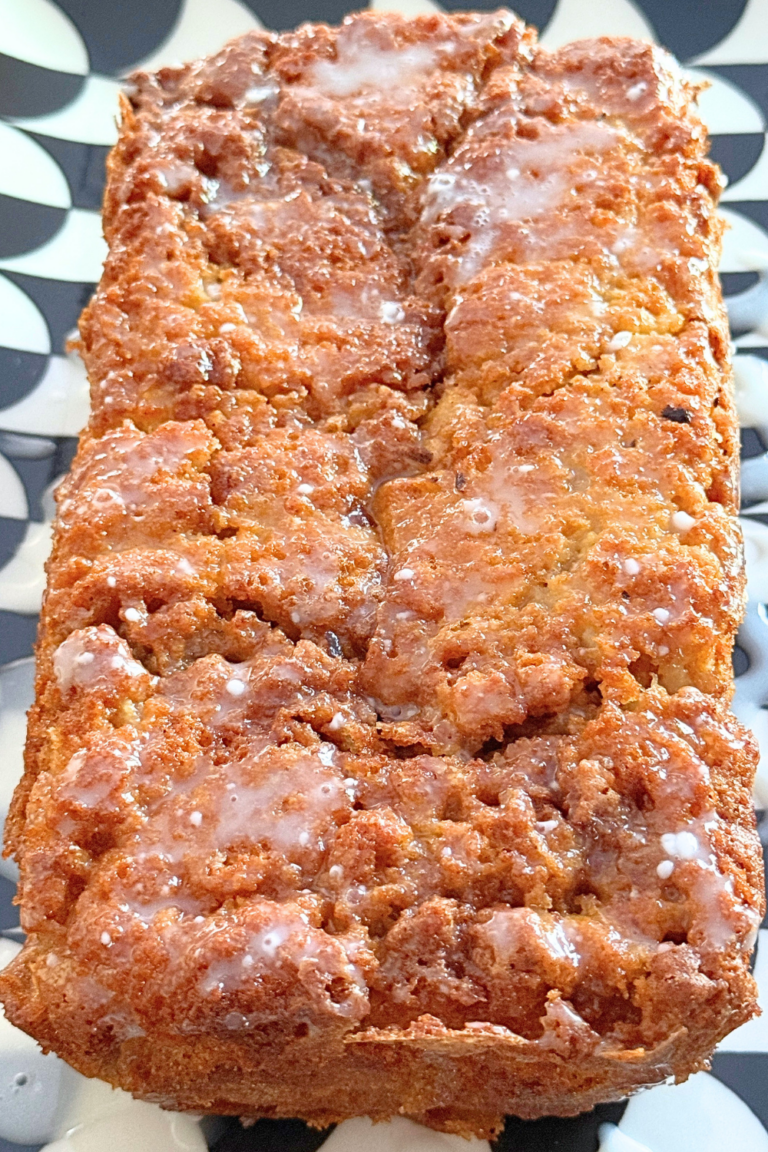
The most popular recipe to use it in is Amish friendship bread.
Friendship bread is a soft, sweet quick bread made with cinnamon and sugar that bakes up almost like a hybrid between pound cake and coffee cake.
It’s one of those things that show up when you want to do something thoughtful. Friendship bread is perfect for gifting to a new neighbor, a new mother, someone who’s going through a hard time, or just because you made too many loaves to keep for yourself.
It’s also common in the fall and winter, when everyone starts baking again and we’re all craving something cozy.
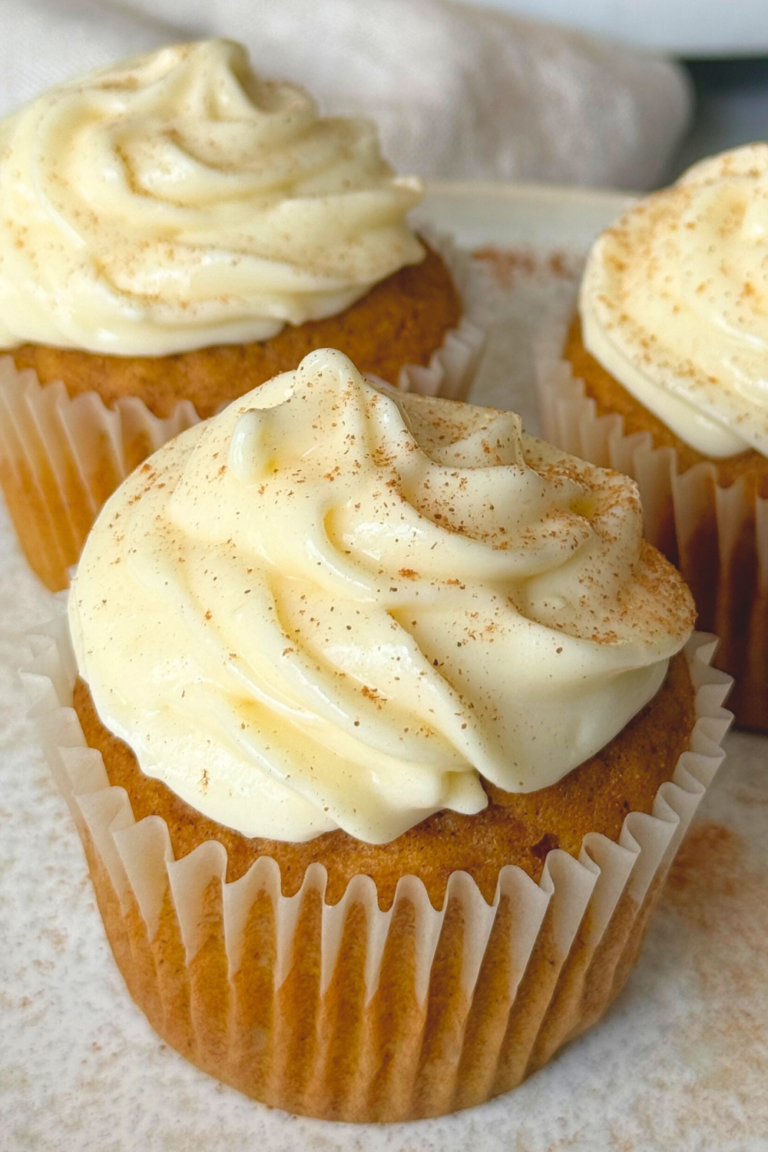
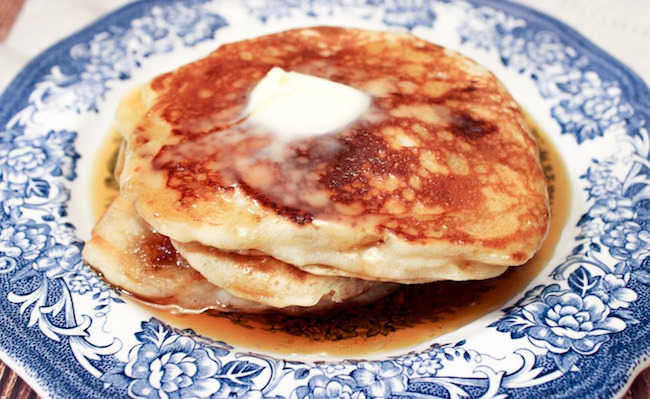
Friendship starter can also be used in muffins, cakes, pancakes, and similar things.
How to Make Amish Friendship Bread Starter
Ingredients:
- 2 cups flour, divided
- 2 cups sugar, divided
- 2 cups warm milk, divided
- 1/4 cup warm water
- 1 package active yeast
Instructions:
On Day 1, mix 1/4 cup of warm water with the yeast in a gallon-sized storage bag. To the same bag, add 1 cup of flour, 1 cup of sugar, and 1 cup of warm milk.

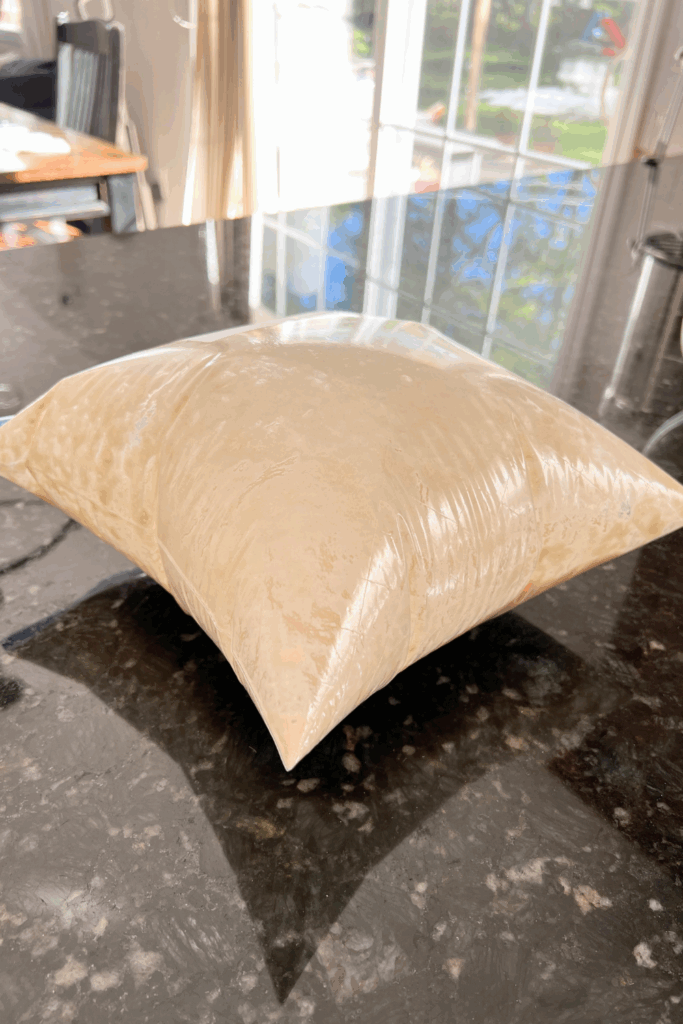
Remove extra air from the bag and seal well. Massage the contents of the bag until all lumps of flour are gone and the mixture is a mostly smooth, thick liquid. Leave the bag on the counter for 24 hours.
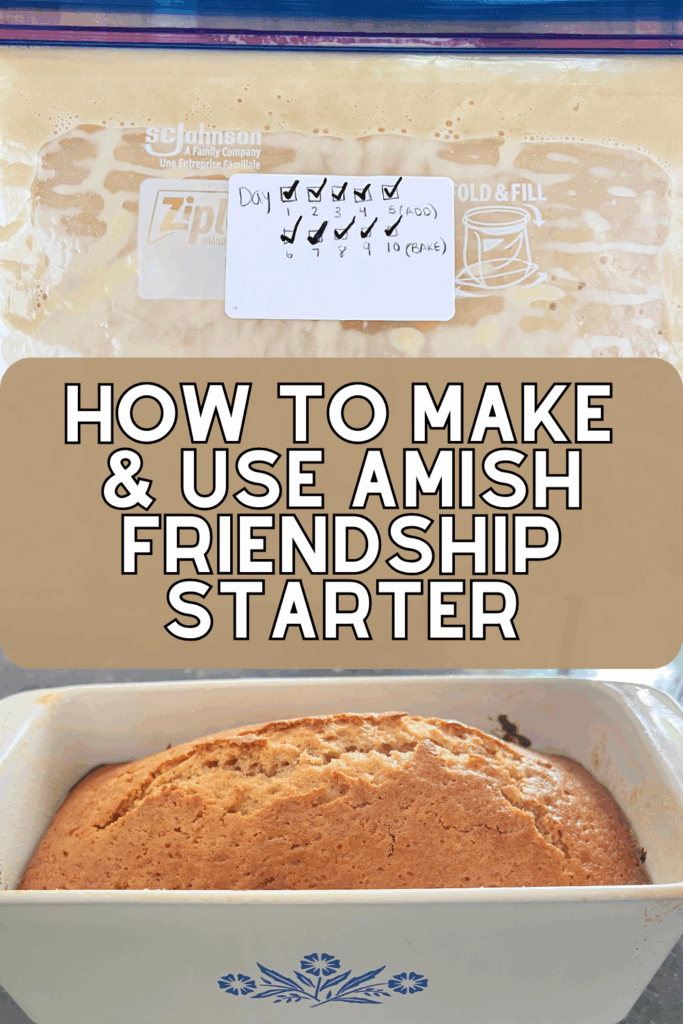
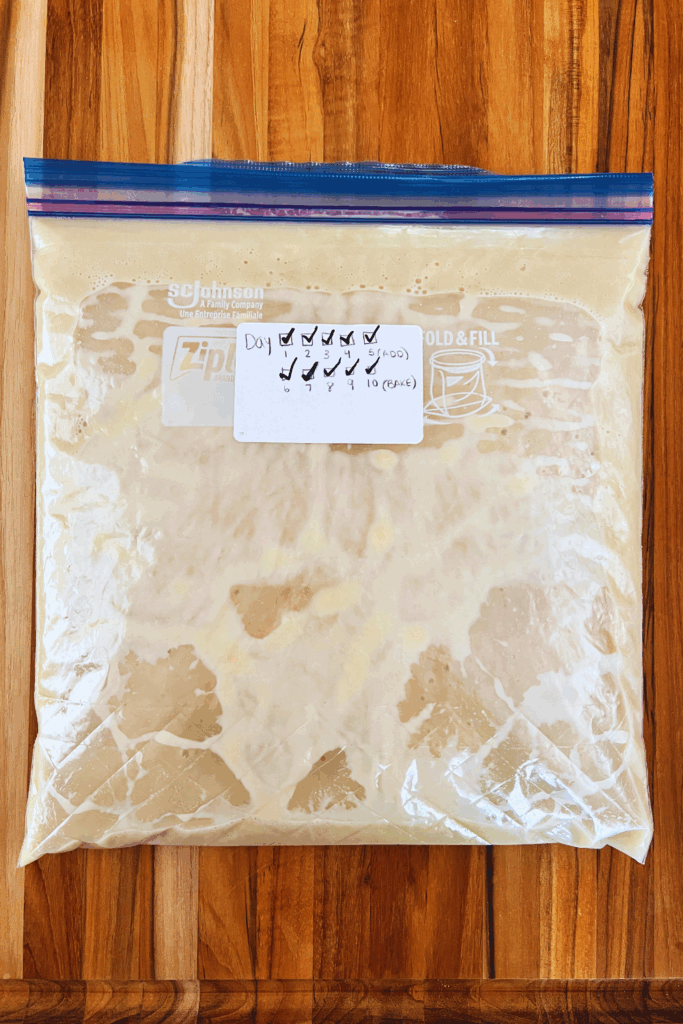
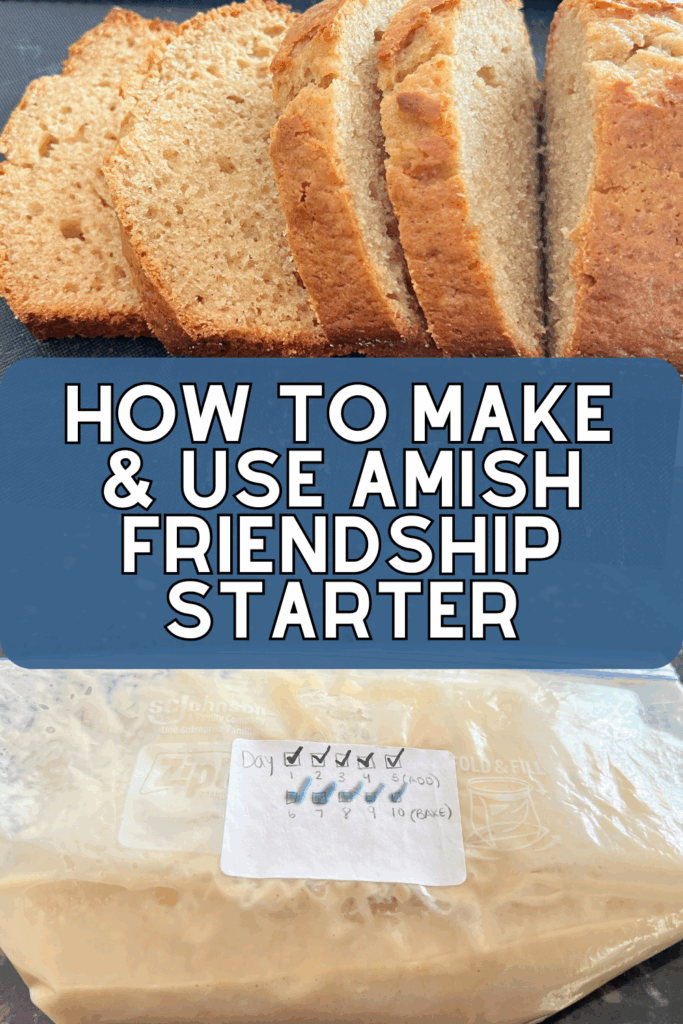
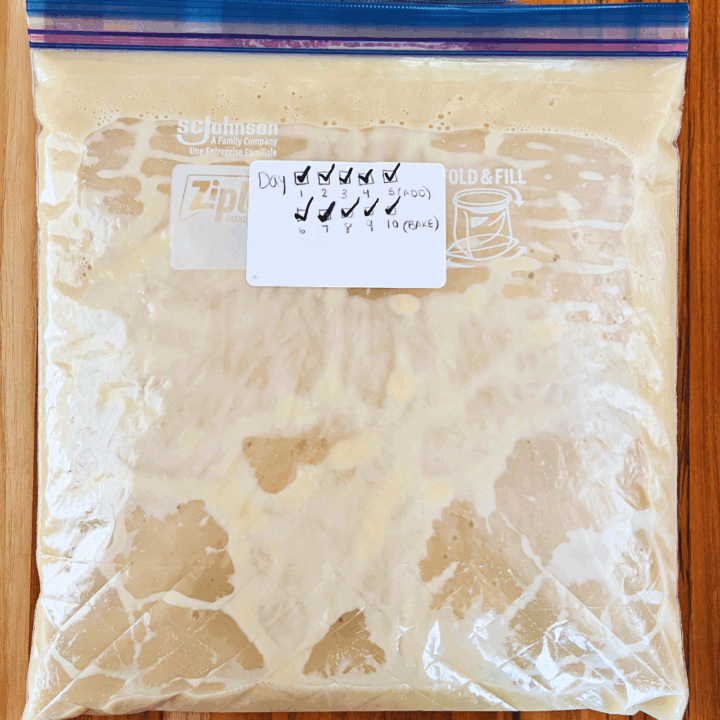
*I tend to get distracted and forget how many days my friendship starter has been sitting. To avoid this, I place a label sticker on the bag with check boxes for days 1 through 10 with a reminder to feed again on day 5.*

For days 2, 3, and 4, the only thing to be done is to massage the bag to stir up the contents and release any air build up. Mark off the check box each day to keep track.
Be sure to keep an eye on it for excess air. If you place it in an area out of sight, you may forget to burp the bag, leading to a possible starter explosion. To burp, bleed off extra air and seal the bag again when it’s flat.
Day 5, you will feed the starter again with 1 cup of flour, 1 cup of sugar, and 1 cup of milk. You will not add any more yeast. Seal the bag and massage until well combined.
On days 6, 7, 8, and 9, bleed off any extra air and massage the bag to mix each day. No feedings are given.
When you reach day 10, remove one cup of the starter to a bowl to bake friendship bread with. Take 6 quart-sized storage bags and measure 1 cup of starter into each bag. Seal to either give to a loved one or freeze to bake later.
If at any point during the 10-day process you need to be away from home for more than 24 hours, put the bag in the freezer and remove it to thaw when you return. It will not be adversely affected in any way.
Be sure to attach the recipe for Amish friendship bread when gifting a starter portion. If you gift a starter portion before day 10, make sure to tell them which day it is (example: day 7)!
More Amish Recipes
Amish Friendship Bread (the cinnamon sugar kind everyone loves)
Pennsylvania Dutch Chicken Pot Pie (With Square Noodles)
Pin It For Later!
Amish Friendship Bread Starter
Learn how to make your own Amish friendship bread starter at home. This sweet, easy starter is perfect for baking with no sourdough skills needed.
Ingredients
- 2 cups flour, divided
- 2 cups sugar, divided
- 2 cups warm milk, divided
- 1/4 cup warm water
- 1 package active yeast
Instructions
- On Day 1, mix 1/4 cup of warm water with the yeast in a gallon-sized storage bag.
- To the same bag, add 1 cup of flour, 1 cup of sugar, and 1 cup of warm milk.
- Remove extra air from the bag and seal well. Massage the contents of the bag until all lumps of flour are gone and the mixture is a mostly smooth, thick liquid.
- Leave the bag on the counter for 24 hours.
- For days 2, 3, and 4, massage the bag and release any air buildup. Mark off the check box each day to keep track.
- Day 5, you will feed the starter again with 1 cup of flour, 1 cup of sugar, and 1 cup of milk. You will not add any more yeast. Seal the bag and massage until well combined.
- On days 6, 7, 8, and 9, bleed off any extra air and massage the bag to mix each day. No feedings are given.
- When you reach day 10, remove one cup of the starter to a bowl to bake with. Take 6 quart-sized storage bags and measure 1 cup of starter into each bag. Seal to either give to a loved one or freeze to bake later.
*I tend to get distracted and forget how many days my friendship starter has been sitting. To avoid this, I place a label sticker on the bag with check boxes for days 1 through 10 with a reminder to feed again on day*
Notes
Be sure to keep an eye on it for excess air. If you place it in an area out of sight, you may forget to burp the bag, leading to a possible starter explosion. To burp, bleed off extra air and seal the bag again when it's flat.
If at any point during the 10-day process you need to be away from home for more than 24 hours, put the bag in the freezer and remove it to thaw when you return. It will not be adversely affected in any way.
Be sure to attach the recipe for Amish friendship bread when gifting a starter portion. If you gift a starter portion before day 10, make sure to tell them which day it is (example: day 7).