Classic Buttermilk Waffles
Last Updated on March 19, 2026 by Kiersten James
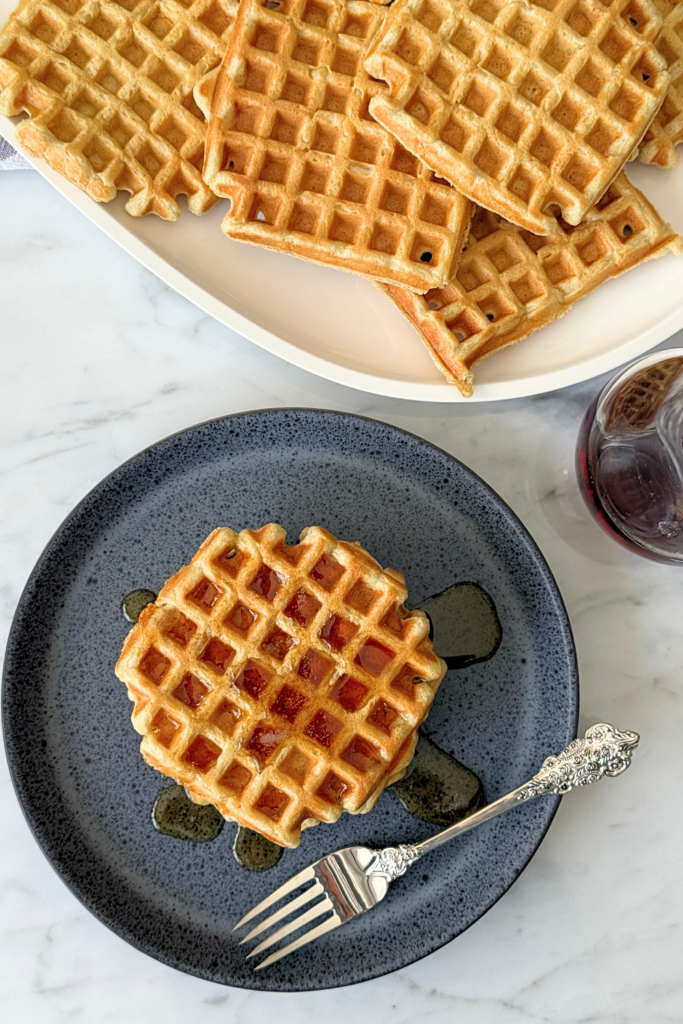
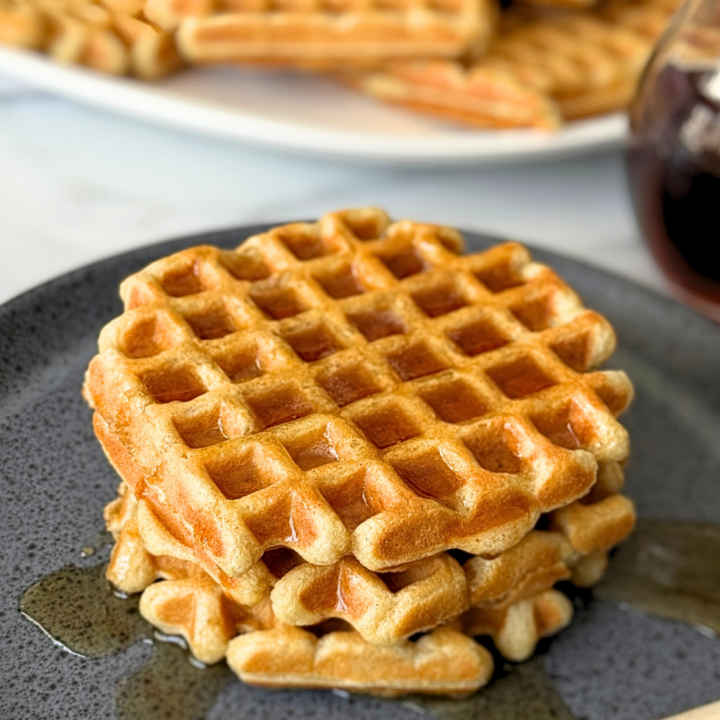
Easy homemade buttermilk waffles with crisp edges, fluffy centers, and a freezer-friendly batter for busy mornings before school.
These are the buttermilk waffles you make once and then never buy frozen again. I started making these a few years back because the cost and ingredient list that came along with Eggos was just too much for us.
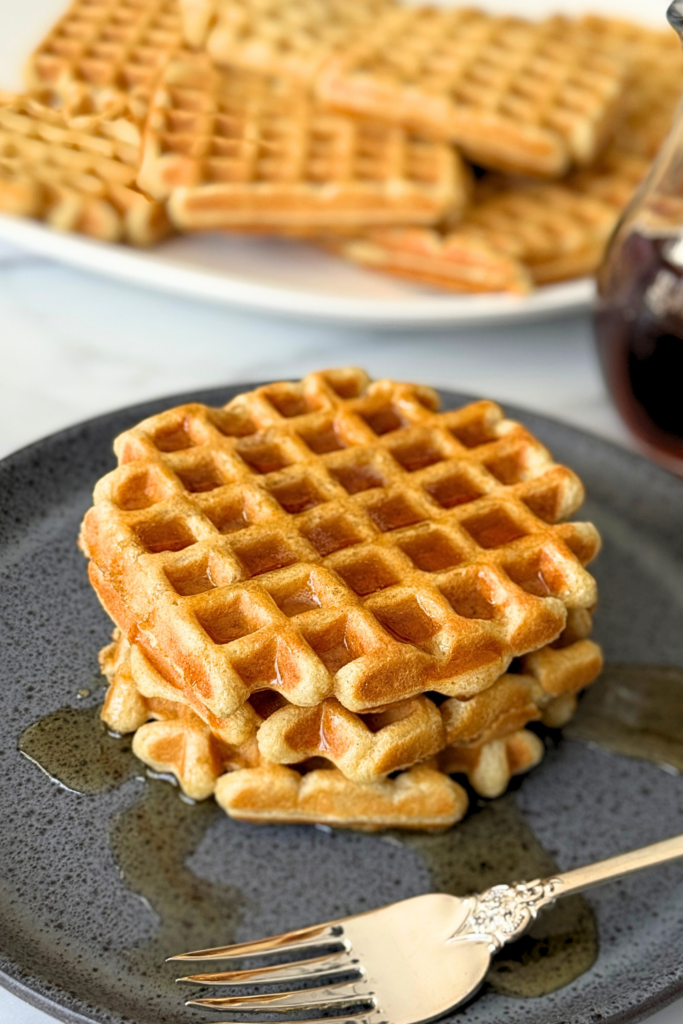
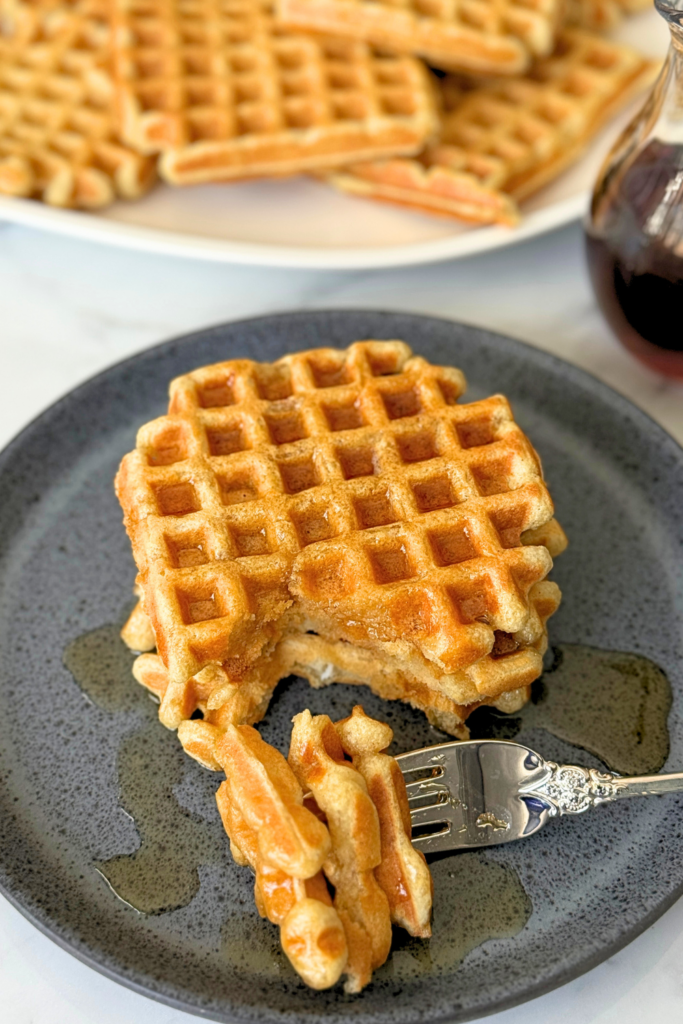
These homemade waffles are crisp on the outside, soft in the center, and just sweet enough to eat plain while you’re standing at the counter waiting for the next batch.
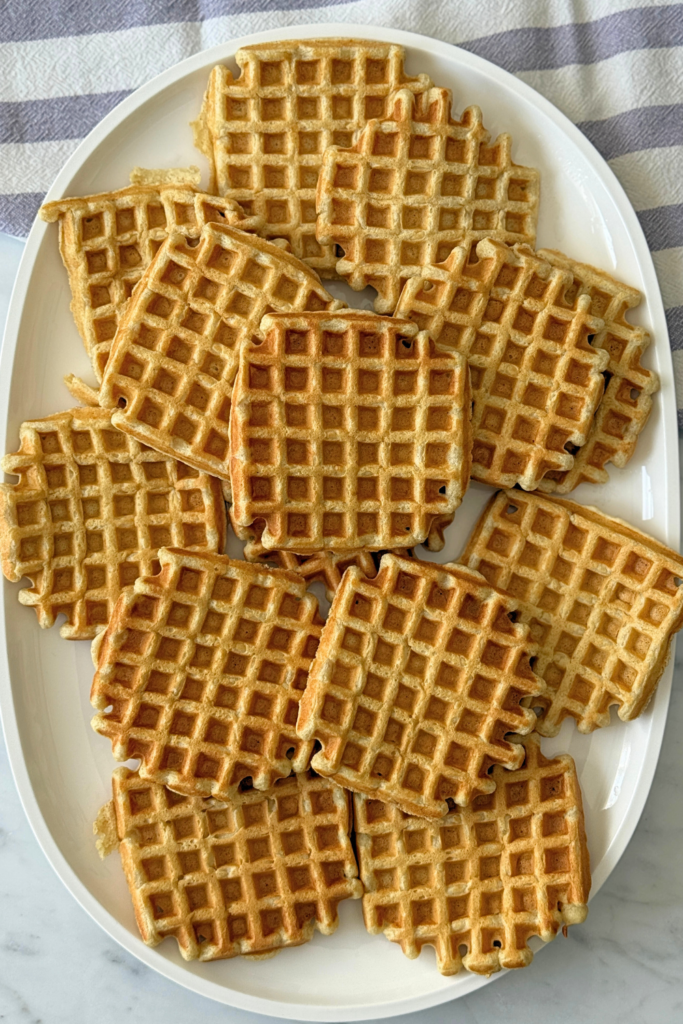
I make a triple batch of these or pancakes every few weeks, let them cool on the counter, and stack them straight into the freezer.
It’s the same idea as when I make a batch of sourdough English muffins or meal prep breakfast burritos for my husband. It’s easier for me to get ahead once, and have mornings run much more smoothly for it later.
If you’ve got kids running around, school mornings, or just don’t feel like thinking before 7 am, keep these in your back pocket.
Why You’ll Love These Buttermilk Waffles
- Crisp golden edges with soft, fluffy centers
- Made with real buttermilk for better flavor and texture
- Comes together fast with basic pantry ingredients
- Freezes perfectly for homemade toaster waffles
- Reliable, foolproof batter that cooks evenly every time
Ingredients You’ll Be Using:
Flour: Gives structure. Regular all-purpose is fine, don’t overthink it.
Buttermilk: This is what makes these waffles taste like actual waffles instead of pancakes in a waffle iron. It adds tang and reacts with the baking soda for lift. If you have a sourdough starter, this same flavor profile carries over into these Sourdough Buttermilk Belgian Waffles.
Melted Butter: Adds flavor and helps create crisp edges. Don’t skip it.
Eggs: Give structure and richness. They also help the waffles hold up when freezing and reheating.
Sugar: Just enough to lightly sweeten and help with browning. These aren’t dessert-level sweet.
Baking Powder + Baking Soda: You need both. The baking soda reacts with the buttermilk, and the baking powder gives extra lift so they stay fluffy.
Salt: Balances everything so the waffles don’t taste flat.
Vanilla Extract: Rounds out the flavor and makes them smell like something from a local diner.
Tips for the Best Homemade Waffles Ever
How to Make Classic Buttermilk Waffles
Equipment:
Ingredients:
2 cups flour
- 2 cups buttermilk
- 3 tablespoons melted butter
- 1 1/2 teaspoons baking soda
- 1 1/2 teaspoons baking powder
- 1/2 teaspoon salt
- 3 tablespoons sugar
- 2 eggs
- 2 teaspoons vanilla extract
Instructions:
Preheat your waffle iron.
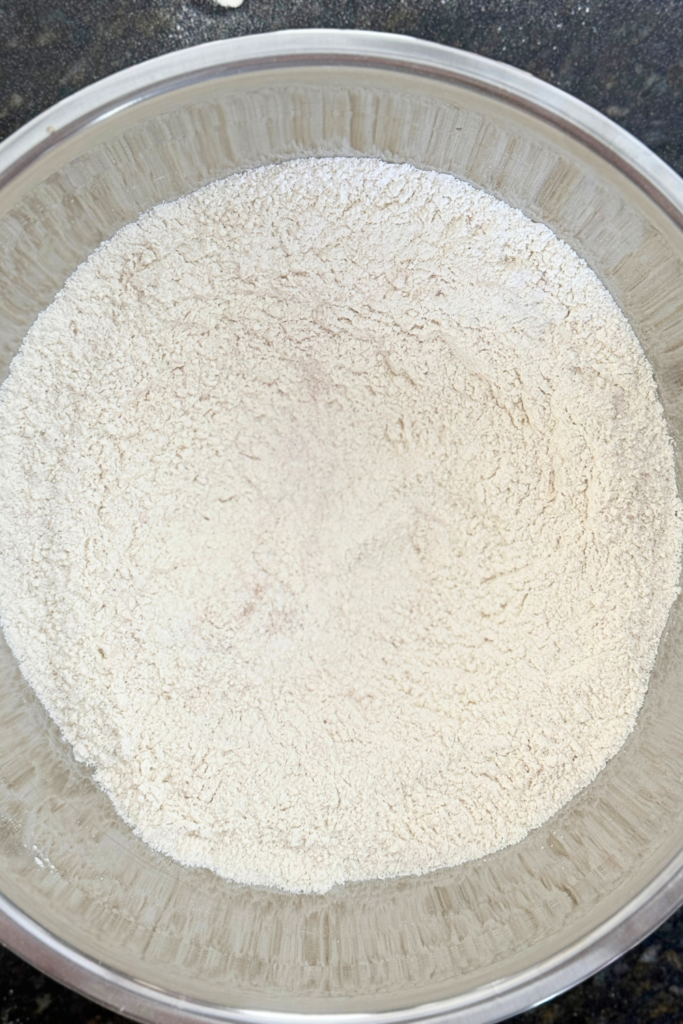
In a large bowl, whisk together flour, baking soda, baking powder, salt, and sugar.
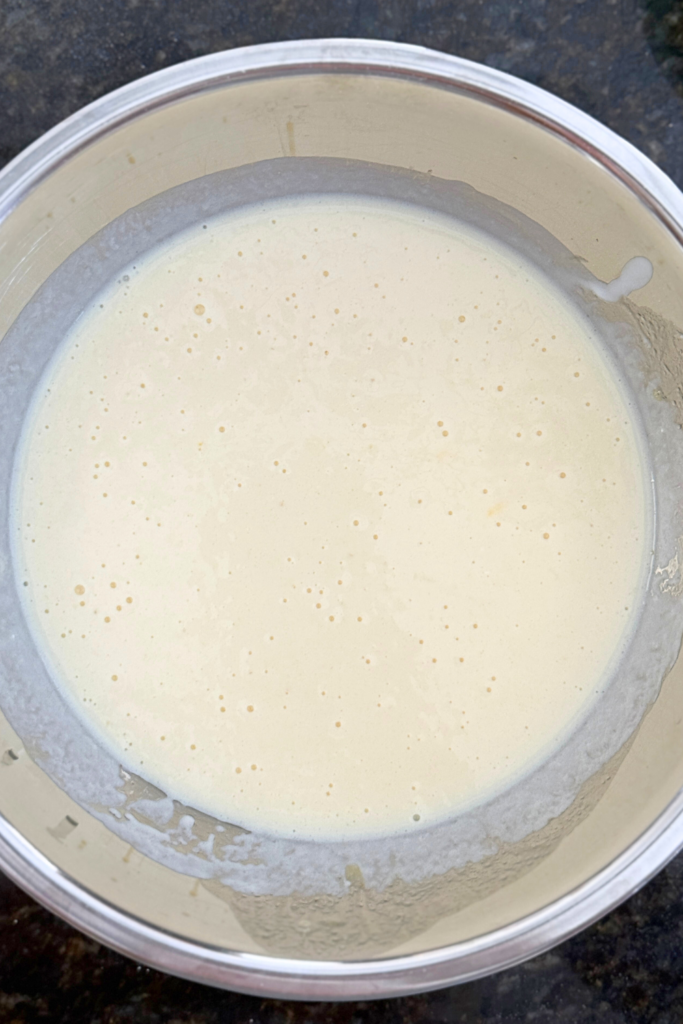
In a separate bowl, whisk eggs, buttermilk, melted butter, and vanilla.
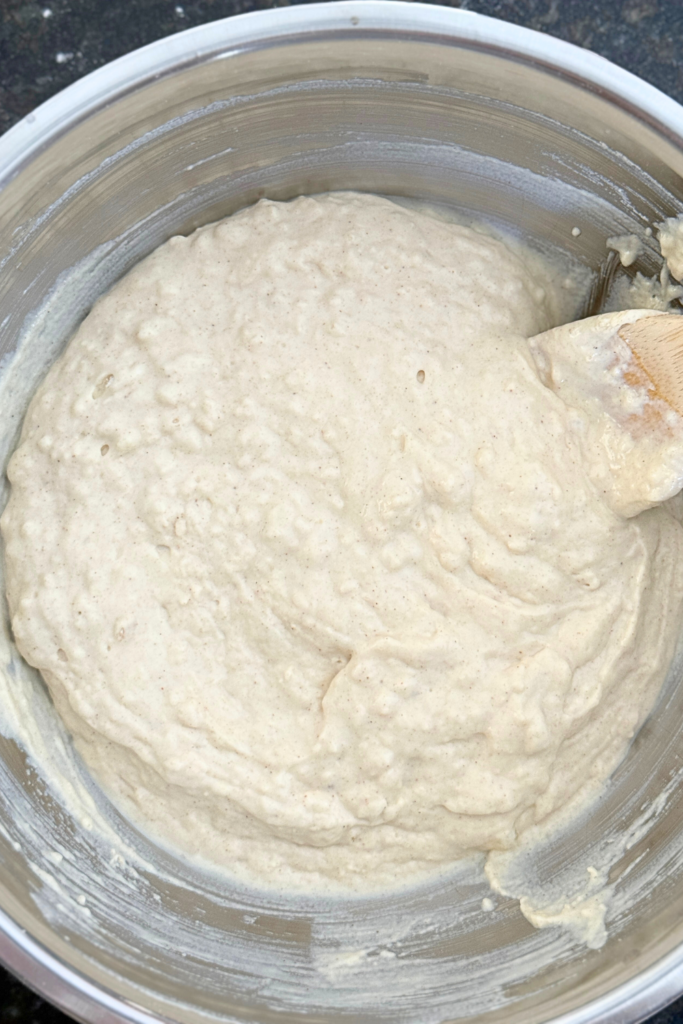
Pour wet ingredients into dry and mix just until combined – do not overmix. Let batter rest for 5 to 10 minutes.
Scoop batter into the waffle iron, flip the iron per manufacturer instructions, and cook until golden brown and crisp.
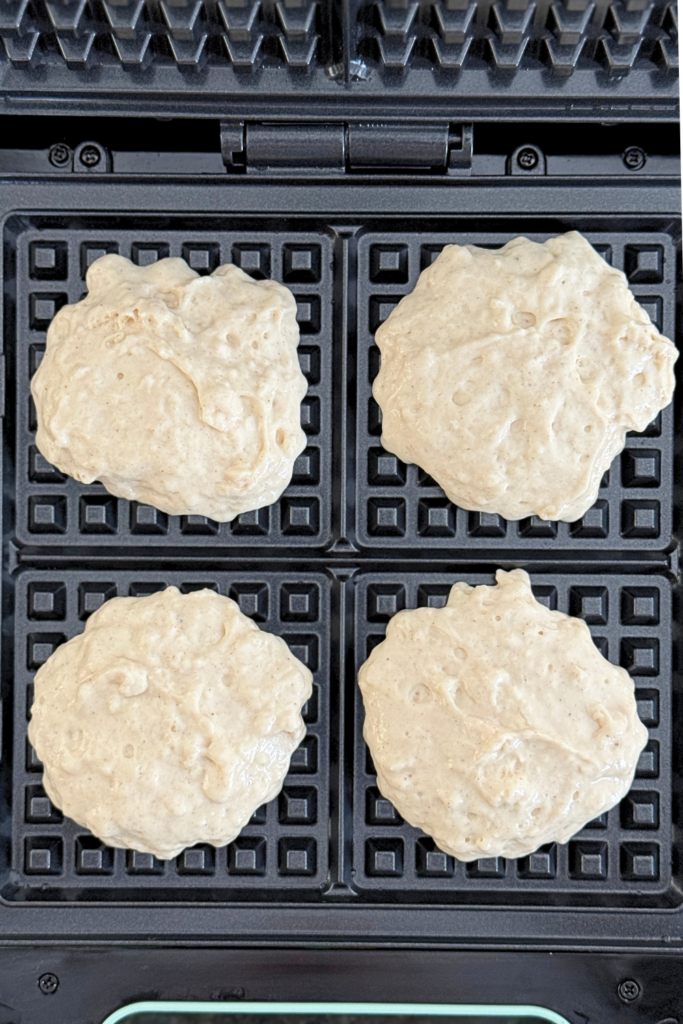
My iron uses about 1/3 cup per square and takes around 4 minutes to cook. If you want circular waffles like Eggos, use a bit less.
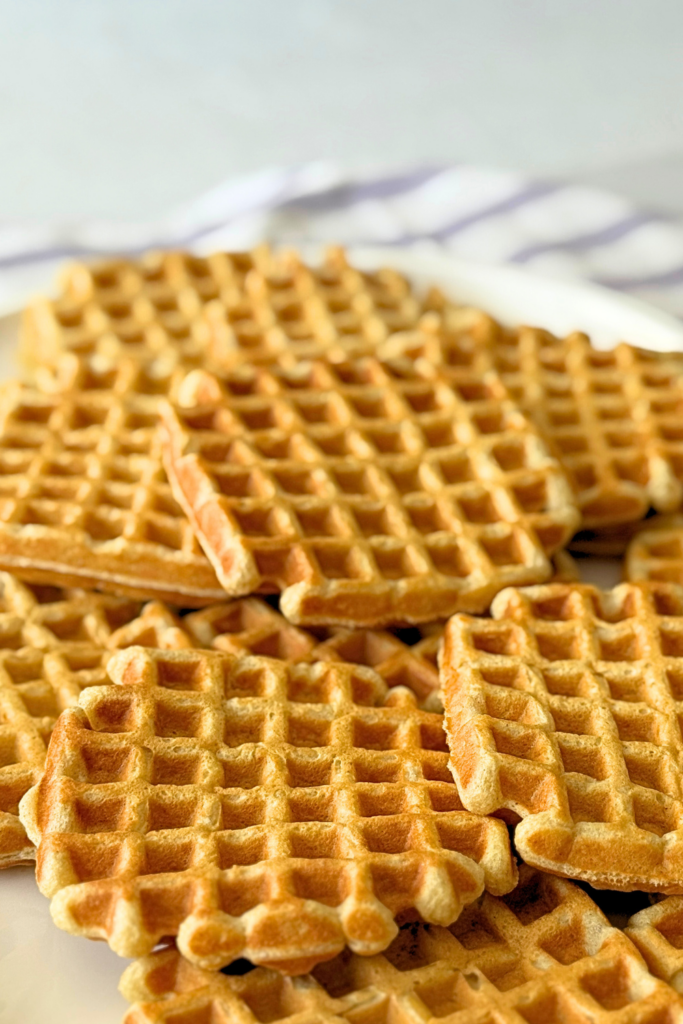
After cooking, place waffles on a wire rack and let them cool completely. Don’t stack them hot or they’ll steam and go soft. Repeat with the remaining batter.
Freezing:
Stack cooled waffles with parchment between layers and store in a freezer bag for up to 2 months.
You can also individually wrap each waffle in plastic wrap before putting it into the bag, but for big batches, this can be tedious, so parchment paper goes faster.
To reheat:
Pop straight into the toaster (best method) or oven at 350°F for a few minutes. They come out crisp again and are so much better than store-bought.
Classic Buttermilk Waffles
Easy homemade buttermilk waffles with crisp edges, fluffy centers, and a freezer-friendly batter for busy mornings before school.
Ingredients
- 2 cups flour
- 2 cups buttermilk
- 3 tablespoons melted butter
- 1 1/2 teaspoons baking soda
- 1 1/2 teaspoons baking powder
- 1/2 teaspoon salt
- 3 tablespoons sugar
- 2 eggs
- 2 teaspoons vanilla extract
Instructions
- Preheat your waffle iron.
- In a large bowl, whisk together flour, baking soda, baking powder, salt, and sugar.
- In a separate bowl, whisk eggs, buttermilk, melted butter, and vanilla.
- Pour wet ingredients into dry and mix just until combined. Do not overmix.
- Let batter rest for 5 to 10 minutes.
- Scoop batter into the waffle iron, flip the iron per manufacturer instructions, and cook until golden brown and crisp. My iron uses about 1/3 cup per square and takes around 4 minutes to cook. If you want circular waffles like Eggos, use a bit less batter.
- After cooking, place waffles on a wire rack and let them cool completely. Don’t stack them hot or they’ll steam and go soft. Repeat with the remaining batter.
Freezing:
Stack cooled waffles with parchment between layers and store in a freezer bag for up to 2 months.
You can also individually wrap each waffle in plastic wrap before putting it into the bag, but for big batches, this can be tedious, so parchment paper goes faster.
To Reheat:
Pop straight into the toaster (best method) or oven at 350°F for a few minutes. They come out crisp again and are so much better than store-bought.
Recommended Products
This post may contain affiliate links, which means I may make a small commission at no extra cost to you.