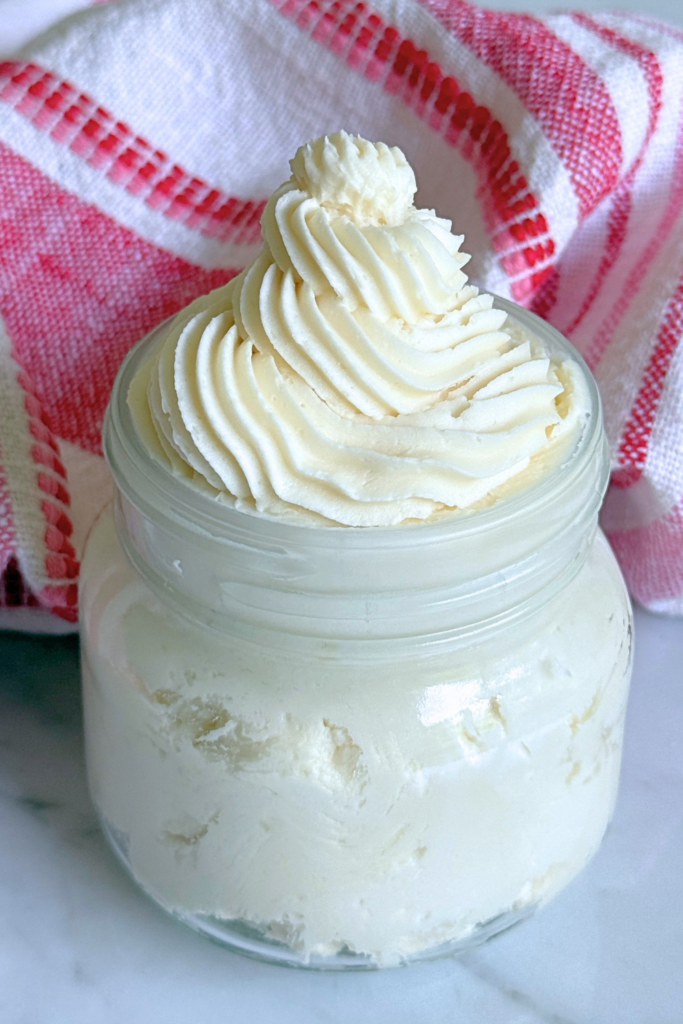
Homemade Vanilla Buttercream Frosting
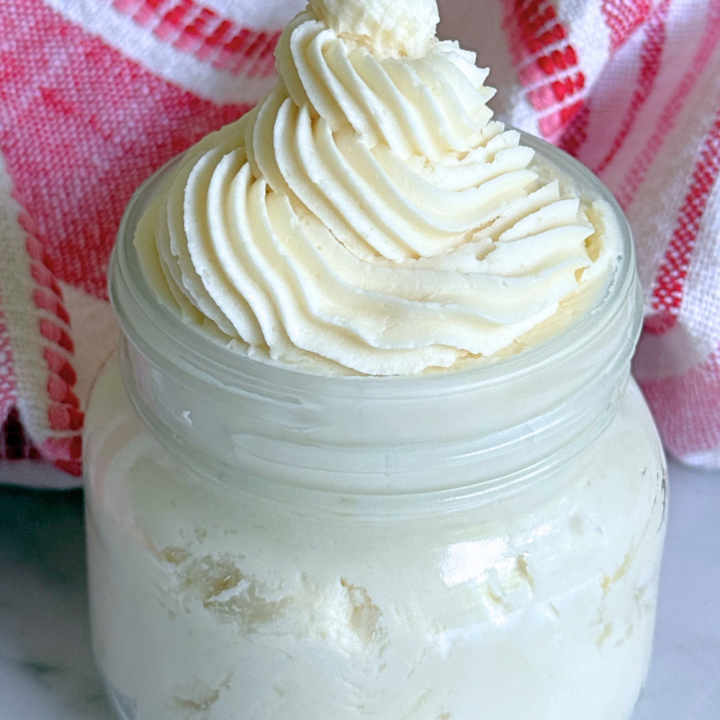
Easy homemade vanilla buttercream frosting that pipes well, spreads smoothly, and works for cakes, cupcakes, cookies, and sheet cakes.
This is the vanilla buttercream I use for birthday cakes, cupcakes, cookie bars, and pretty much anything that needs vanilla frosting.
If you’ve ever ended up with frosting that looks curdled, gritty, too thick, or impossible to spread smoothly, this one will solve all of those problems.
It’s simple, reliable, and made with basic ingredients you already have for baking.
The texture stays soft enough to spread easily, but still holds its shape for piping cupcakes or frosting layer cakes.
I also don’t like any buttercream that tastes like a mouthful of butter or is insanely sweet. This one fits right in the middle and actually tastes good instead of just looking pretty.
I truly make this frosting constantly because it works for just about everything.
Why You’ll Love This Frosting
- It actually tastes good
- Pipes well for cupcakes and birthday cakes
- Spreads smoothly without tearing cakes apart
- Holds up well for parties and holidays
- Can be made ahead of time and stored for later
Ingredient Highlights:
Butter: Butter gives the frosting its structure and rich flavor. Make sure it’s softened properly (room temperature) so the frosting whips up smooth instead of lumpy.
Powdered Sugar: Powdered sugar sweetens the frosting while helping create that classic fluffy buttercream texture.
Vanilla Extract: Vanilla is what gives this frosting that classic homemade birthday cake flavor. Use real vanilla extract for the best flavor. (Learn how to make your own vanilla extract here)
Tips for the Best Results
- Softened butter matters A LOT. If the butter is too cold, the frosting will be gritty and lumpy. If it’s almost melting, the frosting will be greasy.
- Beat the butter first before adding any of the powdered sugar. This helps create a lighter texture.
- Add the powdered sugar slowly, and on low speed, so it doesn’t end up all over the kitchen as a fine dust.
- If the frosting feels too thick, you can add milk or cream one tablespoon at a time.
- If it feels too soft, add a little more powdered sugar until it firms up.
- For extra smooth frosting, beat on medium speed for an additional 1 to 2 minutes at the end.
- This frosting works best at cool room temperature rather than in a hot summer kitchen.

How to Make Homemade Vanilla Buttercream Frosting
Ingredients:
- 3 sticks unsalted butter (1.5 cups), softened to room temperature
- 4 cups powdered sugar
- 1 tablespoon vanilla extract
- Pinch of salt
Instructions:
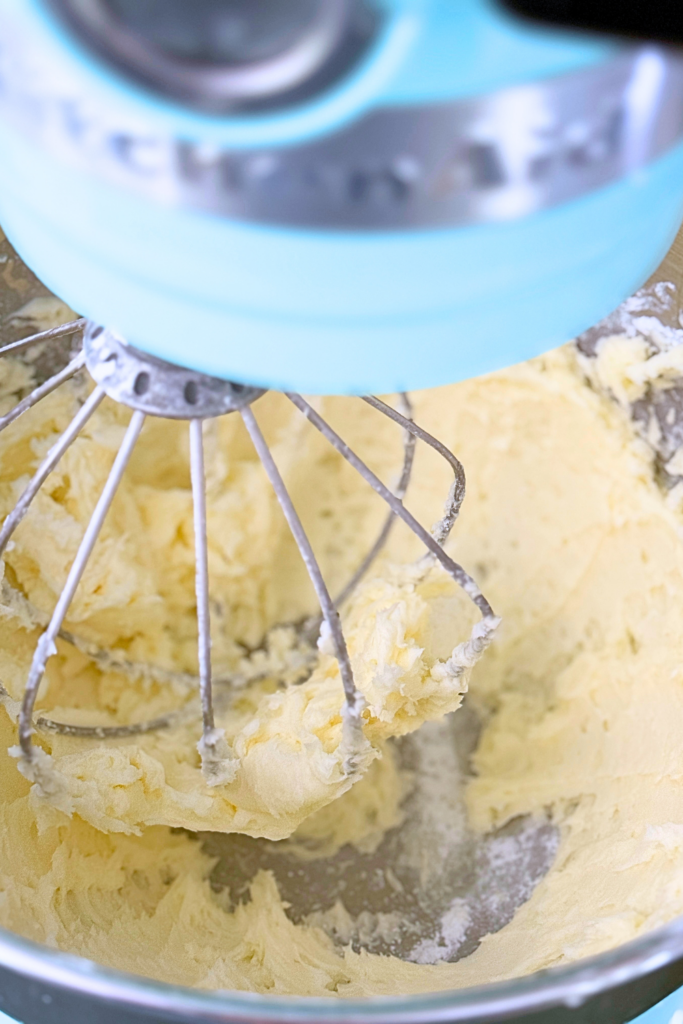
Step 1: Beat the Butter
Add the softened butter to a bowl of a stand mixer fitted with the whisk attachment and beat on medium-high until smooth and creamy – about 3 minutes.
Step 2: Add the Powdered Sugar
Add the powdered sugar gradually, mixing on low speed at first so it doesn’t puff everywhere.
Step 3: Add the Vanilla Extract
Add the vanilla extract and salt. Beat until smooth.
Step 4: Adjust the Texture
Add a little milk or cream (one tablespoon at a time) for a softer frosting, or a little more powdered sugar if you want it to be thicker for piping.
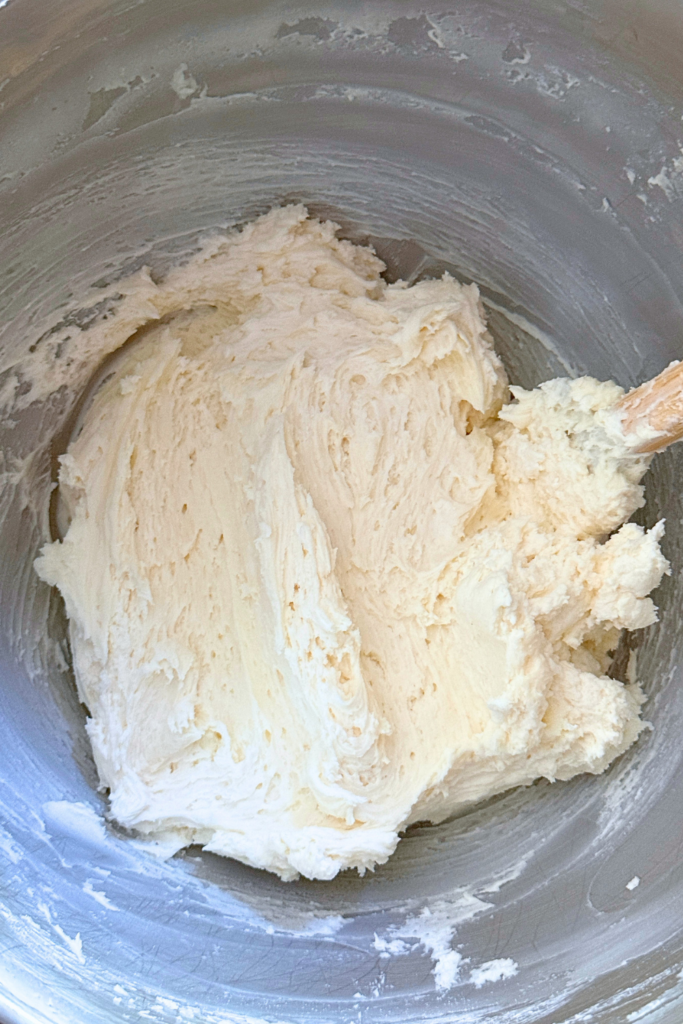
Step 5: Whip Until Fluffy
Beat for another 2 minutes on medium-high speed until light and fluffy.
Storage & Freezing:
Store any unused frosting in a storage bag or airtight container in the refrigerator for up to 1 week.
Before using again, let it come back to room temperature and re-whip it in the mixer on medium speed for a few minutes until smooth.
You can freeze buttercream in a freezer bag for up to 3 months.
How to Color Vanilla Buttercream for Parties & Holidays
One of the easiest ways to change things up is by adding food coloring for birthdays, baby showers, holidays, or themed parties.
Gel food coloring works best because it gives strong color without thinning the frosting.
Liquid food coloring will work too, but you’ll need a lot more of it, and the frosting can end up softer than intended.
For this recipe, which makes about 4 cups of frosting, start here:
- 1 to 2 drops gel coloring for soft pastel shades
- 3 to 5 drops for brighter colors
- 10+ drops for deeper holiday colors like red, green, or navy
Always start with less. Buttercream darkens as it sits, so the color will usually deepen after about 30 minutes.
If you’re making frosting for Christmas cookies, birthday cupcakes, baby showers, or holiday cakes, you can divide the frosting into smaller bowls first and color each batch separately.
More Homemade Party Staples:
Yellow Sheet Cake From Scratch
Homemade Cream Cheese Frosting
Sugar Cookie Icing That Hardens (no corn syrup)
Homemade Vanilla Buttercream Frosting
Easy homemade vanilla buttercream frosting that pipes well, spreads smoothly, and works for cakes, cupcakes, cookies, and sheet cakes.
Ingredients
- 3 sticks unsalted butter (1.5 cups), softened to room temperature
- 4 cups powdered sugar
- 1 tablespoon vanilla extract
- Pinch of salt
Instructions
- Add the softened butter to a bowl of a stand mixer fitted with the whisk attachment and beat on medium-high until smooth and creamy - about 3 minutes.
- Add the powdered sugar gradually, mixing on low speed at first so it doesn’t puff everywhere.
- Add the vanilla extract and salt. Beat until smooth.
- Add a little milk or cream (one tablespoon at a time) for a softer frosting, or a little more powdered sugar if you want it to be thicker for piping.
- Beat for another 2 minutes on medium-high speed until light and fluffy.
Notes
Store any unused frosting in a storage bag or airtight container in the refrigerator for up to 1 week.
Before using again, let it come back to room temperature and re-whip it in the mixer on medium speed for a few minutes until smooth.
You can freeze buttercream in a freezer bag for up to 3 months.