Apple Crumble
Last Updated on July 16, 2026 by Kiersten James
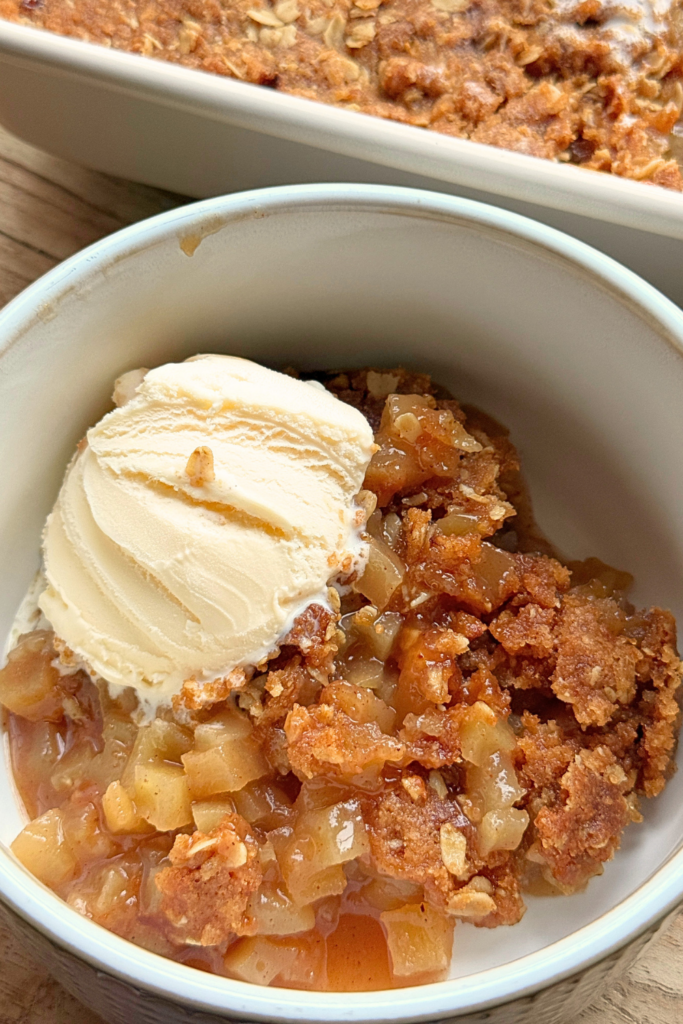
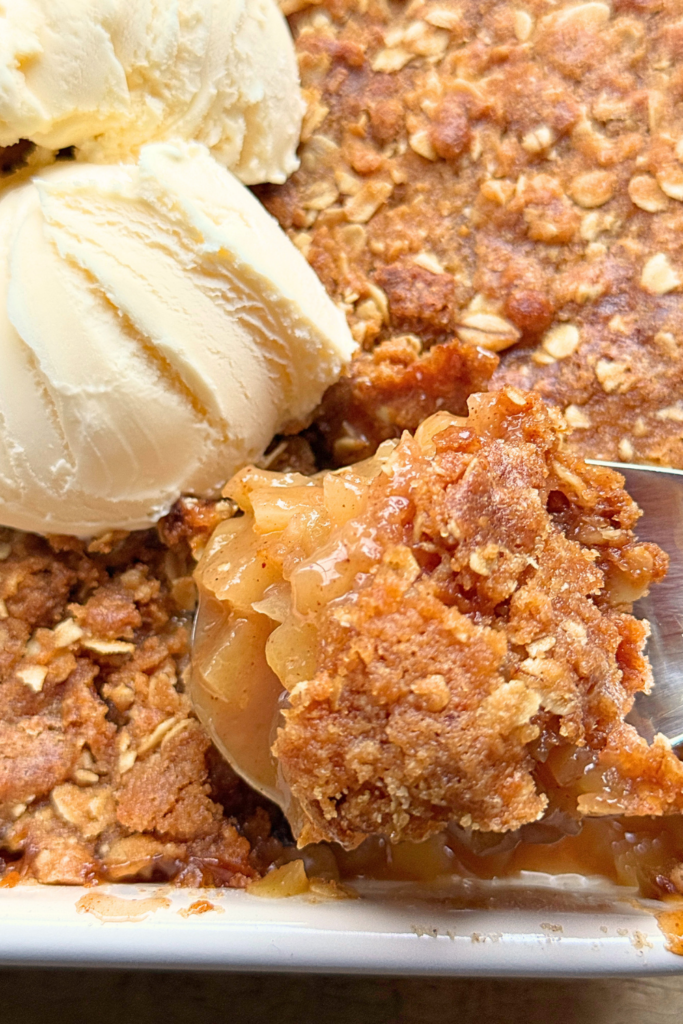
This homemade apple crumble is filled with tender cinnamon apples and topped with a buttery oat crumble. Perfect served warm with vanilla ice cream.
Every fall, we somehow come home from the orchard with far more apples than we planned.
It starts with the kids (and me) filling the wagon while we’re out picking, and before we know it, the kitchen counters are covered with fresh apples waiting to be turned into something.
Some become applesauce or homemade apple butter, a few make their way into muffins or quick breads, but when I want a simple dessert that feels like a memory, this apple crumble is what I’ll make.
It also happens to be one of my dad’s favorite desserts.
He passed away in 2015 after a hard battle with glioblastoma, but I still think of him every time I pull this crumble out of the oven.
He was never one to order dessert very often when we went out to eat, but if apple crumble was on the menu, all bets were off. He’d happily polish off the whole thing himself with no chances at sharing.
Now, so many years later, whenever I serve it warm with a scoop of vanilla ice cream melting over the top, it feels a little like he’s sitting at the table with us again.
That’s one of the things I love most about family recipes. They become more than something good to eat – they keep memories alive in the most ordinary of moments.
Whether you’re baking with freshly picked orchard apples or simply picking up a bag at the grocery store, I hope this apple crumble becomes a piece of your family’s heart just like it is for me.
Why You’ll Love This Homemade Apple Crumble
- Everything you love about apple pie without making pie crust. All the cozy fall flavors, with much less work.
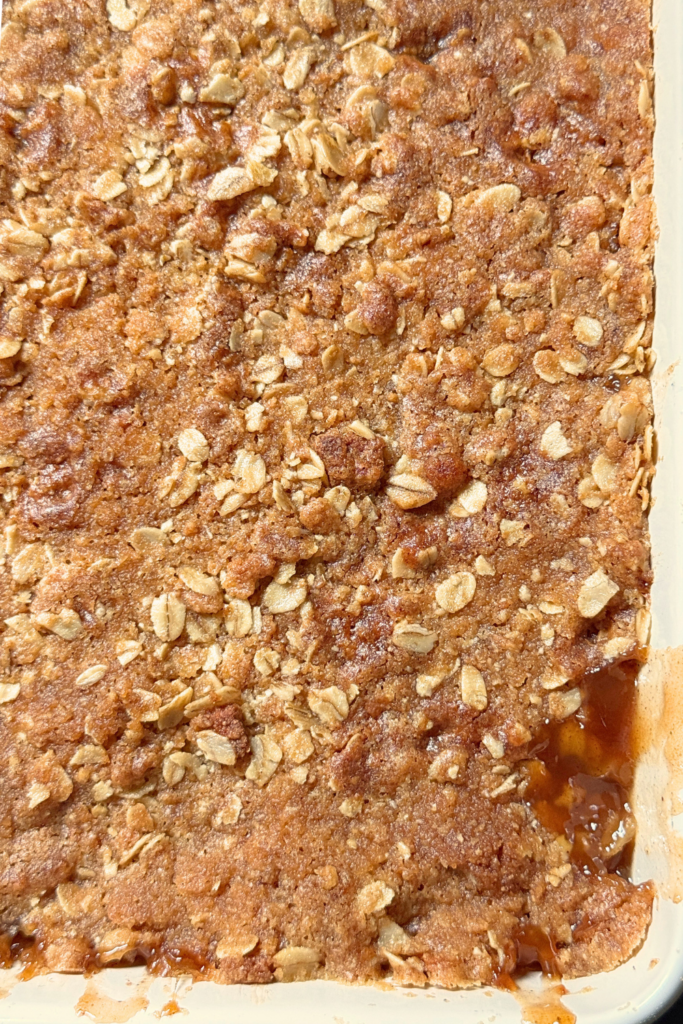
- The buttery oat topping is impossible to resist. It bakes into crisp, golden crumbles that pair perfectly with the tender cinnamon apples underneath.
- Made with simple ingredients. Nothing fancy – just everyday ingredients that come together into a memory.
- Perfect for sharing. Whether you’re bringing dessert to Sunday dinner, a church gathering, or serving it after a weeknight meal, it’s always one people come back for seconds.
- A wonderful way to use fresh apples. If you’ve been apple picking or simply have a bag of apples waiting on the counter, this recipe puts a good amount of them to use.
Apple Crumble vs. Apple Cobbler vs. Apple Crisp
Apple desserts can look very similar, but each one has its own personality.
Apple Crumble is topped with a buttery mixture of flour, brown sugar, butter, and oats that bakes into soft, crumbly clusters with crisp golden edges.
Apple Crisp usually contains a larger proportion of oats, creating a topping that’s a little crunchier and crispier. Many versions are made in cast-iron skillets, making prep and cleanup much easier.
Apple Cobbler skips the streusel altogether in favor of drop biscuit dough that bakes into a soft, fluffy topping. I’ve also seen some recipes that use a cake-batter type topping, though I’ve never seen one in person.
Tips for the Best Results
- Use a mix of tart and sweet apples for the best balance of flavor and texture.
- Keep the butter cold when making the topping so it bakes into crisp, buttery crumbles.
- Place a baking sheet on the rack underneath the baking dish to catch any bubbling juices.
- Let the crumble rest for about 10 to 15 minutes before serving so the filling has time to thicken.
Frequently Asked Questions
What are the best apples for apple crumble?
I like using a combination of Granny Smith and McIntosh or Fuji apples. The tart apples hold their shape while the sweeter apples soften beautifully, giving the filling the perfect balance of flavor and texture.
Can I make apple crumble ahead of time?
Yes. You can assemble it up to one day in advance, cover it, and refrigerate until you’re ready to bake.
Do I have to peel the apples?
I recommend peeling them. The filling becomes much softer and more cohesive, giving you the classic texture most people expect from apple crumble.
Can I freeze apple crumble?
Absolutely. Bake it completely, let it cool, then wrap it well and freeze for up to three months.
Why isn’t the crumble topping crispy?
Usually, the butter becomes too warm before baking, or the crumble simply needs a little more time in the oven. Bake until the topping is a deep golden brown and the filling is bubbling around the edges.
How to Make Apple Crumble From Scratch
Ingredients:
Apple Filling:
- 2 pounds Granny Smith apples (about 5 medium), peeled, cored, and diced
- 1 pound McIntosh or Fuji apples (about 2 large), peeled, cored, and diced
- 1/4 cup apple cider
- 2 tablespoons unsalted butter, melted
- 3/4 cup packed light brown sugar
- 1 teaspoon vanilla extract
- 1 teaspoon ground cinnamon
- 1/4 teaspoon ground nutmeg
- 1/4 teaspoon ground ginger
- 3 tablespoons all-purpose flour
- 1/4 teaspoon salt
Crumble Topping:
- 1/2 cup all-purpose flour
- 1/2 cup old-fashioned rolled oats
- 1/2 cup packed light brown sugar
- 1/8 teaspoon salt
- 1 teaspoon ground cinnamon
- 3/4 teaspoon baking powder
- 1/2 cup very cold unsalted butter, cut into cubes
Instructions:
Preheat the oven to 350°F. Lightly grease a 9×9-inch baking dish with butter.
First, make the crumble mixture. In a bowl, stir together the flour, oats, brown sugar, salt, cinnamon, and baking powder.
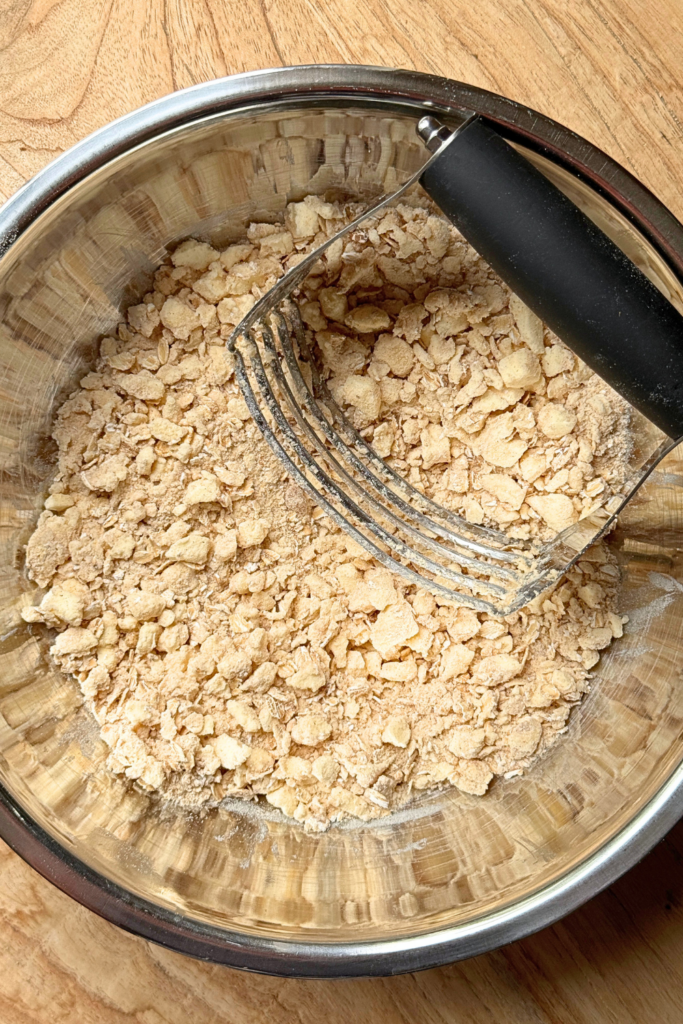
Cut the cold butter into the dry ingredients using a pastry cutter or two forks until the mixture resembles coarse crumbs. Place the crumble mixture in the refrigerator to stay cold while you prepare the rest of the filling.
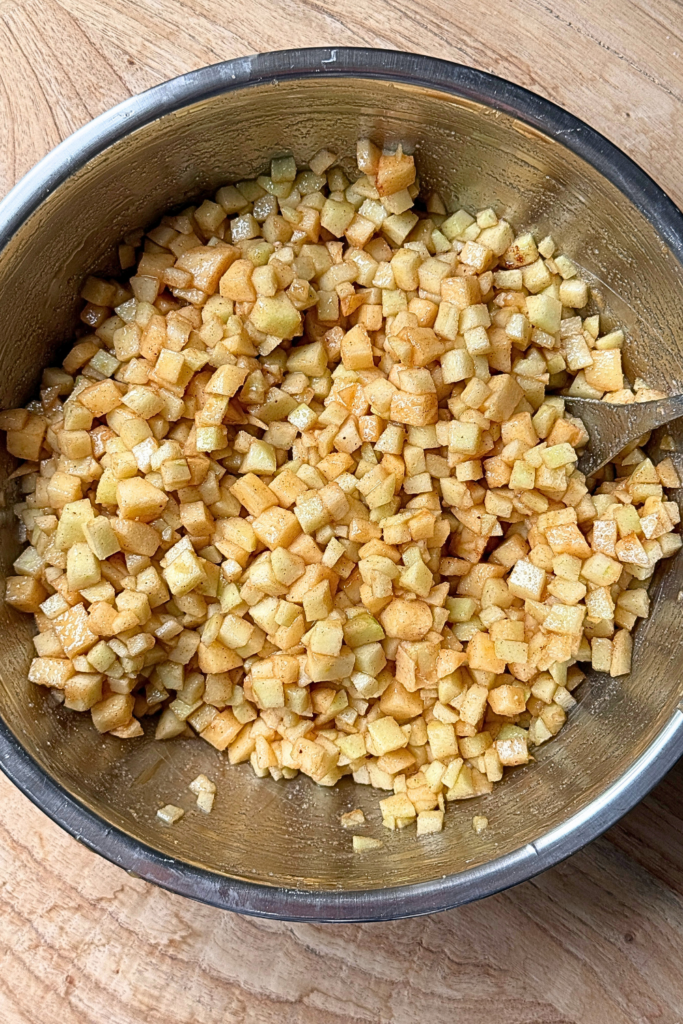
Peel, core, and dice the apples into small, even pieces.
In a large mixing bowl, combine the apples, apple cider, melted butter, brown sugar, vanilla, cinnamon, nutmeg, ginger, flour, and salt. Lightly toss until the apples are evenly coated.
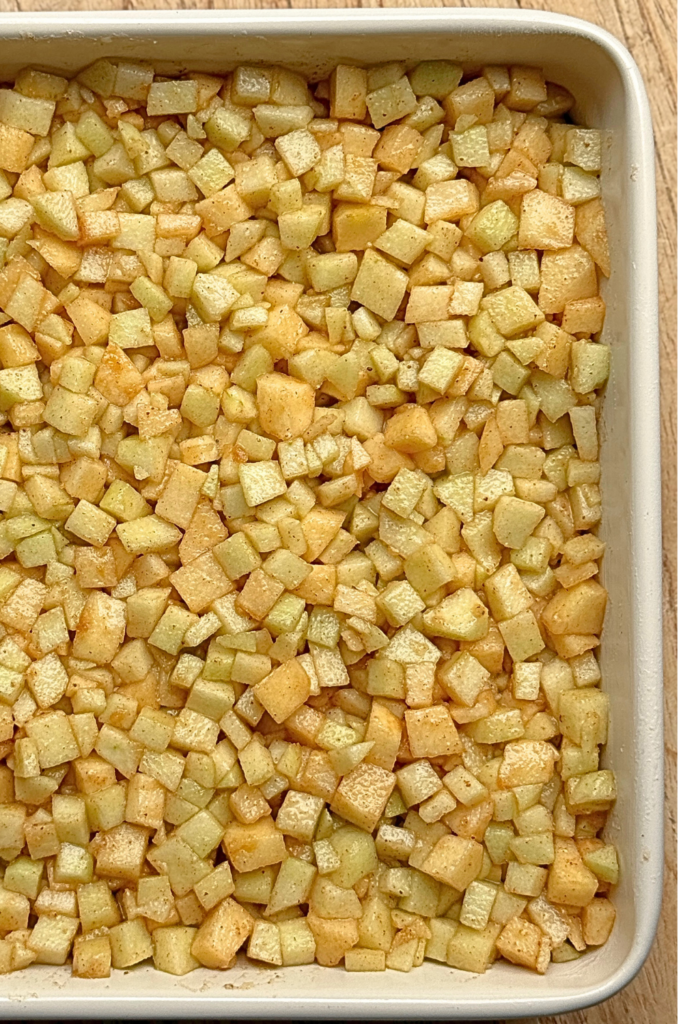
Spoon the apple mixture evenly into the prepared baking dish.
Sprinkle all of the crumble topping evenly over the apples.
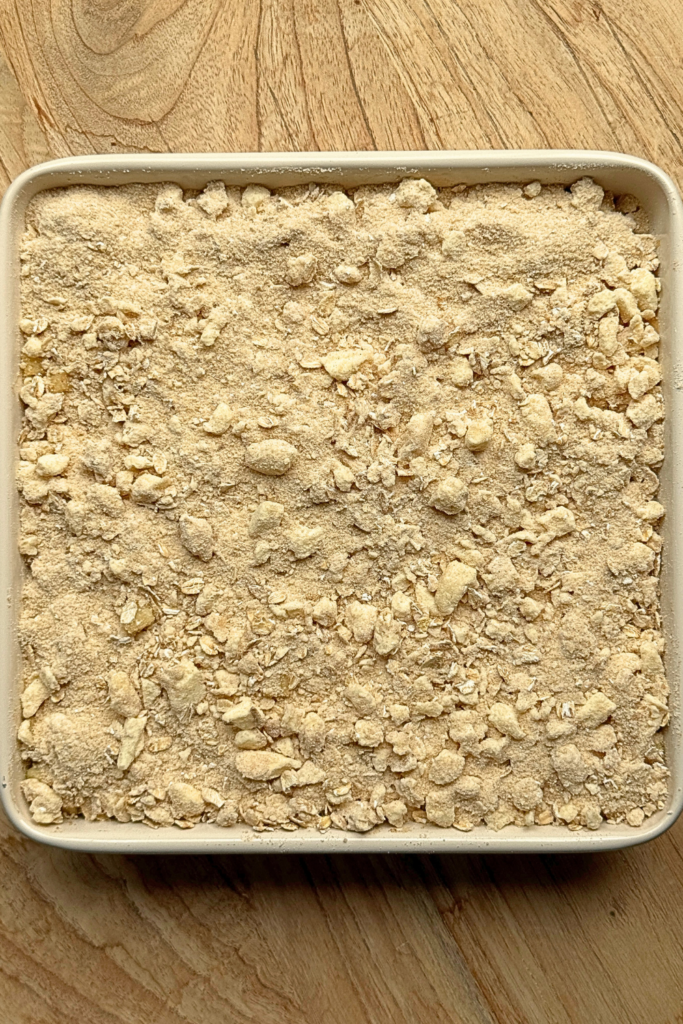
Place the baking dish on the middle oven rack with a large baking sheet on the rack below to catch any drips from bubbling juices.
Bake for 75 minutes, or until the topping is deep golden brown and the filling is bubbling around the edges.
Allow the crumble to cool for about 10 to 15 minutes before serving.
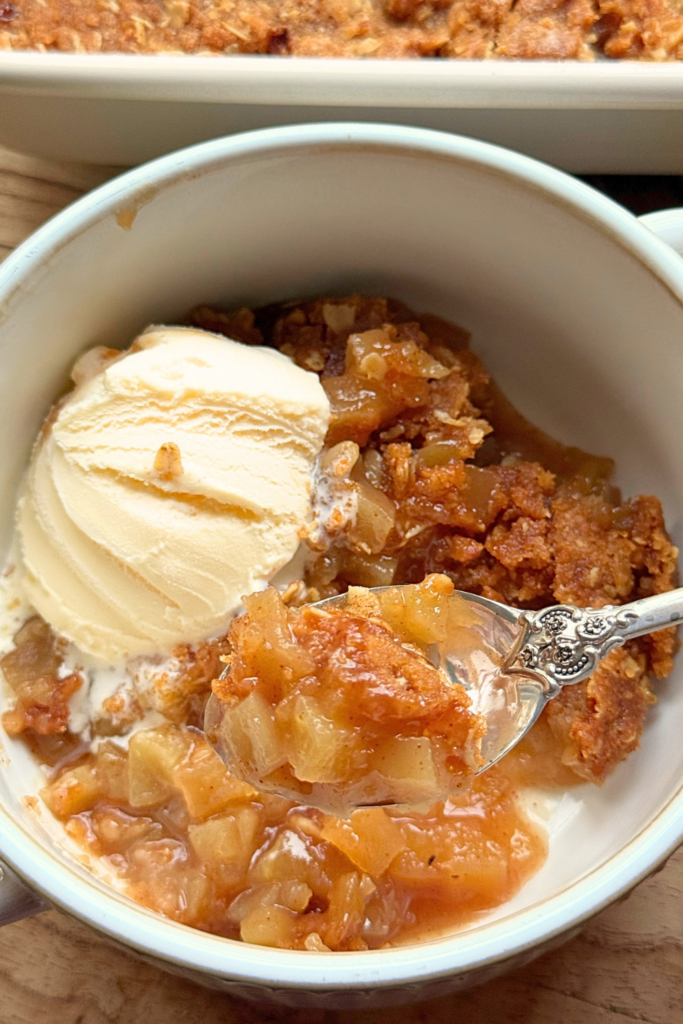
Serve warm with a generous scoop of vanilla ice cream.
Storage & Freezing:
If you happen to have leftovers, cover the baking dish tightly and refrigerate it for up to four days.
To reheat, warm individual servings in the microwave, or place the baking dish in a 325°F oven until heated through.
Apple crumble also freezes well. Let it cool completely before wrapping tightly and freezing for up to three months. Thaw overnight in the refrigerator before reheating.
Variations
Because this recipe is sentimental, I don’t ever change it. However, there are PLENTY of ways to make this apple crumble dessert your own.
- Stir fresh cranberries into the apples for a festive holiday version.
- Add chopped pecans or walnuts to the crumble topping for extra crunch.
- Drizzle warm servings with homemade caramel sauce for an extra-special dessert.
More Cozy Apple Recipes
If your kitchen is full of fresh apples like ours always seems to be this time of year, here are a few more family favorites to bake next.
- Homemade Apple Butter
- Apple Fritter Bread
- Apple Cinnamon Coffee Cake
- Apple Cinnamon Bread
- Apple Cinnamon Crumb Muffins
- Soft Applesauce Cookies
Apple season never seems to last long enough, so I always try to enjoy every recipe while I can.
Homemade Apple Crumble
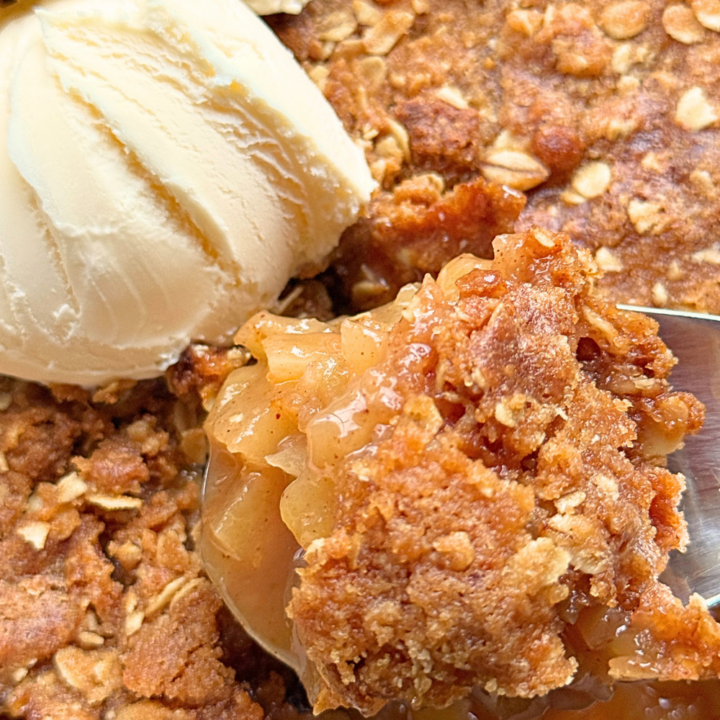
This homemade apple crumble is filled with tender cinnamon apples and topped with a buttery oat crumble. Perfect served warm with vanilla ice cream.
Ingredients
Apple Filling:
- 2 pounds Granny Smith apples (about 5 medium), peeled, cored, and diced
- 1 pound McIntosh or Fuji apples (about 2 large), peeled, cored, and diced
- 1/4 cup apple cider
- 2 tablespoons unsalted butter, melted
- 3/4 cup packed light brown sugar
- 1 teaspoon vanilla extract
- 1 teaspoon ground cinnamon
- 1/4 teaspoon ground nutmeg
- 1/4 teaspoon ground ginger
- 3 tablespoons all-purpose flour
- 1/4 teaspoon salt
Crumble Topping:
- 1/2 cup all-purpose flour
- 1/2 cup old-fashioned rolled oats
- 1/2 cup packed light brown sugar
- 1/8 teaspoon salt
- 1 teaspoon ground cinnamon
- 3/4 teaspoon baking powder
- 1/2 cup very cold unsalted butter, cut into cubes
Instructions
Preheat the oven to 350°F. Lightly grease a 9x9-inch baking dish with butter.
First, make the crumble mixture. In a bowl, stir together the flour, oats, brown sugar, salt, cinnamon, and baking powder.
Cut the cold butter into the dry ingredients using a pastry cutter or two forks until the mixture resembles coarse crumbs. Place the crumble mixture in the refrigerator to stay cold while you prepare the rest of the filling.
Peel, core, and dice the apples into small, even pieces.
In a large mixing bowl, combine the apples, apple cider, melted butter, brown sugar, vanilla, cinnamon, nutmeg, ginger, flour, and salt. Lightly toss until the apples are evenly coated.
Spoon the apple mixture evenly into the prepared baking dish.
Sprinkle all of the crumble topping evenly over the apples.
Place the baking dish on the middle oven rack with a large baking sheet on the rack below to catch any drips from bubbling juices.
Bake for 75 minutes, or until the topping is deep golden brown and the filling is bubbling around the edges.
Allow the crumble to cool for about 10 to 15 minutes before serving.
Serve warm with a generous scoop of vanilla ice cream.
Storage & Freezing:
If you happen to have leftovers, cover the baking dish tightly and refrigerate it for up to four days.
To reheat, warm individual servings in the microwave, or place the baking dish in a 325°F oven until heated through.
Apple crumble freezes well. Let it cool completely before wrapping tightly and freezing for up to three months. Thaw overnight in the refrigerator before reheating.