Apple Pie Bars (Step-by-Step With Pictures)
Last Updated on August 4, 2026 by Kiersten James
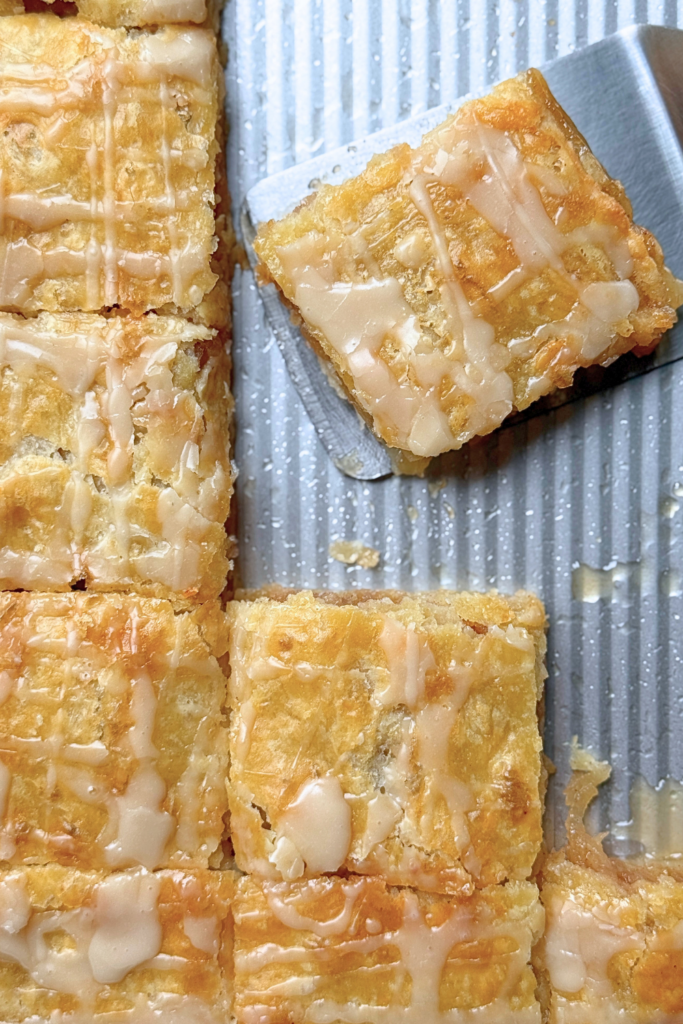
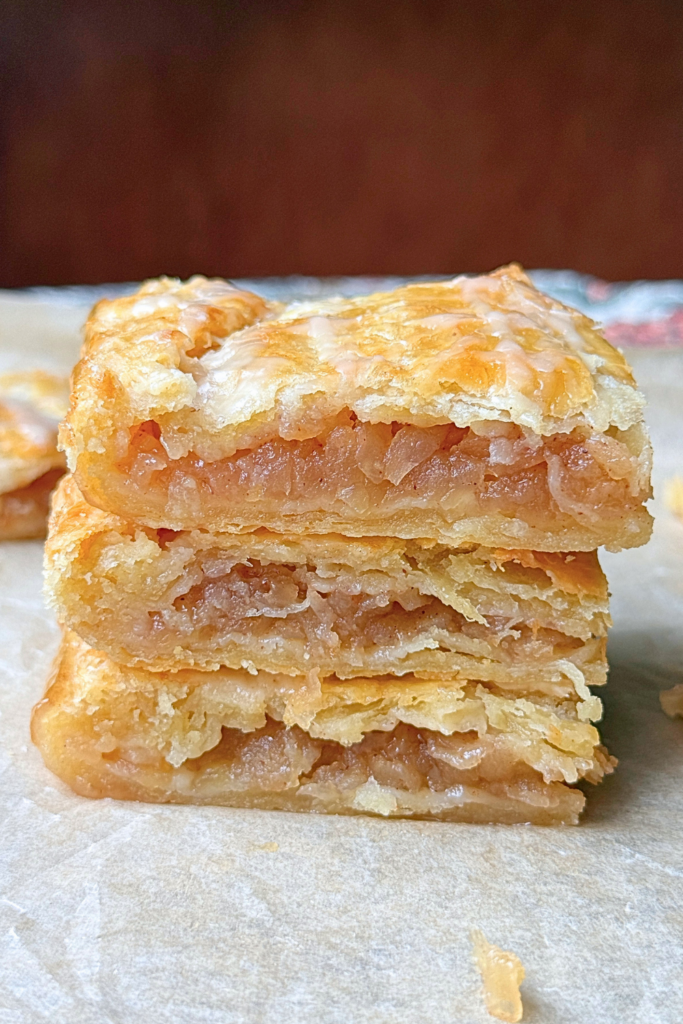
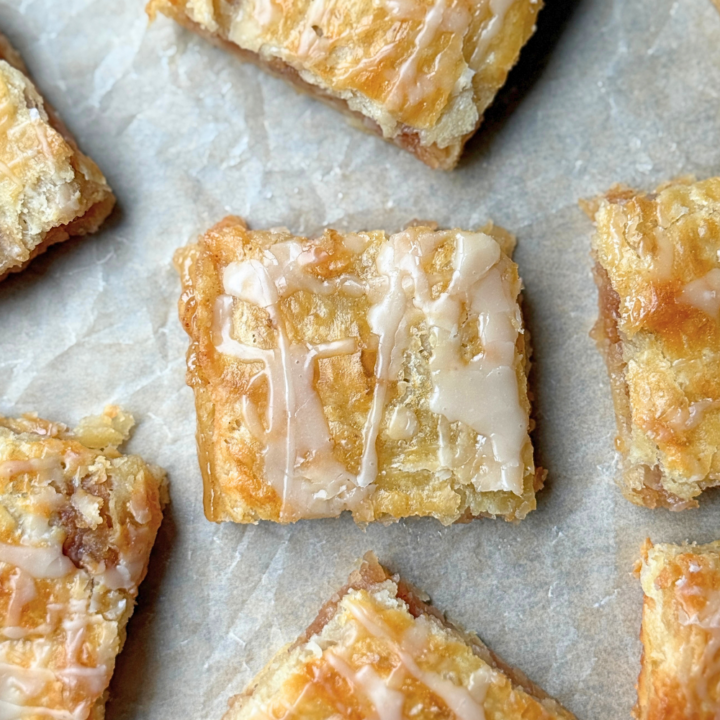
Everything you love about homemade apple pie in easy-to-serve bars with flaky pastry, sweet cinnamon apples, and vanilla glaze.
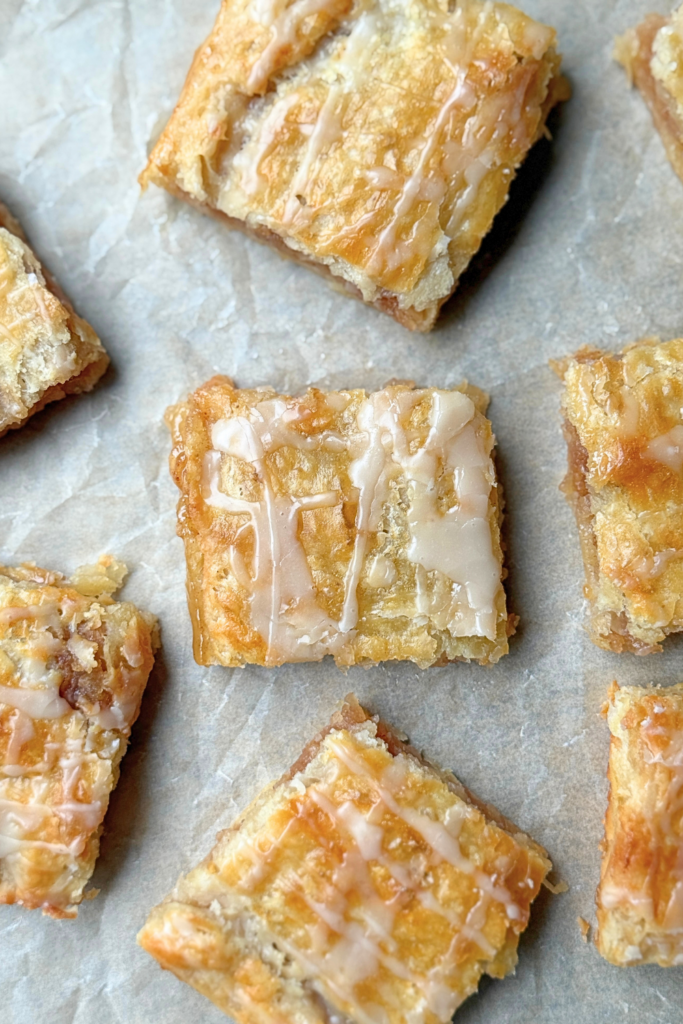
These apple pie bars have been in my family for generations.
My grandmother made them, her mother made them before her, and they’re still one of my favorite desserts to bring to holidays, church events, and family gatherings.
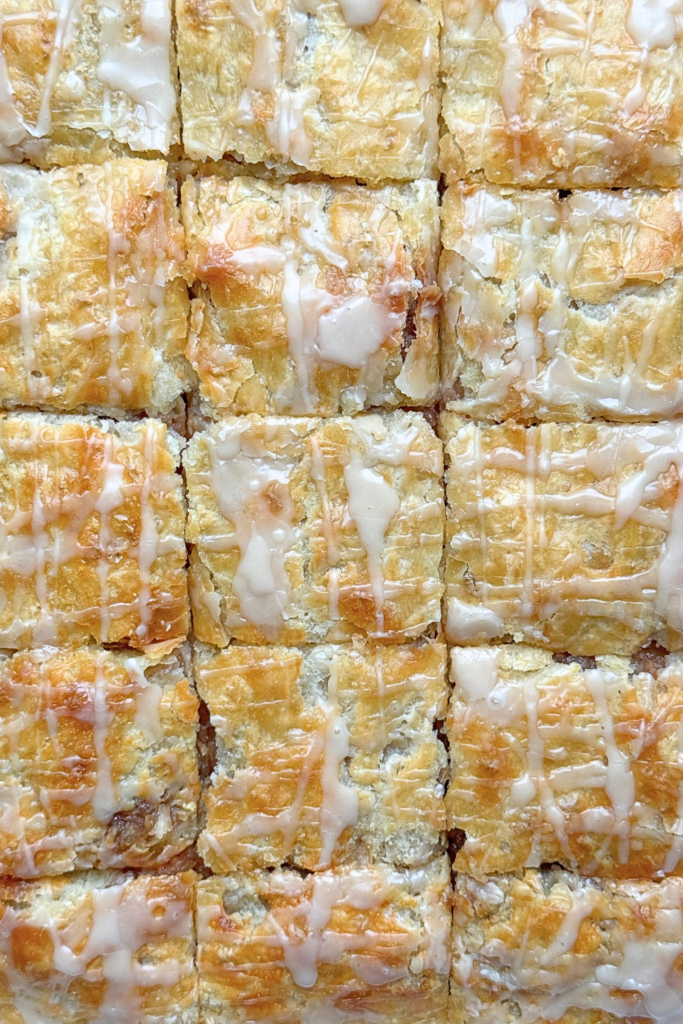
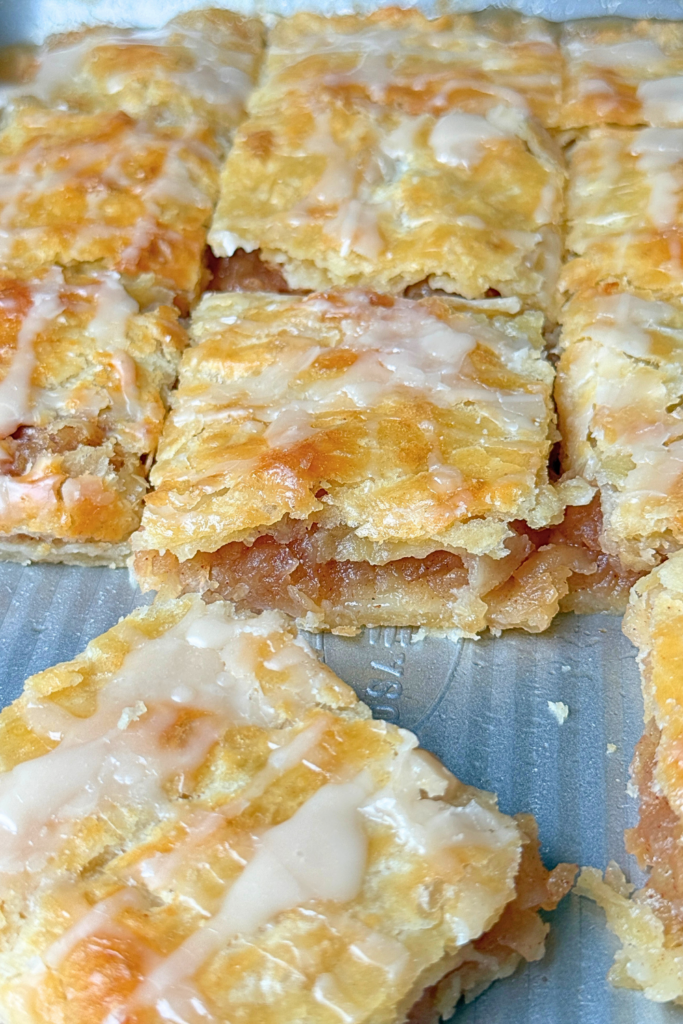
They have everything you love about homemade apple pie – a flaky, buttery crust, plenty of cinnamon apples, and a simple vanilla glaze – but they’re baked in a jelly roll pan and cut into a dozen bars for easy serving.
The original recipe calls for finely chopped apples, but over the years I’ve started grating mine with the coarse attachment on my rotary grater.
It takes 2 or 3 minutes, gives the filling a wonderfully soft texture, and makes this recipe even easier to prepare.
I also skip the cornflakes called for in the original version. I’ve never found they were necessary, and the bars hold together beautifully without them.
If you do want to add them, sprinkle about 1 1/2 to 2 cups of plain cornflake cereal over the bottom crust before adding the apple filling mixture. Seal the dough and bake as directed.
Why You’ll Love These Apple Pie Bars
- Everything we love about homemade apple pie in easier-to-serve bars.
- A family recipe that’s been passed down for generations.
- Perfect for holidays, bake sales, potlucks, and family gatherings.
- Grating the apples makes the filling so quick and easy to prepare.
Tips for the Best Results
- Grate the apples using the coarse side of a rotary grater or box grater for the quickest prep.
- Keep the butter ice cold for the flakiest crust.
- Let the bars cool completely before glazing and slicing.
- Use firm apples like Honeycrisp, Granny Smith, Jonagold, or Pink Lady.
Frequently Asked Questions
Can I bake these in a sheet pan?
No. This recipe was developed for a standard 10×15-inch jelly roll pan.
A larger sheet pan will make the crust and filling too thin, while a 9×13-inch baking pan will produce much thicker bars that require a longer baking time.
Are Apple Pie Bars the same as Apple Pie Squares?
Yes. Different families call them different names. Around here we’ve always called them Apple Pie Squares, but you’ll also see them called Apple Pie Bars.
Can I chop the apples instead of grating them?
Absolutely. The original family recipe uses finely chopped apples. I prefer grating them because it’s faster and creates a softer, more even filling.
What apples are best?
Firm baking apples like Honeycrisp, Granny Smith, Jonagold, Pink Lady, Braeburn, or Fuji all work well.
Can I make these ahead of time?
Yes. They’re an excellent make-ahead dessert and are actually easier to slice after they’ve cooled completely.
How to Make Apple Pie Bars
Ingredients:
Pie Crust:
- 2 1/2 cups all-purpose flour
- 1 teaspoon salt
- 1 cup cold butter (2 sticks)
- 1 large egg, yolk and white separated
- Milk, enough to equal 2/3 cup when combined with the egg yolk
Apple Filling:
- 6 to 7 medium apples, peeled, cored, and grated
- 1 cup granulated sugar
- 1 teaspoon ground cinnamon
Vanilla Glaze:
- 1 cup powdered sugar
- 2 tablespoons milk
- 1 teaspoon vanilla extract
Instructions:
Make the Dough
In a large bowl, whisk together the flour and salt.
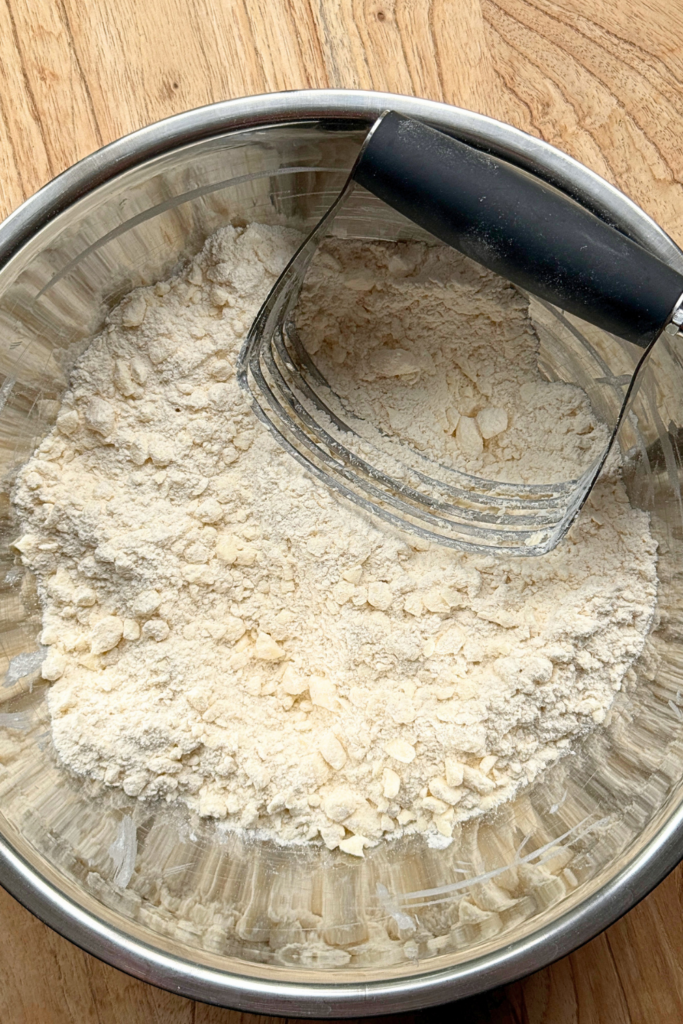
Cut in the cold butter until the mixture resembles coarse crumbs. If you don’t have a pastry cutter, you can use a fork.
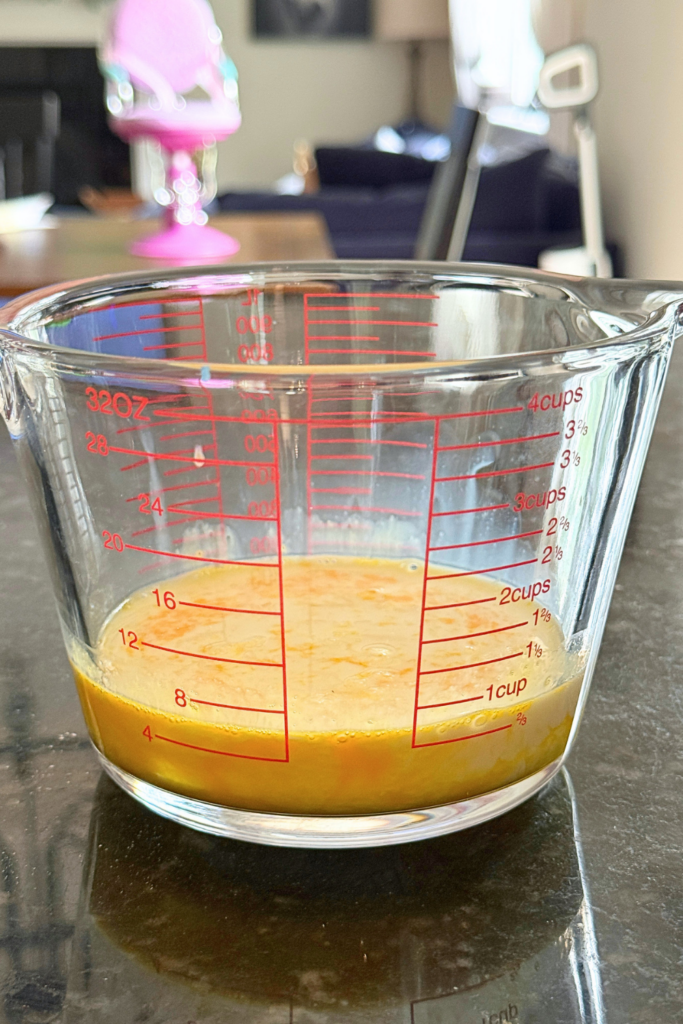
Whisk the egg yolk in a measuring cup, then add enough milk to equal 2/3 cup.
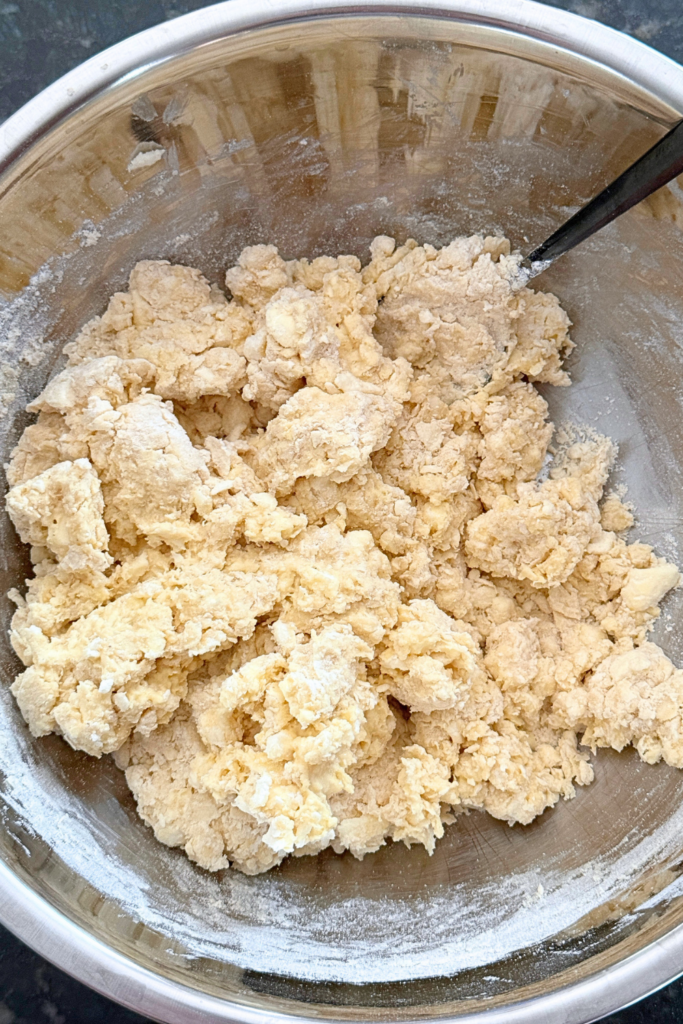
Stir into the flour mixture just until a dough forms.
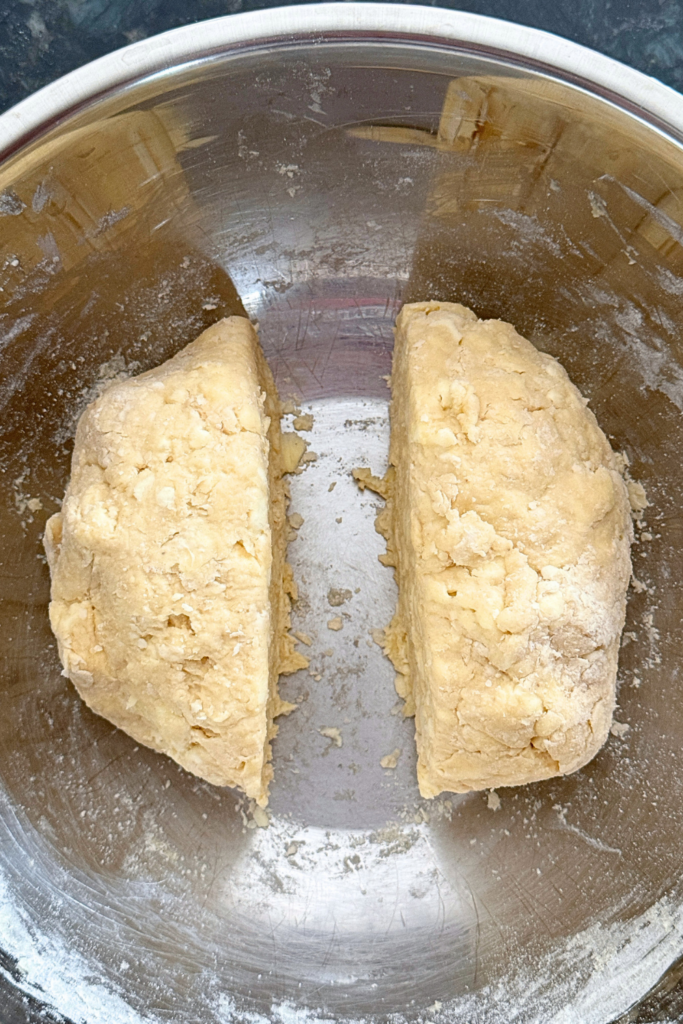
Divide the dough in half, wrap each portion in plastic wrap, and refrigerate while preparing the filling.
Prepare the Apple Filling
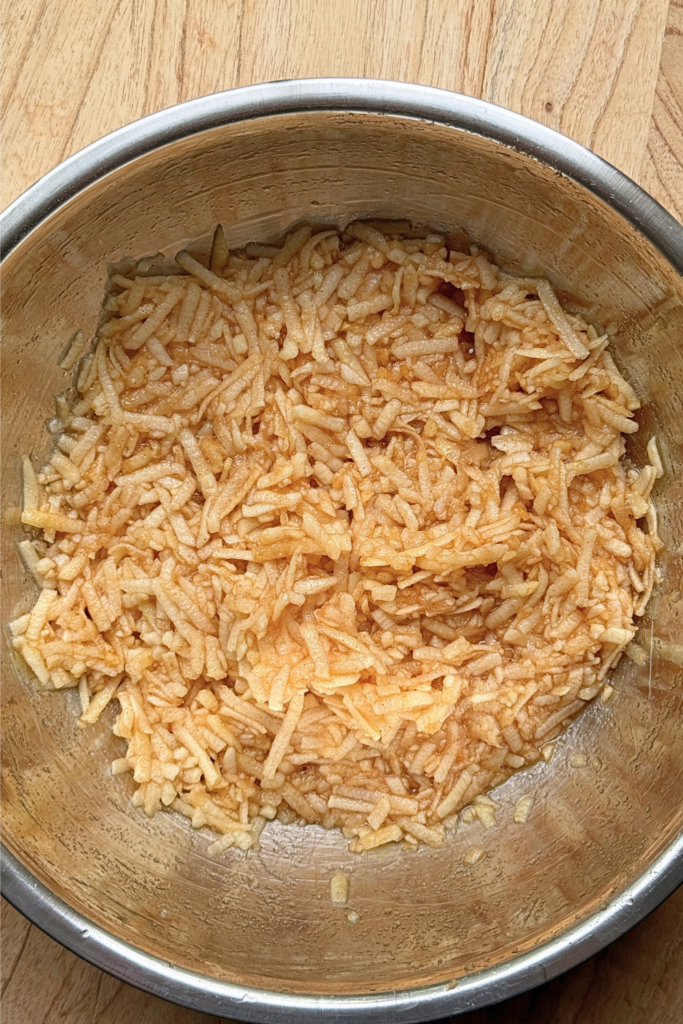
Peel, core, and grate the apples using the coarse attachment on a rotary grater.
Stir together the grated apples, sugar, and cinnamon until evenly combined.
Assemble
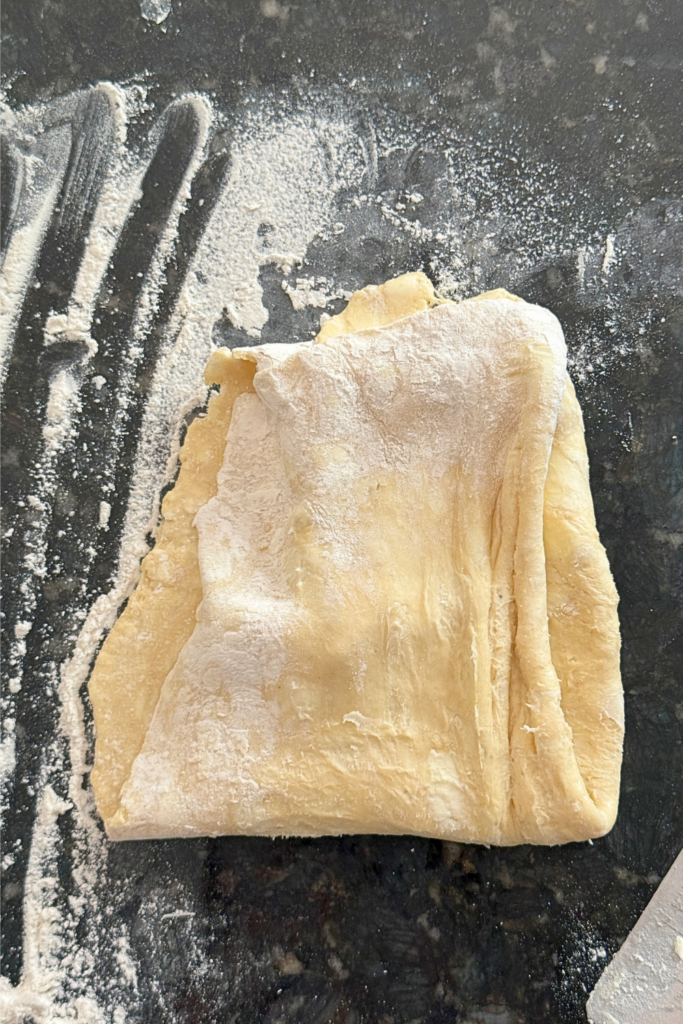
Roll one half of the dough into a rectangle large enough to fit a 10×15-inch jelly roll pan. To transfer the rolled dough, fold it in half, then in half again. Scrape a bench scraper underneath and lift the folded dough into the pan.
Press it gently into the bottom of the pan and slightly up the sides.
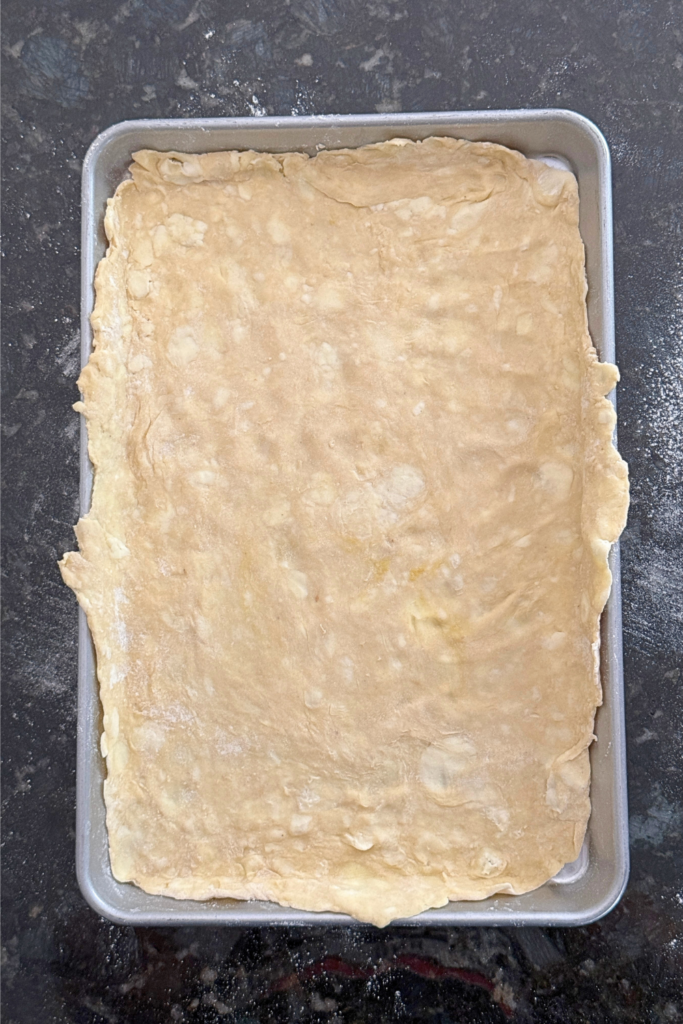
Spread the apple filling evenly over the crust.
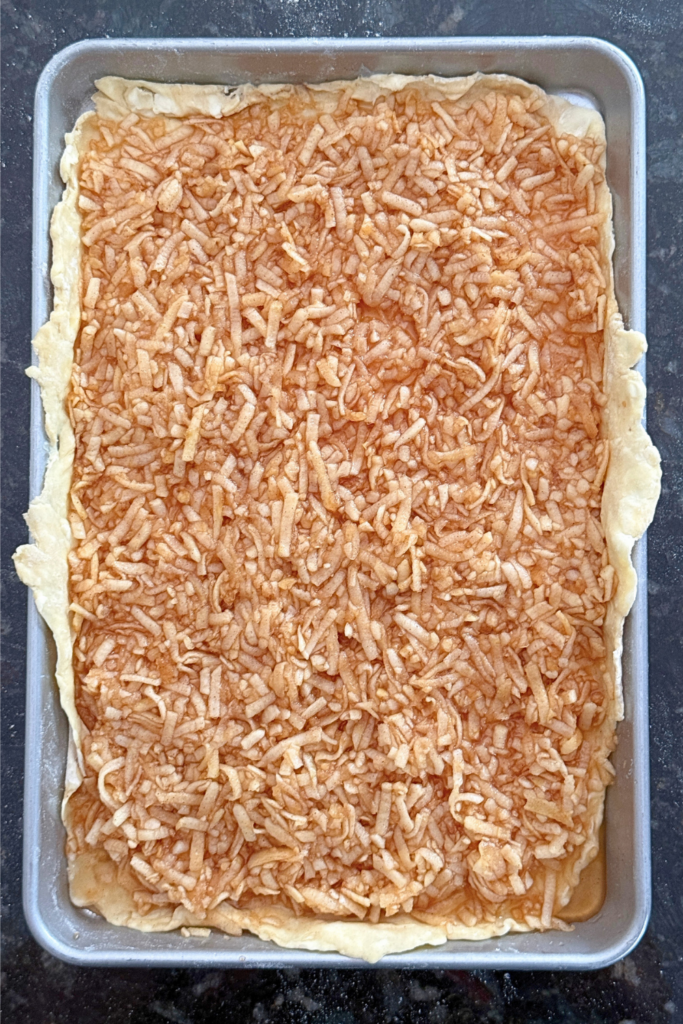
Roll the remaining dough into another rectangle and carefully place it over the apples. Pinch the edges together as best you can. It will look messy and not everything will seal correctly. Don’t worry, it will turn out beautifully anyway.
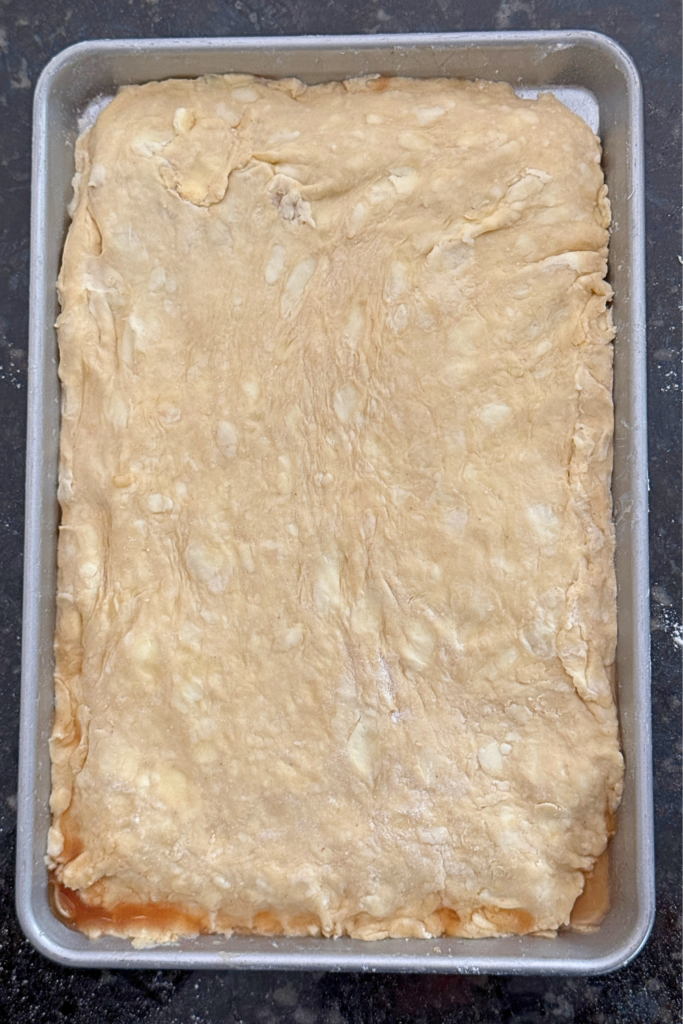
Beat the reserved egg white with a whisk until foamy, then brush it over the top crust.
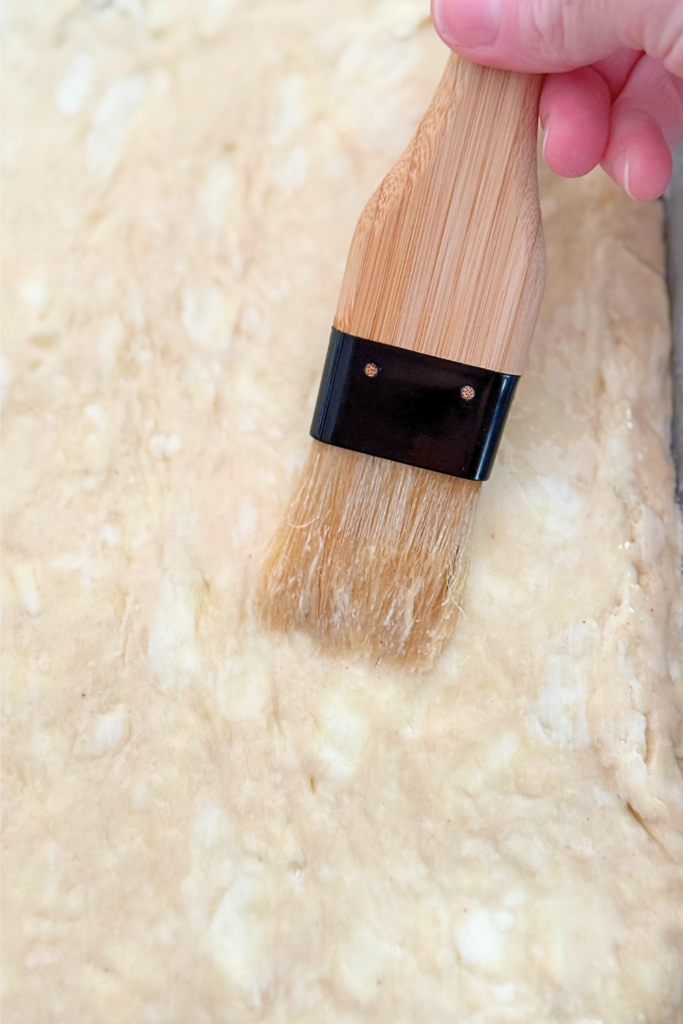
Bake
Bake at 350°F for about 45 minutes, or until the crust is golden brown and the filling is bubbling around the edges.
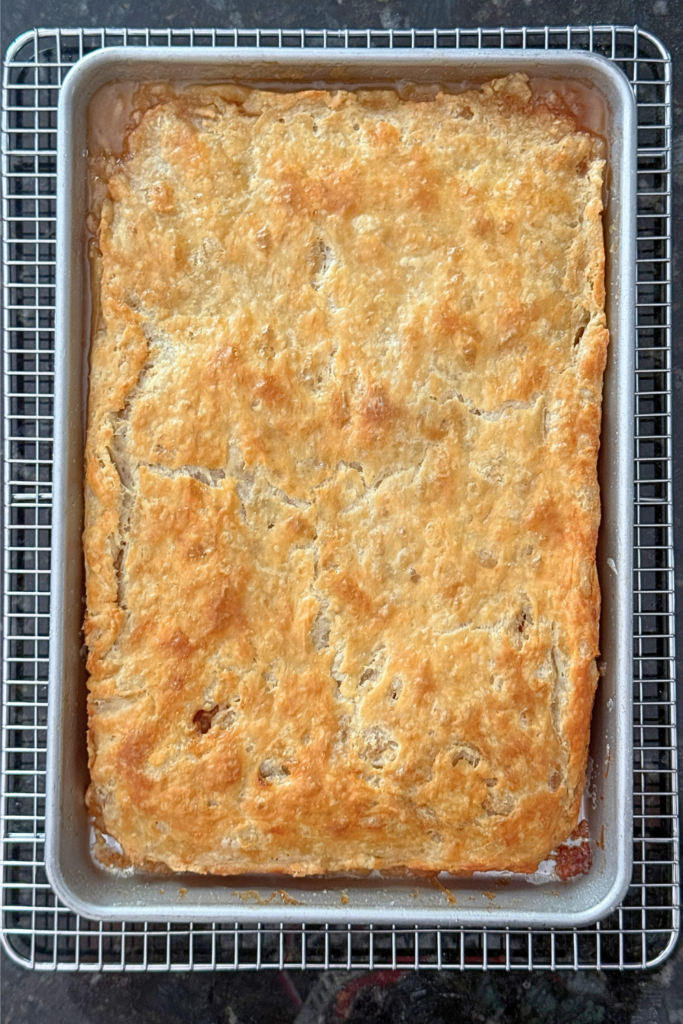
Allow the bars to cool completely.
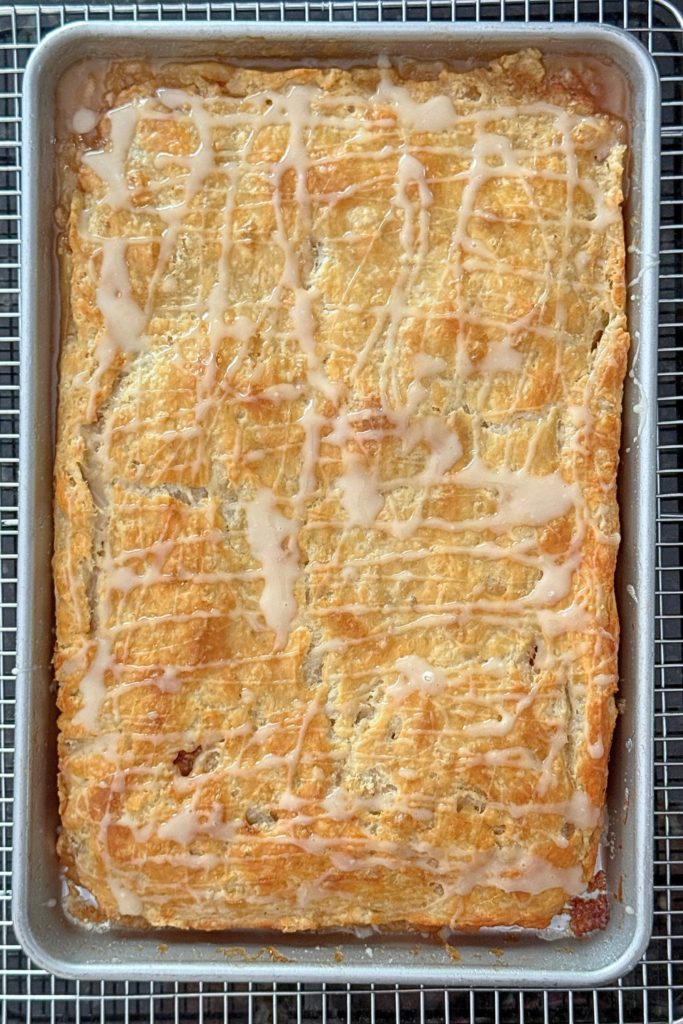
Whisk together the glaze ingredients and drizzle over the cooled bars before cutting into squares.
Storage & Freezing:
Store the bars covered at room temperature for up to2 days or refrigerate for up to 5 days.
Freeze in an airtight container for up to 3 months. Thaw overnight in the refrigerator before serving.
More Apple Recipes You’ll Love
- Apple Crumble – My family’s favorite apple dessert with a buttery crumble topping.
- Baked Apple Cider Donuts – Soft baked donuts coated in cinnamon sugar with rich apple cider flavor.
- Apple Cinnamon Bread – A moist quick bread that’s perfect for breakfast or an afternoon coffee break.
- Homemade Applesauce – An easy way to use up fresh apples with just a few simple ingredients.
- Homemade Apple Butter – Slow-cooked until thick, smooth, and full of concentrated apple flavor.
Apple Pie Bars
Everything you love about homemade apple pie in easy-to-serve bars with flaky pastry, sweet cinnamon apples, and vanilla glaze.
Ingredients
Pie Crust:
- 2 1/2 cups all-purpose flour
- 1 teaspoon salt
- 1 cup cold butter (2 sticks)
- 1 large egg, yolk and white separated
- Milk, enough to equal 2/3 cup when combined with the egg yolk
Apple Filling:
- 7 medium apples, peeled, cored, and grated
- 1 cup granulated sugar
- 1 teaspoon ground cinnamon
Vanilla Glaze:
- 1 cup powdered sugar
- 2 tablespoons milk
- 1 teaspoon vanilla extract
Instructions
- In a large bowl, whisk together the flour and salt.
- Cut in the cold butter until the mixture resembles coarse crumbs. If you don't have a pastry cutter, you can use a fork.
- Whisk the egg yolk in a measuring cup, then add enough milk to equal 2/3 cup.
- Stir into the flour mixture just until a dough forms.
- Divide the dough in half, wrap each portion in plastic wrap, and refrigerate while preparing the filling.
Make the Dough:
- Peel, core, and grate the apples using the coarse attachment on a rotary grater.
- Stir together the grated apples, sugar, and cinnamon until evenly combined.
- Roll one half of the dough into a rectangle large enough to fit a 10×15-inch jelly roll pan. To transfer the rolled dough, fold it in half, then in half again (see the picture in the blog post). Scrape a bench scraper underneath and lift the folded dough into the pan.
- Press it gently into the bottom of the pan and slightly up the sides.
- Spread the apple filling evenly over the crust.
- Roll the remaining dough into another rectangle and carefully place it over the apples.
- Pinch the edges together as best you can. It will probably look messy and not everything will seal correctly. Don’t worry, it will turn out beautifully anyway.
- Beat the reserved egg white with a whisk until foamy, then brush it over the top crust.
- Bake at 350°F for about 45 minutes, or until the crust is golden brown and the filling is bubbling around the edges.
- Allow the bars to cool completely.
- Whisk together the glaze ingredients and drizzle over the cooled bars before cutting into squares.
Prepare the Apple Filling:
Assemble:
Bake:
Storage & Freezing:
Store the bars covered at room temperature for up to2 days or refrigerate for up to 5 days.
Freeze in an airtight container for up to 3 months. Thaw overnight in the refrigerator before serving.