Best Red Velvet Cake From Scratch
Last Updated on May 30, 2026 by Kiersten James
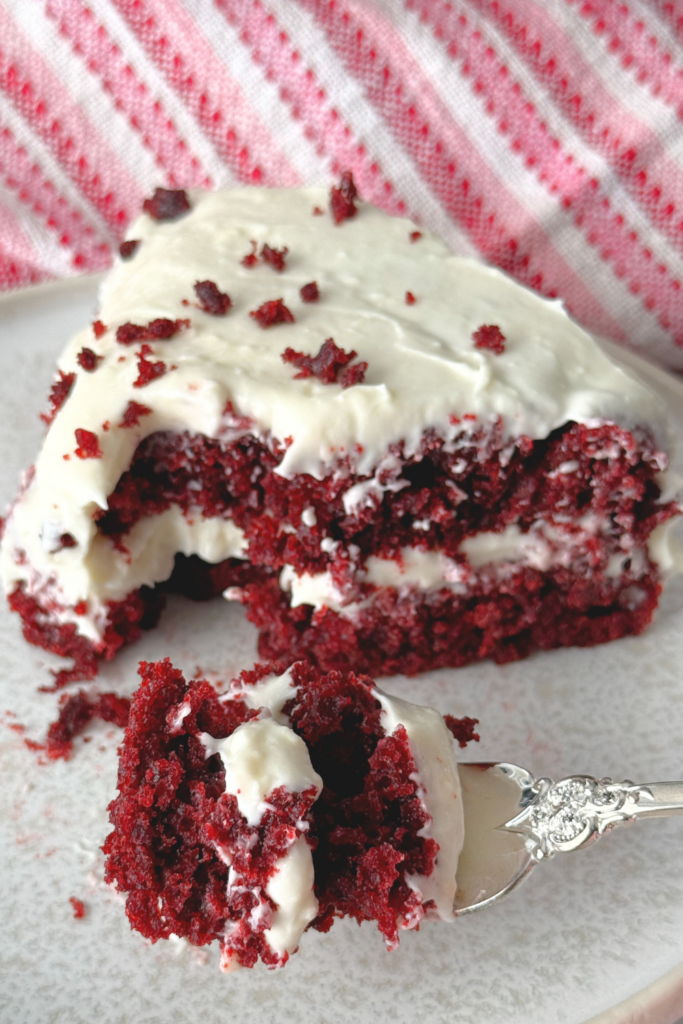
This red velvet cake is made completely from scratch with a soft crumb and classic flavor, perfect for layering with cream cheese frosting.
This is the red velvet cake I make when I want it to actually taste like red velvet and not just a chocolate cake that happened to be dyed red.
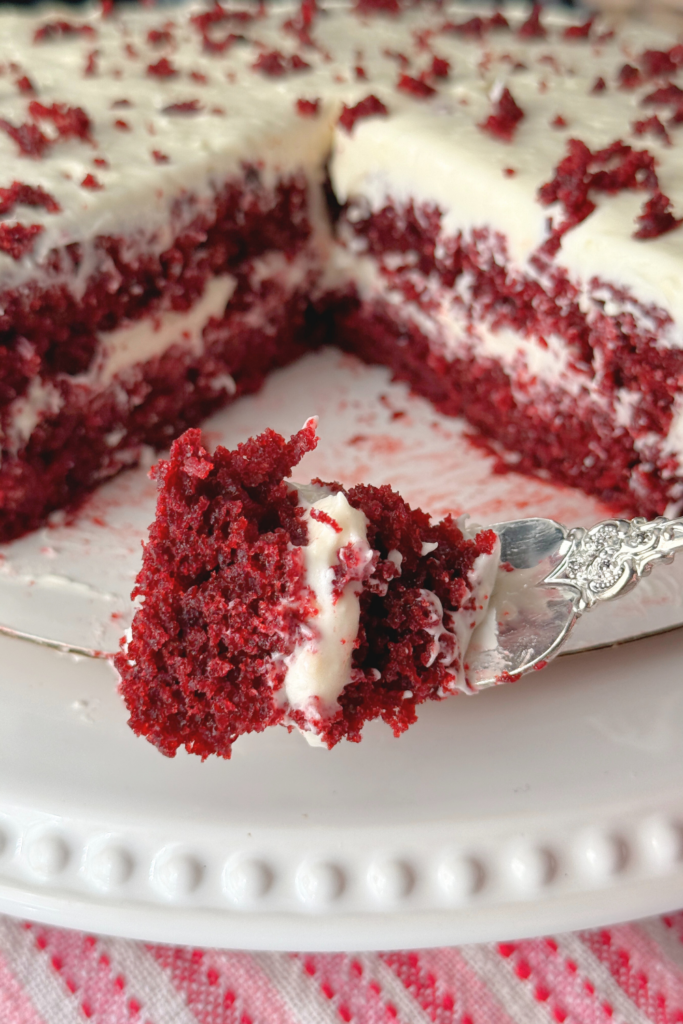
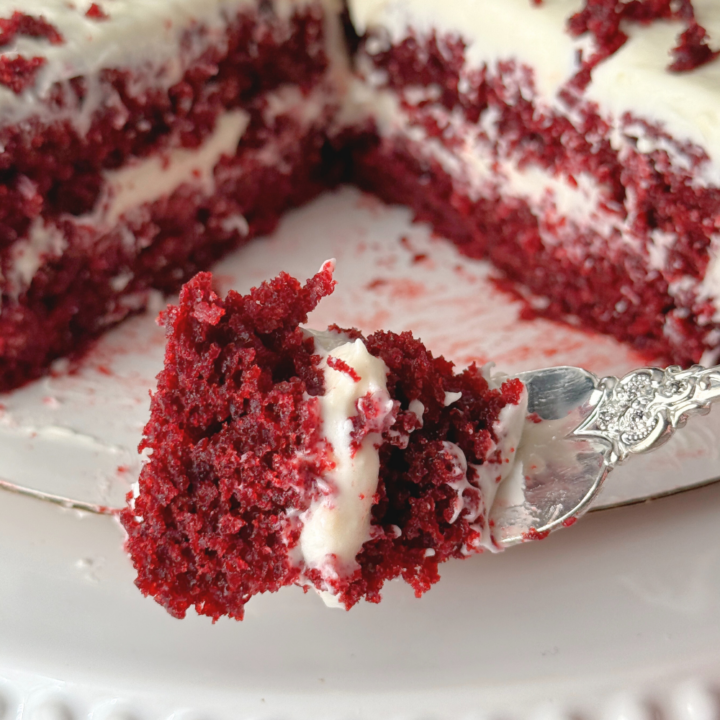
It’s soft, moist, balanced, and holds up beautifully under cream cheese frosting without turning dense or greasy.
This is a truly from-scratch red velvet cake with a fine crumb, subtle cocoa flavor, and that classic bakery texture you expect when you cut into a slice.
It works for birthdays, holidays, Valentine’s Day, or anytime you want a cake that looks impressive but doesn’t require anything complicated.
It’s also the same base I use whether I’m baking layers, a sheet cake, or cupcakes.
Why You’ll Love This From Scratch Red Velvet Cake
This cake bakes up tall and even, stays moist for days, and pairs perfectly with cream cheese frosting without becoming heavy.
The crumb is soft and velvety, not crumbly or stiff, and the cocoa flavor stays subtle instead of overpowering.
It’s simple enough for everyday baking but polished enough for celebrations.

Ingredients You’ll Be Using:
All-purpose flour: Keeps the crumb soft and structured without heaviness
Unsweetened cocoa powder: Just enough for classic red velvet flavor
Buttermilk: Adds moisture and tenderness
Baking soda: Gives the cake lift and helps it rise properly with vinegar and buttermilk
Avocado oil: Keeps the cake soft even after chilling. You can use any neutral oil here, but I try to avoid seed oils unless it’s really unavoidable.
Unsalted butter: Adds richness and bakery-style flavor
Eggs: Provide structure and lift
Granulated sugar: Sweetens and helps create a fine crumb
Vanilla extract: Rounds out the cocoa and buttermilk tang
White vinegar: Reacts with baking soda for lift and classic red velvet tang
Red food coloring: Gives the signature color without affecting flavor
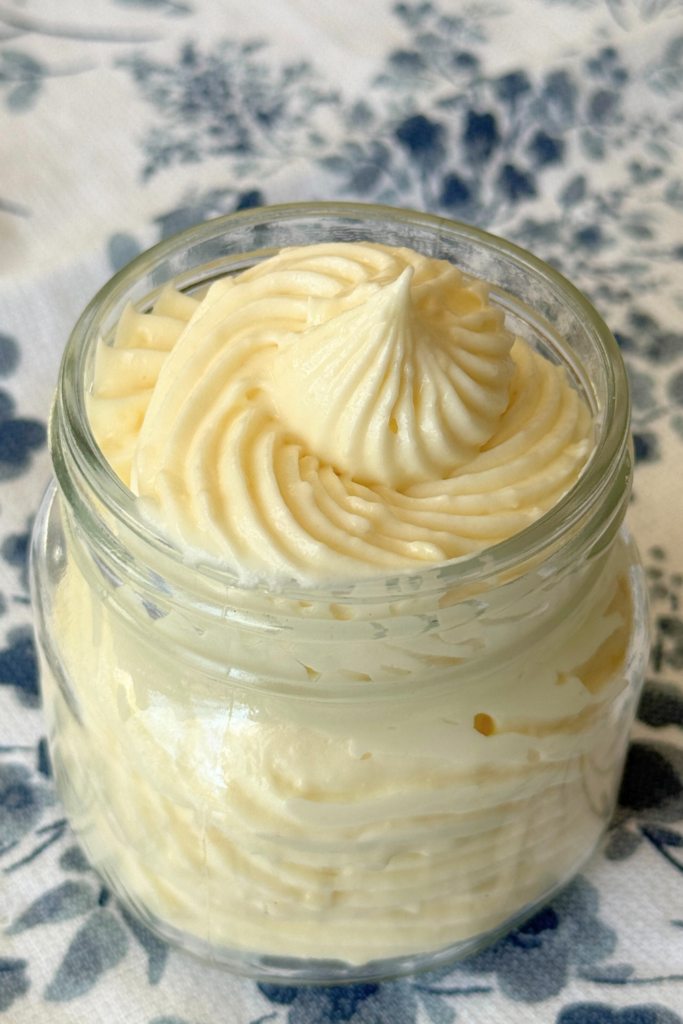
Frosting Pairing
This cake is designed to be paired with thick, pipeable cream cheese frosting. It holds layers well, slices cleanly, and doesn’t slide or weep.
Tips for the Best Red Velvet Cake Ever
Butter + Oil = Moist
This recipe uses both butter and oil. Butter gives flavor; oil keeps the crumb soft even after refrigeration.
This combination is the difference between a bakery-style red velvet cake and one that dries out overnight.
Don’t add too much cocoa
Red velvet should never taste like chocolate cake.
Measure the cocoa carefully. If you use too much, you will lose the classic flavor.
Be careful not to overbake
Pull the cake from the oven as soon as a toothpick comes out with a few moist crumbs. Overbaking is the fastest way to ruin red velvet.
How to Make Red Velvet Cake From Scratch
Equipment:
- Stand Mixer
- Paddle Attachment
- 3 mixing bowls (2 medium, 1 small)
- LIFE CHANGING flour funnel my husband got for me
- Two 9″ cake pans
- Parchment paper
- Cooling rack
Ingredients:
- 2 1/4 cups all-purpose flour
- 1 1/2 teaspoons baking soda
- 1/8 teaspoon salt
- 1 cup buttermilk
- 2 large eggs
- 1 tablespoon white vinegar
- 1 1/2 teaspoons vanilla extract
- 2 tablespoons unsweetened cocoa powder
- 2 tablespoons red food coloring
- 12 tablespoons unsalted butter, softened
- 1 1/2 cups granulated sugar
- 4 cups thick cream cheese frosting
Overview:
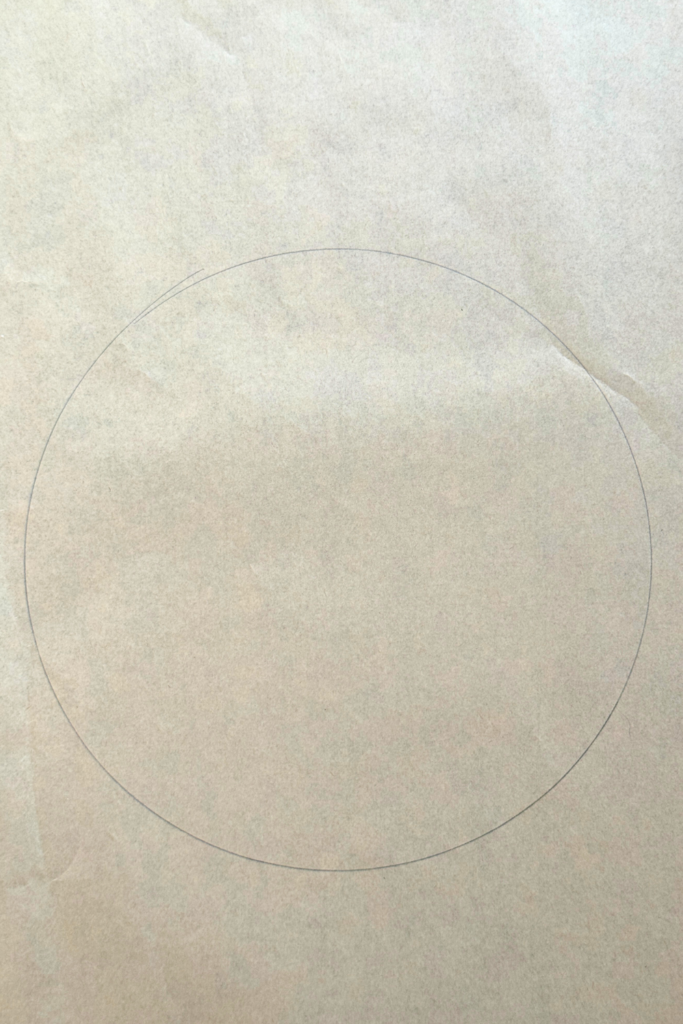
Set up your oven & cake pans: Move a rack to the middle and preheat the oven to 350 degrees F. Grease two 9″ cake pans, line the bottom with parchment paper, then grease the parchment paper. Then, flour the pans using a mesh sieve or sifter.
To make this brainless, I trace the bottom of the cake pan on a piece of parchment paper, then cut out the circle for a tight fit on the bottom.
Whisk dry ingredients: In a medium-sized bowl, whisk together the flour, baking soda, and salt.
Make the red velvet paste: In a small bowl, whisk together the red food coloring and cocoa powder until a smooth paste forms.
Whisk the wet ingredients: In another medium-sized bowl (this will be the third bowl), whisk together the eggs, buttermilk, vinegar, and vanilla.
Cream the butter and sugar: Using the stand mixer and paddle attachment, cream the butter and sugar together until light and fluffy (about 4 minutes). Scrape down the sides as needed.
Add the dry and wet ingredients: On low speed, alternate adding half of the flour mixture with half of the buttermilk mixture. Then add the rest of the flour, followed by the rest of the buttermilk. Run the mixer for 30-60 seconds until well combined. Turn the mixer off as soon as the white of the flour mixture is gone.
Add the red cocoa mixture: Scrape down the sides of the mixer bowl. Add the red cocoa mixture to the batter base, then run the mixer on low speed until evenly distributed and the batter is a deep red.
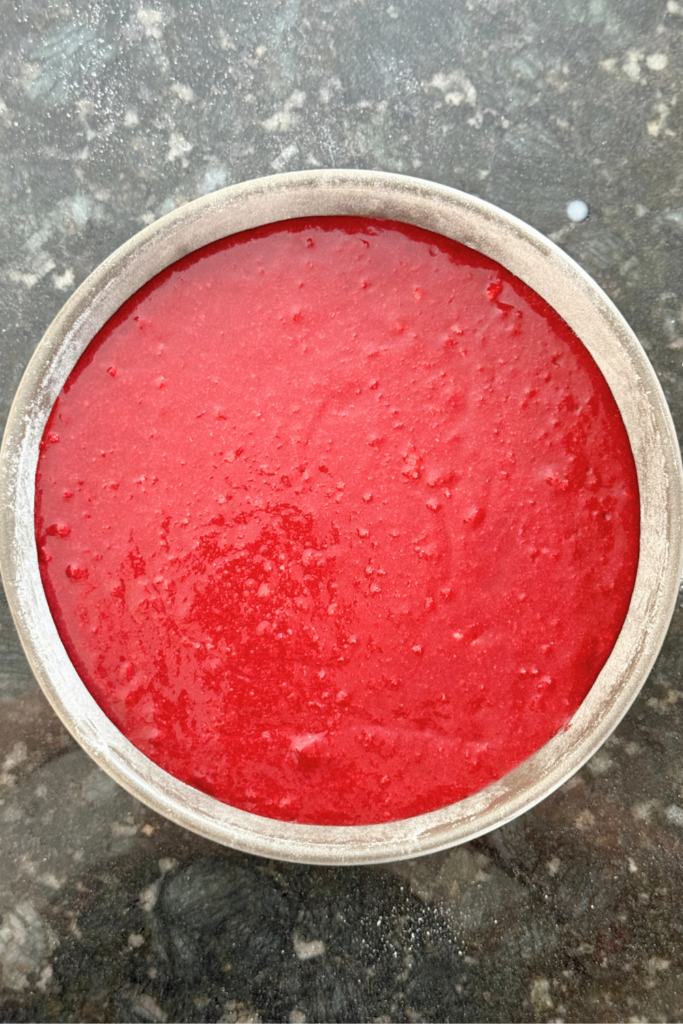
Fill the cake pans: Divide the batter evenly in half (as best you can), then add an equal amount to each prepared cake pan.
Smooth out the top with a rubber spatula, then tap the cake pan on the counter once or twice to release any trapped air bubbles in the batter.
Bake & cool: Bake the layers at 350°F for 12 minutes, rotate the pans in the oven by swapping sides, then bake for another 13 minutes for a total 25 minutes. A toothpick inserted into the middle of the cakes should come out with a few moist crumbs.
Let the cakes cool in the pans for about 10-15 minutes, then remove the cakes to cool completely on a wire rack lined with parchment paper to prevent any soft crumb sticking.
Assemble & decorate: Place a tablespoon of cream cheese frosting on the cake platter or stand you will use for decorating.
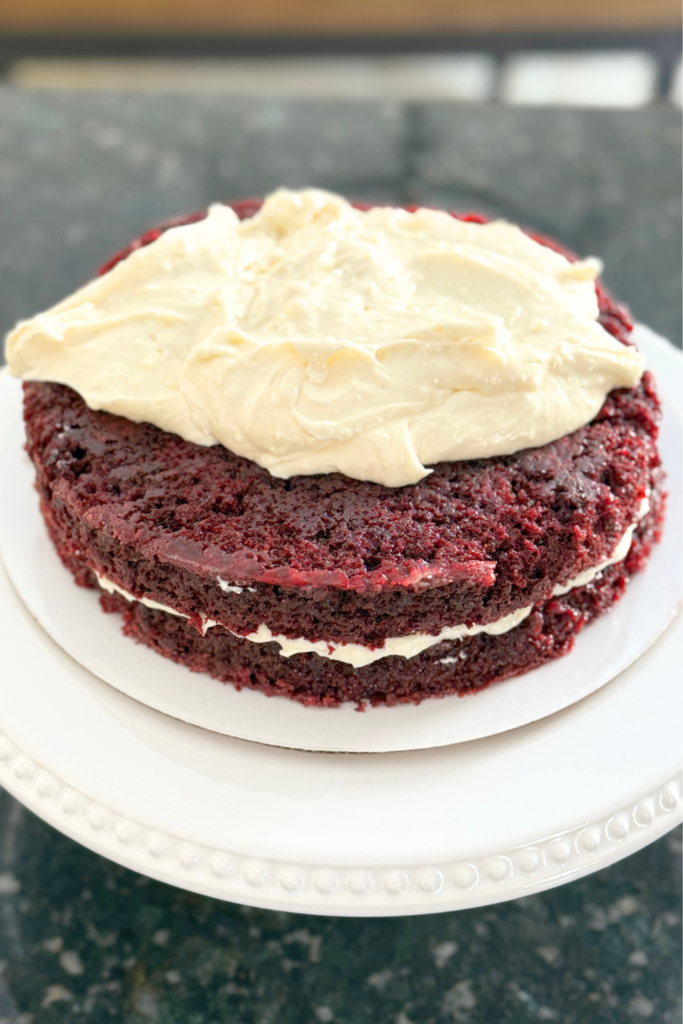
Transfer one cake layer to the stand and add 1 cup of frosting on top. Spread the frosting evenly across the cake, all the way to the edges.
Add the second cake layer to the stand and press down slightly to adhere the next layer. Add 2 cups of frosting to the top of the second layer and spread it evenly across the top, allowing the extra to fall to the sides.
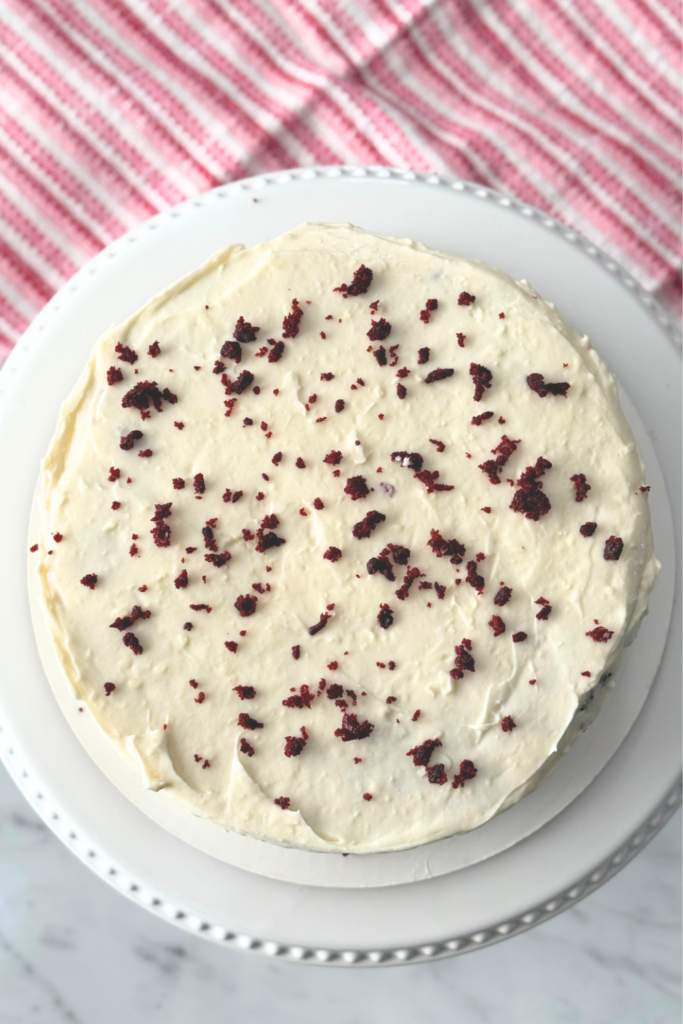
A bench scraper or large angled offset spatula can be used to form clean lines around the sides. Take your time to even out the top and the sides – it usually takes me about 20 minutes.
If you want to add some piped designs, chill the frosting a bit first to firm it up.
Refrigerate the cake after decorating to set the frosting. Remove 30 minutes before serving.
Freezing & Make Ahead Instructions
Red velvet cake layers freeze extremely well. Wrap cooled layers tightly in plastic wrap, then foil, and freeze up to 2 months. Thaw overnight in the refrigerator before frosting.
You can also bake this cake one day ahead, wrap it tightly, and frost it the next day.
More From Scratch Party Sweets:
Bakery-Style Chocolate Chip M&M Cookies
Chocolate Chip Cookie Bars (9×13)
Best Red Velvet Cake (Super Moist, From Scratch)
This red velvet cake is made completely from scratch with a soft crumb and classic flavor, perfect for layering with cream cheese frosting.
Ingredients
- 2 1/4 cups all-purpose flour
- 1 1/2 teaspoons baking soda
- 1/8 teaspoon salt
- 1 cup buttermilk
- 2 large eggs
- 1 tablespoon white vinegar
- 1 1/2 teaspoons vanilla extract
- 2 tablespoons unsweetened cocoa powder
- 2 tablespoons red food coloring
- 12 tablespoons unsalted butter, softened
- 1 1/2 cups granulated sugar
- 4 cups thick cream cheese frosting
Instructions
Set up your oven & cake pans: Move a rack to the middle and preheat the oven to 350 degrees F.
Grease two 9" cake pans, line the bottom with parchment paper, then grease the parchment paper. Then, flour the pans using a mesh sieve or sifter.
To make this brainless, I trace the bottom of the cake pan on a piece of parchment paper, then cut out the circle for a tight fit on the bottom.
Whisk dry ingredients: In a medium-sized bowl, whisk together the flour, baking soda, and salt.
Make the red velvet paste: In a small bowl, whisk together the red food coloring and cocoa powder until a smooth paste forms.
Whisk the wet ingredients: In another medium-sized bowl (this will be the third bowl), whisk together the eggs, buttermilk, vinegar, and vanilla.
Cream the butter and sugar: Using the stand mixer and paddle attachment, cream the butter and sugar together until light and fluffy (about 4 minutes). Scrape down the sides as needed.
Add the dry and wet ingredients: On low speed, alternate adding half of the flour mixture with half of the buttermilk mixture. Then add the rest of the flour, followed by the rest of the buttermilk.
Run the mixer for 30-60 seconds until well combined. Turn the mixer off as soon as the white of the flour mixture is gone.
Add the red cocoa mixture: Scrape down the sides of the mixer bowl. Add the red cocoa mixture to the batter base, then run the mixer on low speed until evenly distributed and the batter is a deep red.
Fill the cake pans: Divide the batter evenly in half (as best you can), then add an equal amount to each prepared cake pan.
Smooth out the top with a rubber spatula, then tap the cake pan on the counter once or twice to release any trapped air bubbles in the batter.
Bake & cool: Bake the layers at 350°F for 12 minutes, rotate the pans in the oven by swapping sides, then bake for another 13 minutes for a total 25 minutes.
A toothpick inserted into the middle of the cakes should come out with a few moist crumbs.
Let the cakes cool in the pans for about 10-15 minutes, then remove the cakes to cool completely on a wire rack lined with parchment paper to prevent any soft crumb sticking.
Assemble & decorate: Place a tablespoon of frosting on the cake platter or stand you will use for decorating.
Transfer one cake layer to the stand and add 1 cup of frosting on top. Spread the frosting evenly across the cake, all the way to the edges.
Add the second cake layer to the stand and press down slightly to adhere the next layer. Add 2 cups of frosting to the top of the second layer and spread it evenly across the top, allowing the extra to fall to the sides.
A bench scraper or large angled offset spatula can be used to form clean lines around the sides. Take your time to even out the top and the sides - it usually takes me about 20 minutes.
If you want to add some piped designs, chill the frosting a bit first to firm it up.
Refrigerate after decorating to set the frosting. Remove 30 minutes before serving.
Freezing & Make Ahead Instructions
Red velvet cake layers freeze extremely well. Wrap cooled layers tightly in plastic wrap, then foil, and freeze up to 2 months. Thaw overnight in the refrigerator before frosting.
You can also bake this cake one day ahead, wrap it tightly, and frost it the next day.
Frosting Pairing
This cake is designed to be paired with thick, pipeable cream cheese frosting. It holds layers well, slices cleanly, and doesn’t slide or weep.
Recommended Products
This post may contain affiliate links, which means I may make a small commission at no extra cost to you.