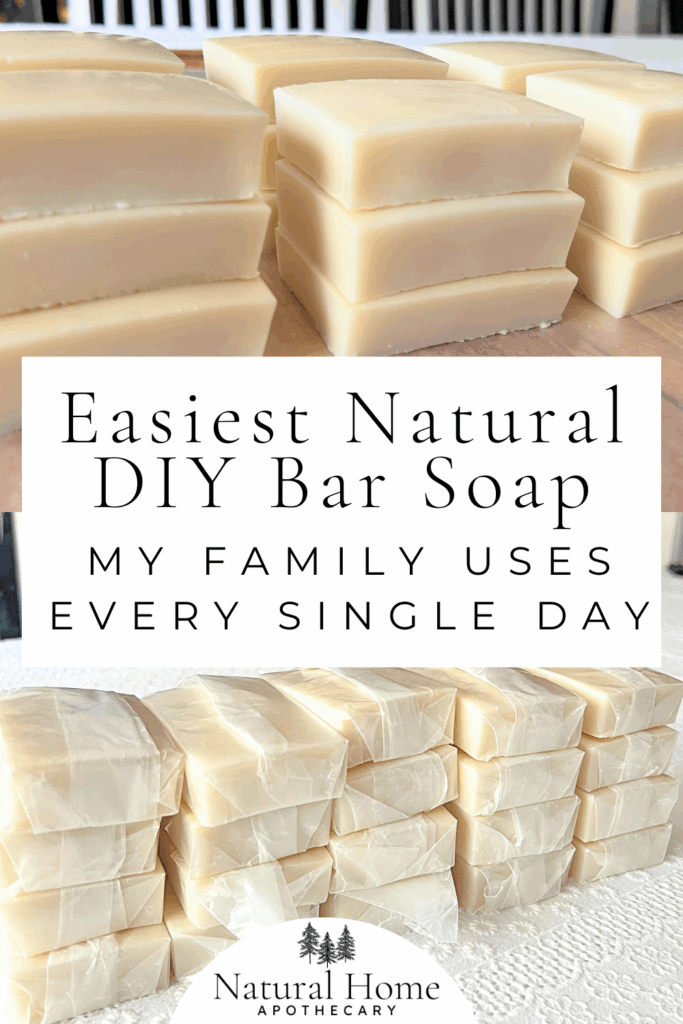
The Actual Homemade Bar Soap We Use Every Day (Melt and Pour)
Last Updated on May 13, 2026 by Kiersten James
This is the actual melt and pour bar soap I make for our whole family. We use it every single day – babies through adults. It only has 2 ingredients, withstands real messes, real sweat, and real life.
This is the only soap we use in the shower now. It doesn’t dry out our skin, doesn’t stain the white washcloths, and holds up to my husband’s train yard/race car grime.
I use the same batch for the entire family, and it works perfectly despite our different needs. No fancy ingredients (there are only 2), no lye, and no complicated chemistry.
My Family’s Two Ingredient Homemade Bar Soap
Ingredients:
- 5 lbs goat’s milk melt and pour soap base
- 3 tablespoons white kaolin clay
- Isopropyl alcohol in a spray bottle, optional to remove surface air bubbles
My Soap Molds:
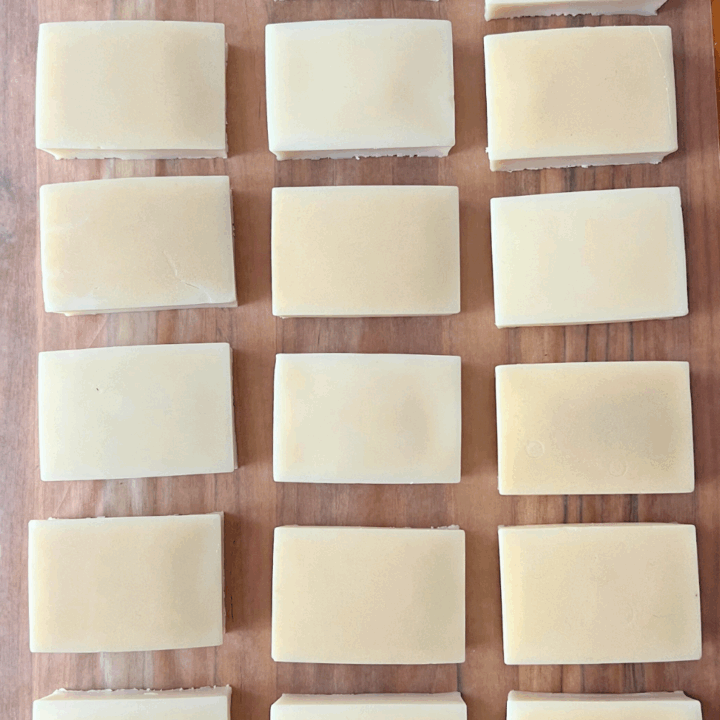
This makes about 21 regular sized bars of soap. Depending on what mold you use, it should be plenty to stock up for at least 3 months.
What is Kaolin Clay?
Kaolin clay is a super fine, white clay that helps cleanse without drying you out. I use it in my soap instead of the more common bentonite clay because it doesn’t stain washcloths or tubs and is better for everyday use.
This is especially true for babies or kids and adults with sensitive skin
Instructions:
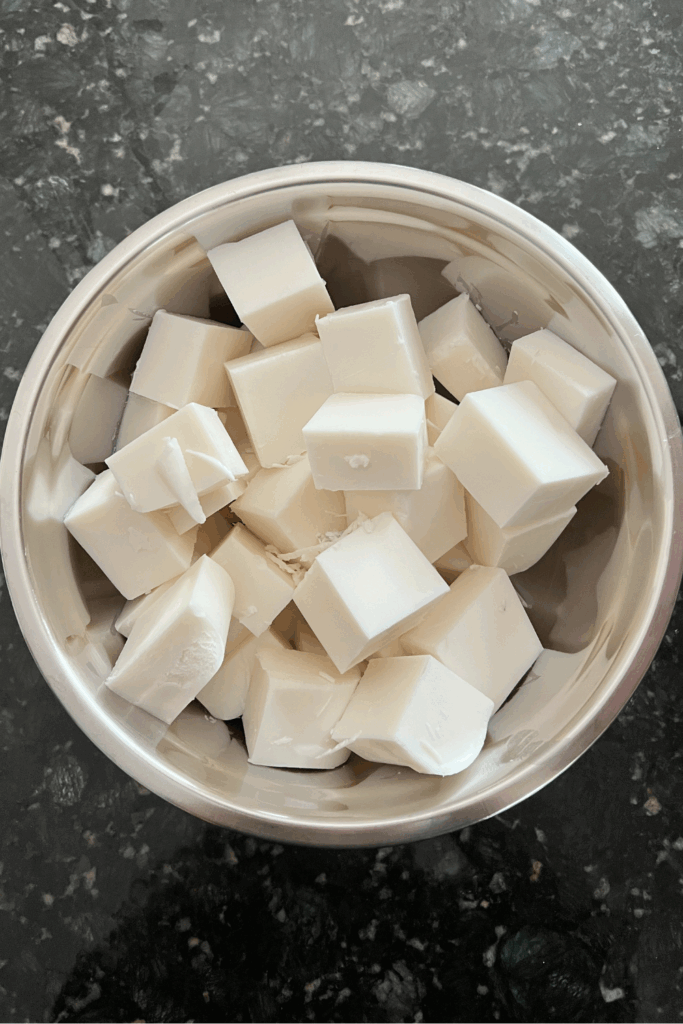
Chop the soap base into chunks and melt it down.

I do this on the stove in one of my large stainless steel mixing bowls that I float inside a larger stock pot. I don’t have a double boiler big enough, so this is my alternative.
If you don’t have the space, you can melt down the soap base inside a 9×13 casserole dish in a preheated oven, or a big glass bowl in the microwave. If you use the microwave, heat 60 seconds at a time and stir in between until it’s fully liquified.
Once it has melted down, whisk in 3 tablespoons of kaolin clay powder. Whisk until it’s fully incorporated, about 2 minutes or so.

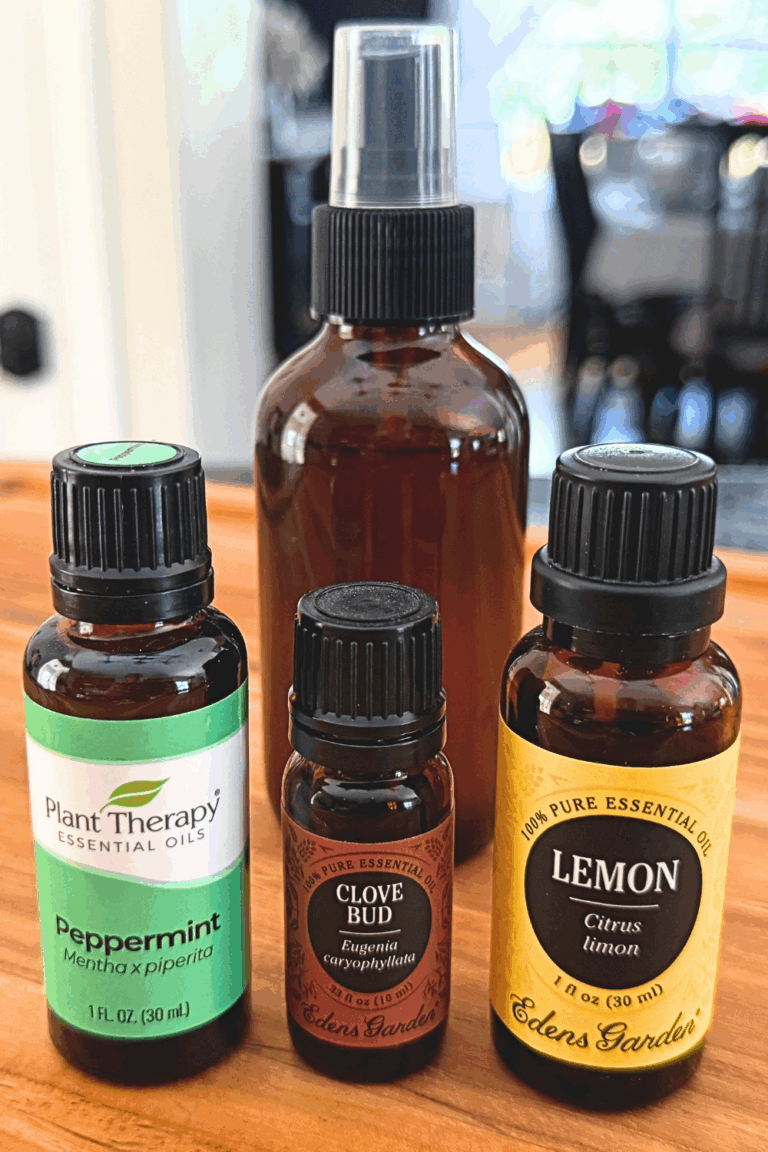
If you’re adding essential oils, mix them in at this point. I don’t use any unless I’m making a batch for holiday gift giving or someone is having particular skin concerns. *See the section on essential oils below for further explanation of why I don’t use them in soap anymore.
The original purpose of this method was to keep it as frugal and simple as possible. On the day-to-day, we are perfectly fine with using these unscented soap bars.
Place your soap molds on a firm surface where they won’t have to be moved for a while. For portability purposes, I place the molds on a carving board that I eventually move and leave on the dining room table for a few days.
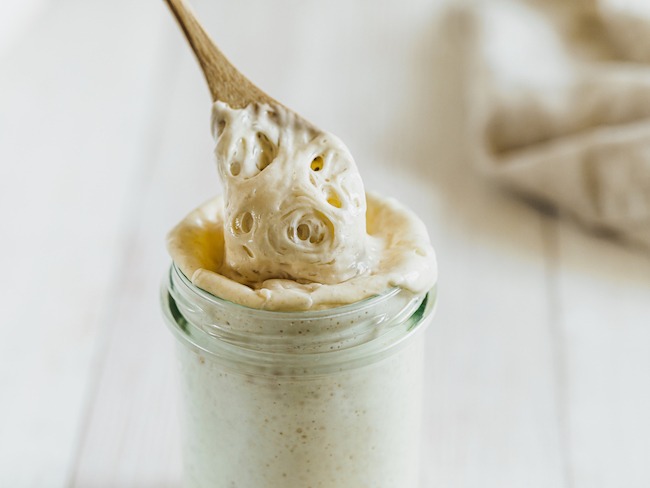
Pour the melted soap mixture into the silicone molds. If you see lots of air bubbles like the picture below, spray the tops of the soap mixture with isopropyl alcohol. Let the molds sit undisturbed until the bars firm up. This usually takes 2 or 3 hours.

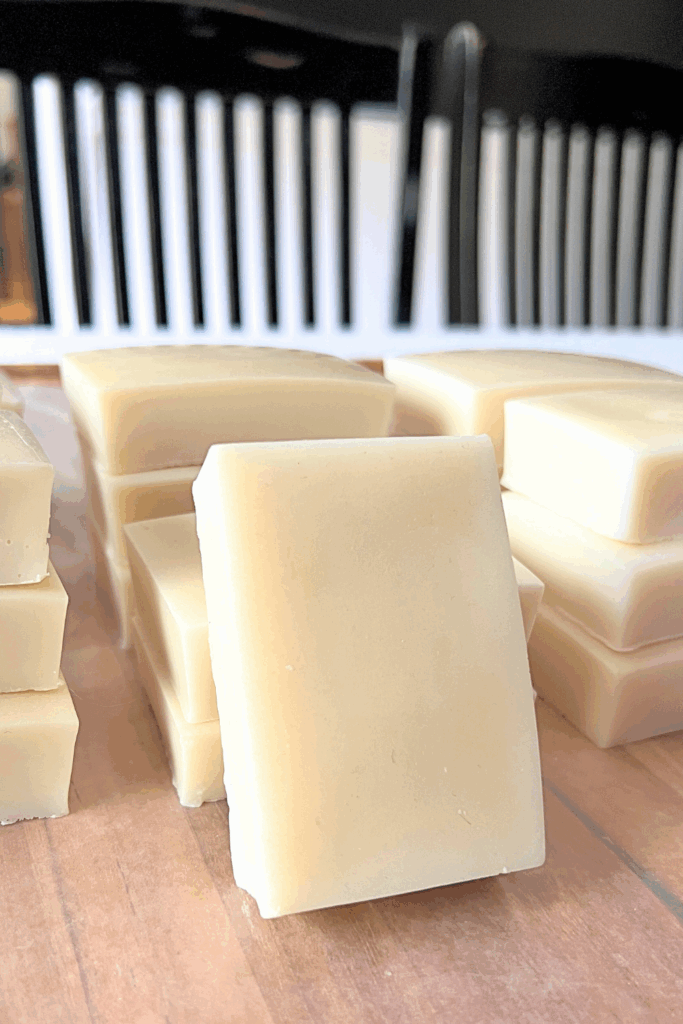
Once the soap bars are solid, pop them out of the molds and let them sit for 2 to 3 days to harden up before using (this is why I put them on the carving board).
Leaving the soap exposed to air helps the bars last longer in humid bathrooms.
Why This Homemade Bar Soap Works for Us
I needed a homemade bar soap that could handle sweat, dirt, and muck without ruining our skin, bank account, or towels.
This goat’s milk base is simple and effective, doesn’t leave a weird film on your skin, and holds up well in the shower without turning to mush.
We’ve had no skin reactions, no complaints of burning in sensitive places from the kids, and it works brilliantly well for shaving.
Essential Oils for Homemade Soap
I choose NOT to add essential oils for fragrance in my homemade bar soap. I used to, but with age and experience comes wisdom and change (I suppose).
To me, the scent obtained in the shower vs the actual amount of pure essential oil drops required to provide that scent made the cost of each soap bar far higher than I cared for.
The purpose of this soap is to be easy, natural, fast, and frugal. Once I ditched the essential oils, the cost of each homemade bar of soap was almost cut in half.
If you want to add fragrance, you will need to use about 100 drops of essential oil (about 5ml) for a 5 pound batch of melt and pour soap base.
This soap has fully replaced commercial soap bars in our house. It saves money, I know exactly what’s in it, and it gets the job done. If you’re looking for one bar that works for the whole household, this is it.
Storing Homemade Soap Bars
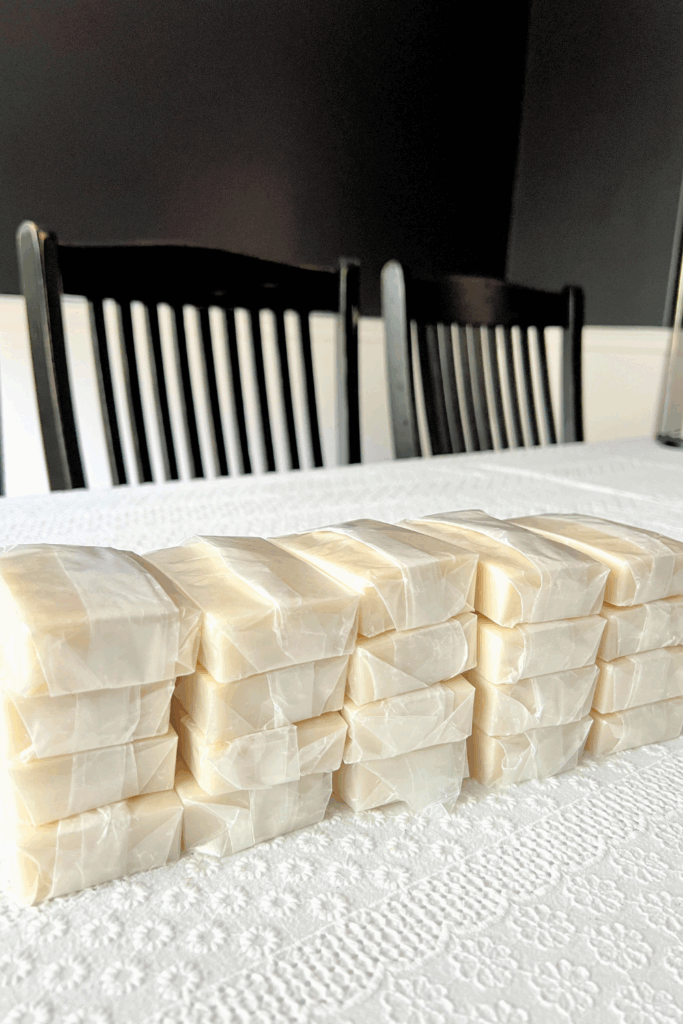
Wrap each individual bar of soap in wax paper and store in a cool, temperature-regulated place like a linen closet.
You can secure the paper with decorative string, twine, ribbon, or branded stickers if you plan on gifting or selling these. A small sprig of arborvitae, rosemary, or lavender side under the fastener makes for a nice touch.
I fold the wax paper like a deli sandwich, then stack the bars of soap on a shelf to help the paper keep from unfolding.
Because this is all about simple, everyday use for regular batches, I don’t spend time or resources making them pretty unless it’s for a special occasion.
More Natural Body Care
Homemade Deodorant Without Baking Soda
My Family’s Water-Resistant Sunscreen
Bug Balm for Ticks and Mosquitoes
Diaper Rash Cream Without Zinc Oxide
Save It For Later!
Two Ingredient Homemade Bar Soap (melt and pour)
This is the actual melt and pour bar soap I make for our whole family. We use it every single day - babies through adults. It only has 2 ingredients, withstands real messes, real sweat, and real life.
Ingredients
- 5 lbs goat’s milk melt and pour soap base
- 3 tablespoons white kaolin clay
- Isopropyl alcohol in a spray bottle, optional to remove surface air bubbles
Instructions
- Chop the soap base into chunks and melt it down. I do this on the stove in one of my large stainless steel mixing bowls that I float inside a larger stock pot. I don't have a double boiler big enough, so this is my alternative.
- If you don't have the space, you can melt down the soap base inside a 9x13 casserole dish in a preheated oven, or a big glass bowl in the microwave. If you use the microwave, heat 60 seconds at a time and stir in between until it’s fully liquified.
- Once it has melted down, whisk in 3 tablespoons of kaolin clay powder. Whisk until it's fully incorporated, about 2 minutes or so.
- If you’re adding essential oils, mix them in at this point. I don’t use any unless I'm making a batch for holiday gift giving or someone is having particular skin concerns.
- The original purpose of this method was to keep it as frugal and simple as possible. On the day-to-day, we are perfectly fine with using these unscented soap bars.
- Place your soap molds on a firm surface where they won't have to be moved for a while. For portability purposes, I place the molds on a carving board that I eventually move and leave on the dining room table for a few days.
- Pour the melted soap mixture into the silicone molds. If you see lots of air bubbles like the picture below, spray the tops of the soap mixture with isopropyl alcohol. Let the molds sit undisturbed until the bars firm up. This usually takes 2 or 3 hours.
- Once the soap bars are solid, pop them out of the molds and let them sit for 2 to 3 days to harden up before using (this is why I put them on the carving board). Leaving the soap exposed to air helps the bars last longer in the humid and wet shower environment.
- To store, wrap each individual bar of soap in wax paper and keep in a cool, temperature-regulated place like a linen closet.