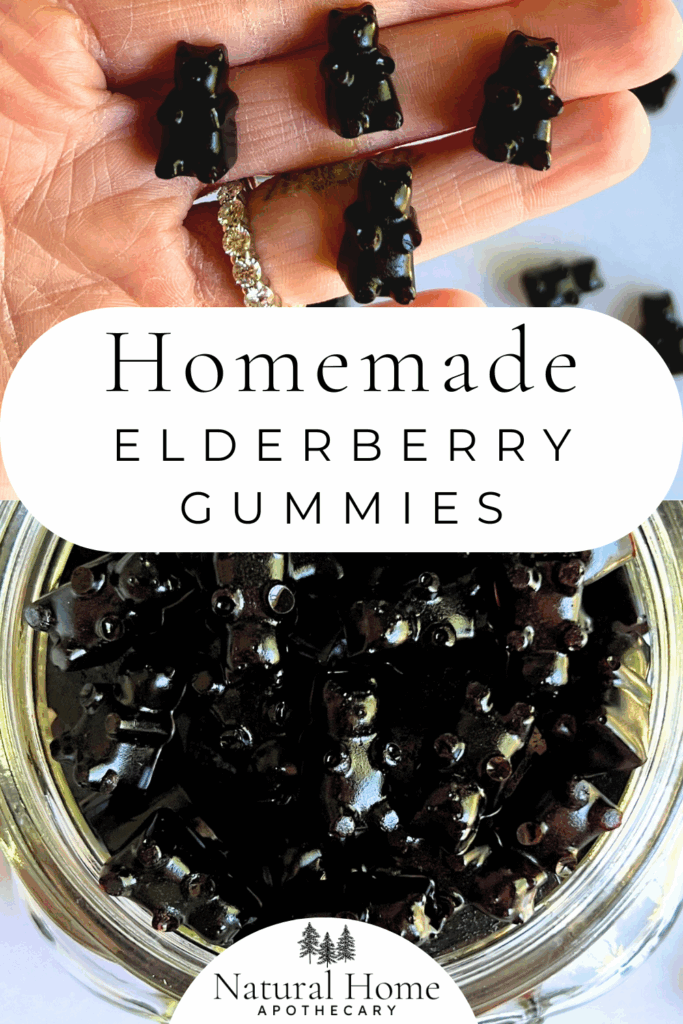
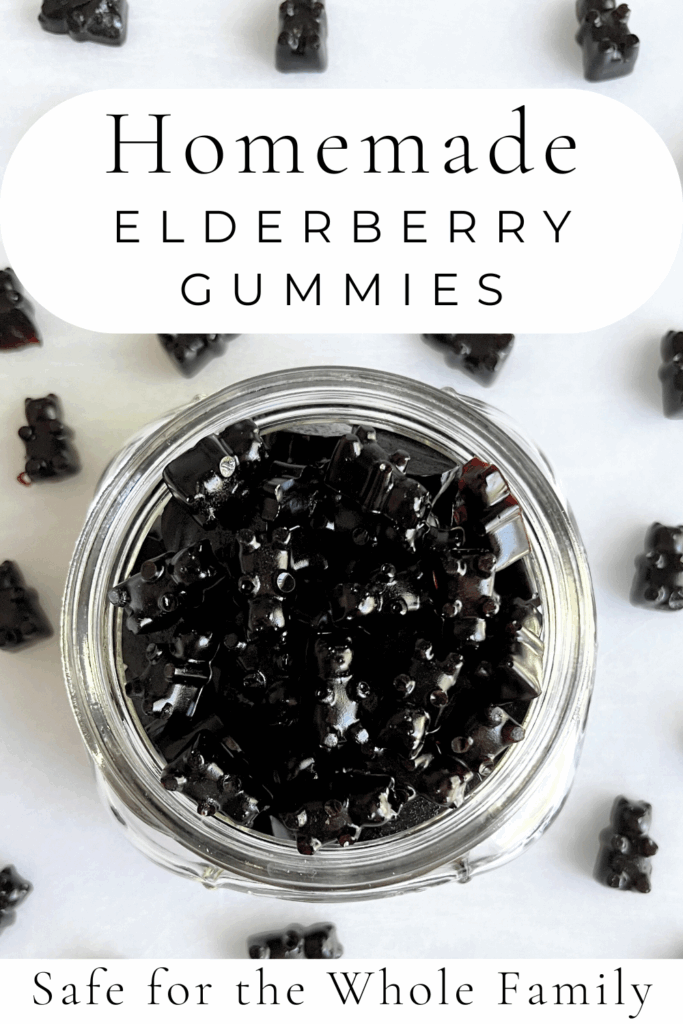
Homemade Elderberry Gummies
Last Updated on September 5, 2025 by Kiersten James
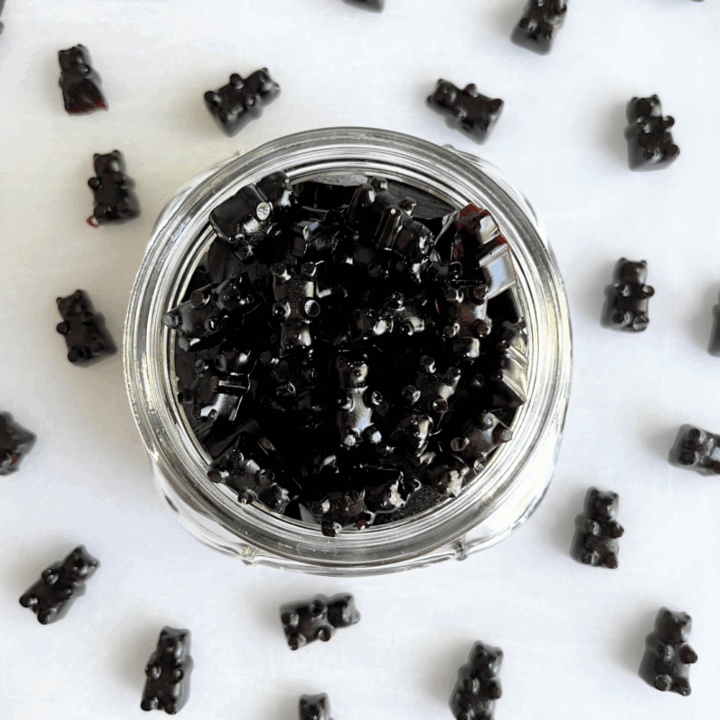
These homemade elderberry gummies are made with real ingredients, come together in under 30 minutes, and loved by the kids – which means no fights!
Homemade elderberry gummies are easy to make, affordable, and much cleaner than anything you’ll find at the store. Most store-bought versions are full of additives, processed sugar, and synthetic ingredients that don’t belong in a daily wellness routine, especially for kids.
If you have toddlers and suspicious children (like mine lol), this is a great way to turn homemade elderberry syrup into something more fun and attractive.
My kids are way more consistent taking these than anything else I’ve tried over the years, and it makes daily immune support feel like less of a chore.
Naturally, if you don’t have a batch of elderberry syrup on hand, you’ll need to make that first. You can use store-bought in a pinch, but homemade is cheaper and just tastes better.
Benefits of Elderberry for Immune Support
Elderberry is one of those home remedies that actually makes sense to keep around, especially when cold and flu season hits.
It’s naturally high in vitamin C and flavonoids, which are plant compounds known to support the immune system and help the body fight off inflammation.
Some studies have shown that elderberry may help reduce how long a cold or flu lasts, and may even make symptoms a little easier to get through.
It’s not a magic fix, but it is one of the few natural remedies that has some research behind it and actually works for a lot of families.
Make Syrup and Elderberry Gummies at the Same Time

I condense my efforts by making a batch of elderberry syrup and a batch of gummies at the same time. The syrup takes about an hour of hands-off simmering time on the stove.
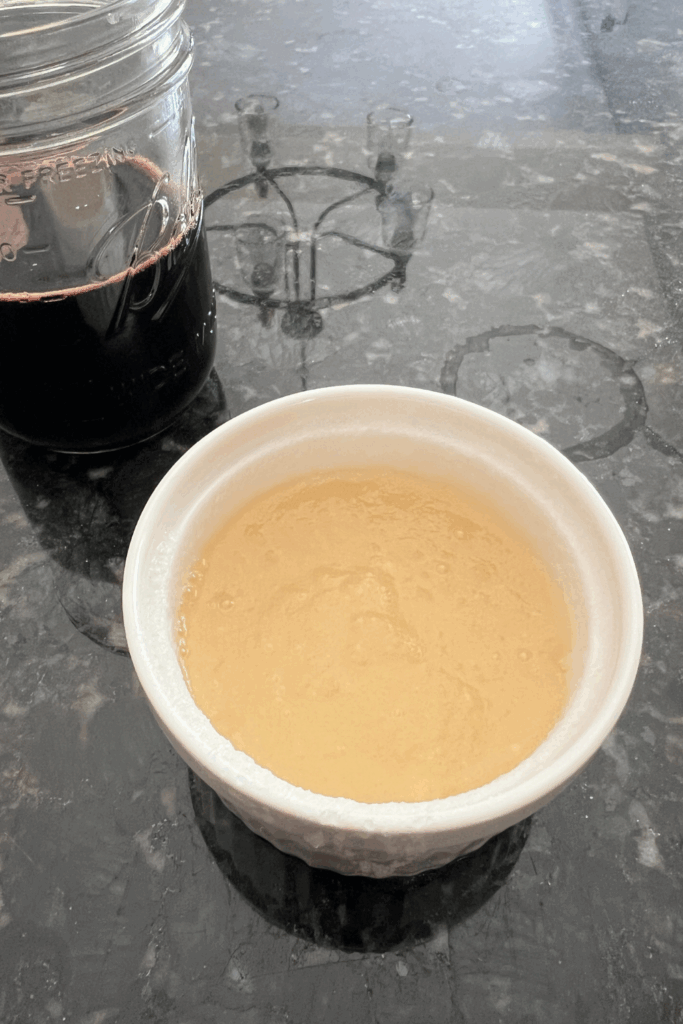
When it’s ready, I strain out the solids into a bowl, then remove 1 cup of the fresh syrup to mix with the gelatin. The rest of the syrup gets stored in a bottle in the refrigerator for my husband and I, and the kids help me pop out the gummies from the molds when I get around to it later in the day.
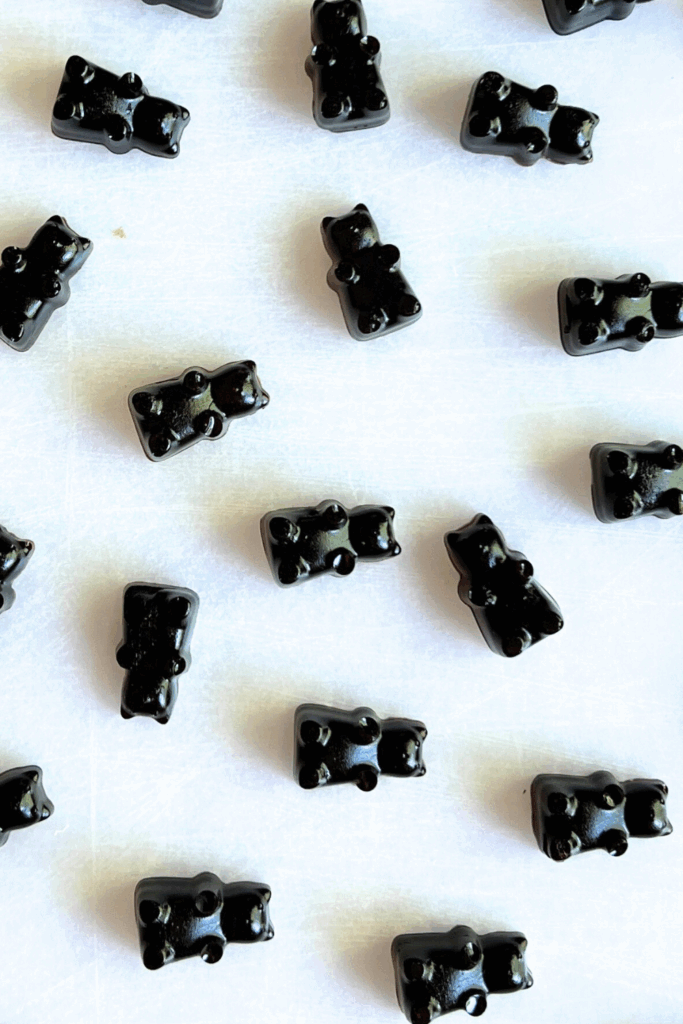
The homemade elderberry gummies hold up well for a couple of weeks in the fridge and taste like fruit snacks, so there’s no struggle to get the kids to take them.
The Gummy Molds I Use (BPA FREE):
Homemade Elderberry Gummies
Ingredients:
- 1 cup elderberry syrup
- 3 packets Knox gelatine
- 1/3 cup cold water
Instructions:
In a small pot, warm the elderberry syrup over low heat.
In a ramekin or jar, mix the packets of gelatin with cold water to break up any lumps. Set aside the gelatin for a minute or two to allow it to firm up.
Add the gelatin mixture to the pot with the warm elderberry syrup and stir until well dissolved.

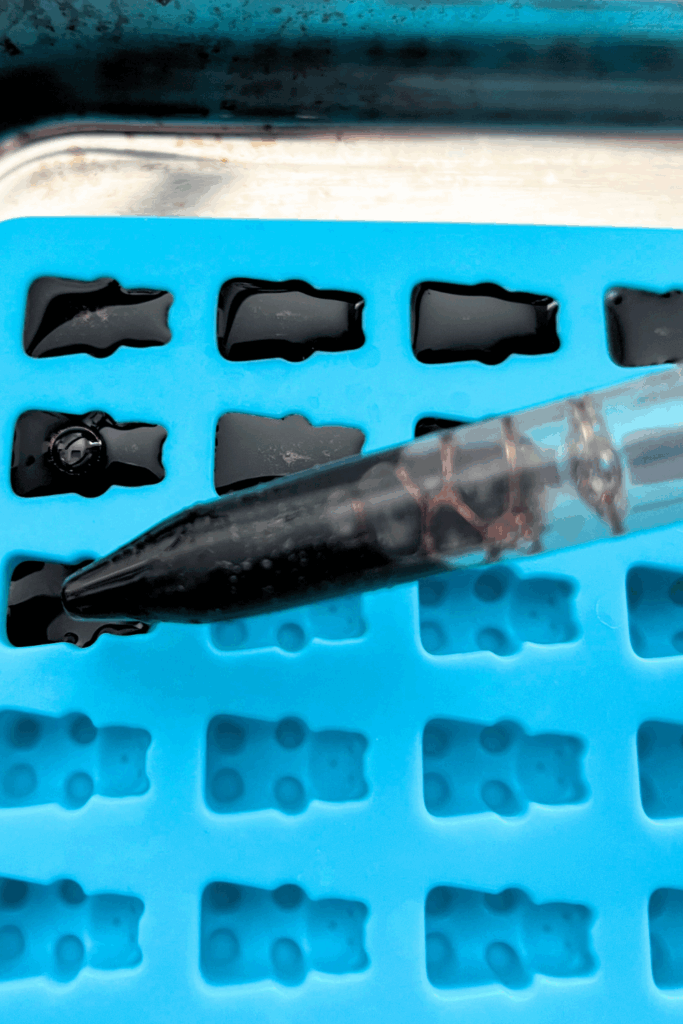
Place silicone gummy molds on a baking sheet or cutting board for stabilization and fill cavities with the elderberry mixture. This is easiest to do with a 5ml dropper or medicine syringe.
Place the molds in the refrigerator for one hour, or until firmly set.
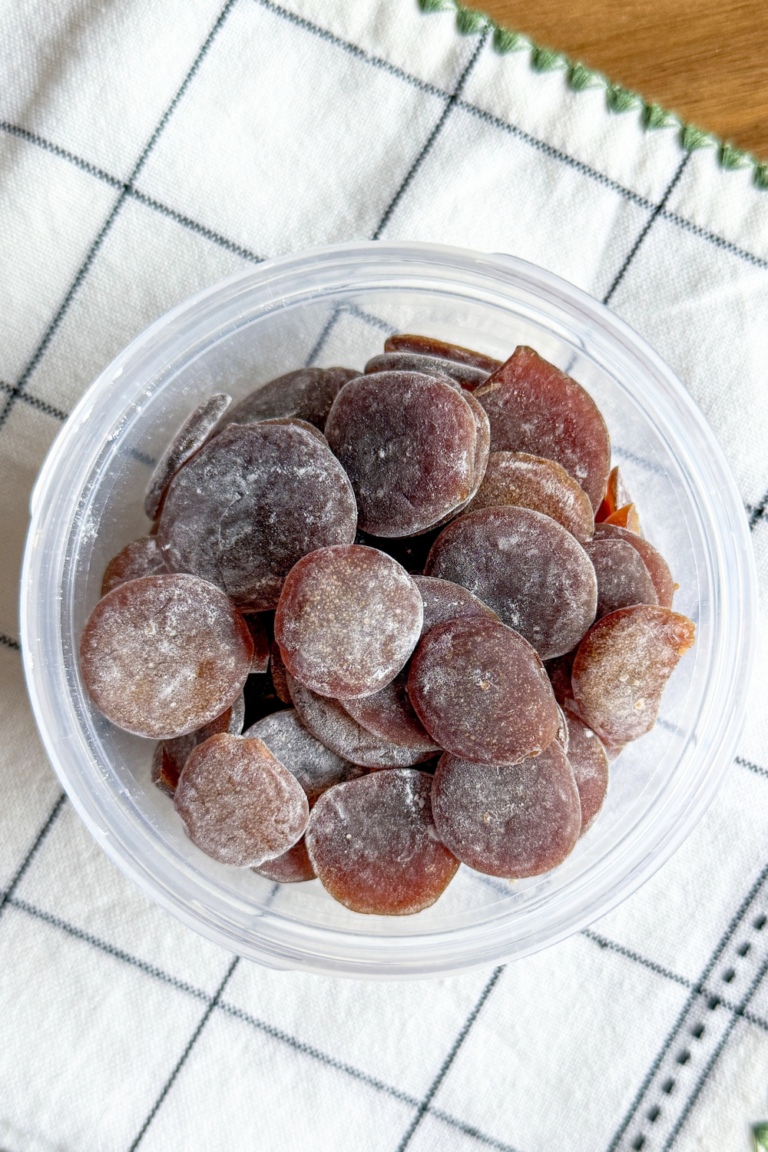
Storage and Shelf Life
Once the homemade elderberry gummies are set, pop them out of the molds and store in a covered glass container in the fridge. They’ll keep for about 2 to 3 weeks, depending on how cold your refrigerator is.
I don’t recommend storing these at room temperature. They’re not shelf stable and will start to lose their shape or grow mold if left out too long. Keep them cold and dry.

Tips for Success
- If your gummies are too soft, add a little more gelatin next time. If they’re too firm or rubbery, cut back a little bit.
- If your elderberry syrup was already sweetened with honey, there’s no need to add any extra. If it wasn’t and you want a little more sweetness, you can stir in 2 tablespoons of raw honey after removing the syrup from heat, right before transfer into the molds.
How Many Elderberry Gummies to Take by Age
Elderberry is most effective when taken consistently, especially at the first sign of illness. You don’t have to take it year-round, but during fall, winter, and back-to-school season, it’s definitely helpful.
There’s no official dosage for elderberry gummies, but I can give you the basic guideline I use for my own family – which is in line with what many herbalists and holistic practitioners suggest.

AGES 1 TO 2: Skip the gummies. Raw honey isn’t safe for children under 1, and gummies can be a major choking hazard if they’re not fully chewable. If your confident your toddler can handle it, stick to half a gummy per day.
AGES 3 TO 5: One gummy a day for general immune support. If something’s going around at school or in the house, you can give two spaced out over the day.
AGES 6 TO 12: One to two gummies a day. During immune stress, like cold season or after being around someone sick, three a day is fine for 4 to 5 days, then drop back to the usual daily amount.
TEENS & ADULTS: Two to three gummies is a good range for daily maintenance. If you’re feeling run down or know you were exposed to something, you can take four a day for short-term support.
OLDER ADULTS (65+): Same as above, but I would recommend starting with one to two per day and increasing slowly if needed.
Why We Make These At Home
A bottle of store-bought elderberry gummies can run $15 to $25 and barely last us a week. We’re mostly paying for branding, packaging, marketing and in some cases, added sugars, gums, and preservatives that aren’t necessary.
Once you have a set of silicone gummy molds, making these at home costs a few dollars for 2 weeks’ worth of gummies, and you know exactly what’s in them. Plus, once you’ve made them once, you’ll realize it’s no harder than making Jell-O.
Can you use Clear Jel instead of gelatin?
The short answer is no, not if you want the texture of a true gummy bear.
Clear Jel is a modified cornstarch used for thickening pie fillings, sauces, and jams. It stays smooth when reheated and gives that glossy, gel like finish you see in commercial fruit fillings. It does not set up like gelatin does.
Gelatin creates a firm, bouncy texture that holds its shape when chilled which is exactly what you want for a gummy. Clear Jel will thicken the elderberry syrup into more of a soft gel or jelly, but it won’t firm up into chewable bites.
If you’re looking for a vegetarian or vegan alternative to gelatin, you could try agar agar powder instead. It’s made from seaweed and sets up firmer than gelatin, though it can be a bit more brittle if you use too much.
I have not personally tried this but use agar agar in other things. You’ll need to heat it fully to dissolve (don’t just bloom it like gelatin), and the ratio is different – usually about 1 teaspoon agar agar powder per cup of liquid.
For traditional gummies with that chewy texture kids love, my recommendation is to stick with gelatin. Powdered Knox brand gelatine that we have here in the United States (found in the baking aisle) has no added preservatives, coloring, or sugars.
This information is intended for educational purposes only. The content created for www.naturalhomeapothecary.com has not been evaluated by the Food and Drug Administration and is not intended to diagnose, treat, cure, or prevent any disease. Consult your healthcare provider for personal healthcare decision-making guidance.
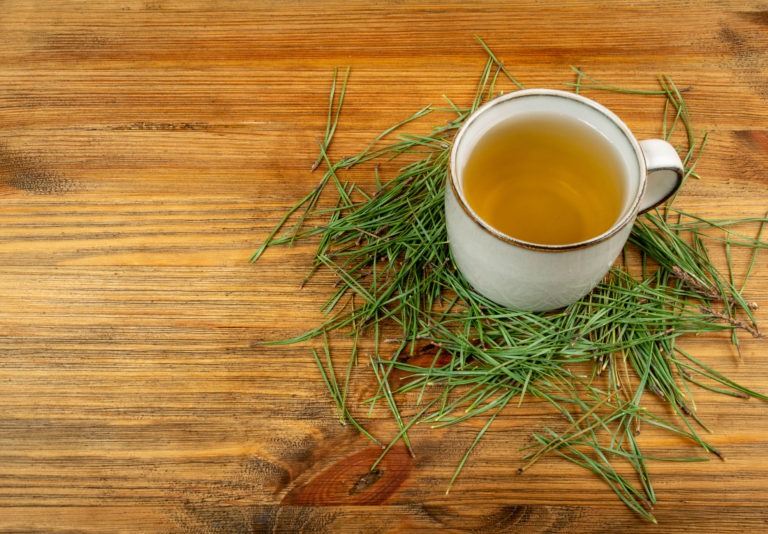
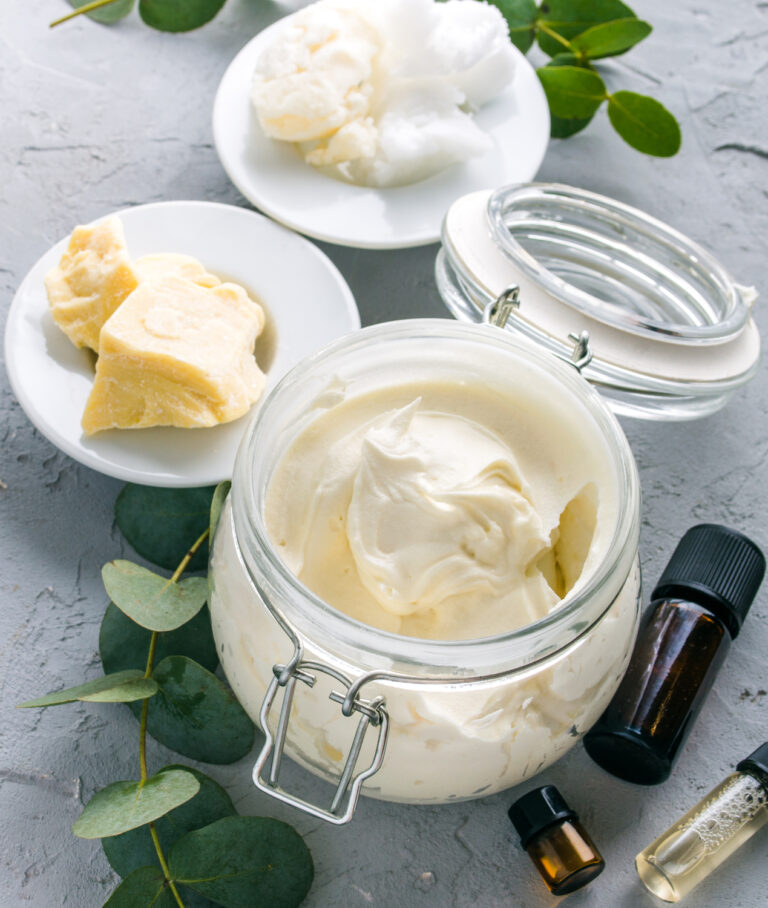
More Natural Immune Support
Homemade Elderberry Gummies
These homemade elderberry gummies are made with real ingredients, come together in under 30 minutes, and loved by the kids - which means no fights!
Ingredients
- 1 cup elderberry syrup
- 3 packets Knox gelatine
- 1/3 cup cold water
Instructions
- In a small pot, warm the elderberry syrup over low heat.
- In a small ramekin or jar, mix the packets of gelatin with cold water to break up any lumps. Set aside the gelatin for a minute or two to allow it to firm up.
- Add the gelatin mixture to the pot with the warm elderberry syrup and stir until well dissolved.
- Place silicone gummy molds on a baking sheet or cutting board for stabilization and fill cavities with the elderberry mixture. This is easiest to do with a 5ml dropper or medicine syringe.
- Place the molds in the refrigerator for one hour, or until firmly set.
- Pop the homemade elderberry gummies out of the silicone and store in a jar in the refrigerator for 2 to 3 weeks.
Save It For Later!