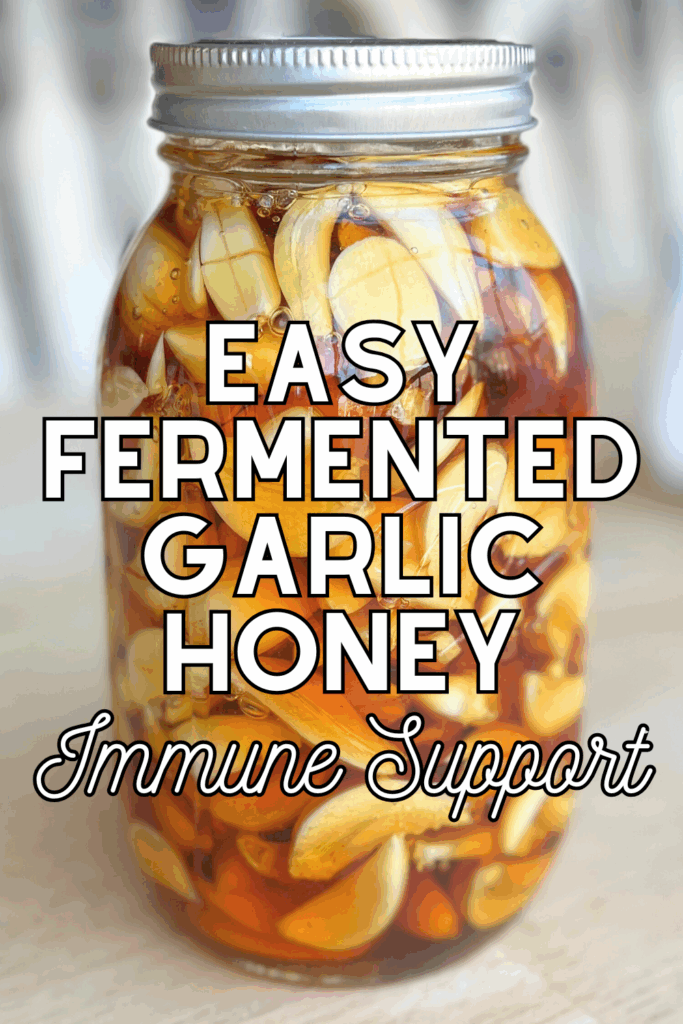
Fermented Garlic Honey for Immune Support
Last Updated on February 4, 2026 by Kiersten James
Start a fresh batch of this easy fermented garlic honey to combat back-to-school colds and illnesses this fall.
I can’t remember the last time our kitchen didn’t have at least one jar of this in the cabinet. I also try to start a new jar every couple of months, usually when the weather starts to shift.
The preparation is very easy and only requires good raw honey, fresh garlic, and a little patience. If you’re worried about the garlic being too strong, don’t be. After a few weeks, the honey softens the garlic, and the flavors blend into a very gentle syrup tolerated well by kids.
Benefits of Fermented Garlic Honey
When a garlic clove is chopped, crushed, or chewed, garlic releases a powerful compound called allicin – the stuff responsible for its strong smell. Allicin doesn’t last long (it’s fragile), but during those first few hours after chopping, it works incredibly hard to support our health.
Allicin has natural antimicrobial and antiviral properties, which is why garlic has been used for generations to fight off colds, coughs, and all sorts of seasonal junk. It helps thin mucus, calm inflammation, and support circulation. Many old-fashioned remedies start with raw garlic for this reason.
Raw honey is full of enzymes, antioxidants, and natural soothing compounds. When honey is combined with raw garlic, you get a powerhouse combo that’s both protective and restorative. Fermentation helps mellow the garlic and boost digestion, absorption, and shelf life.
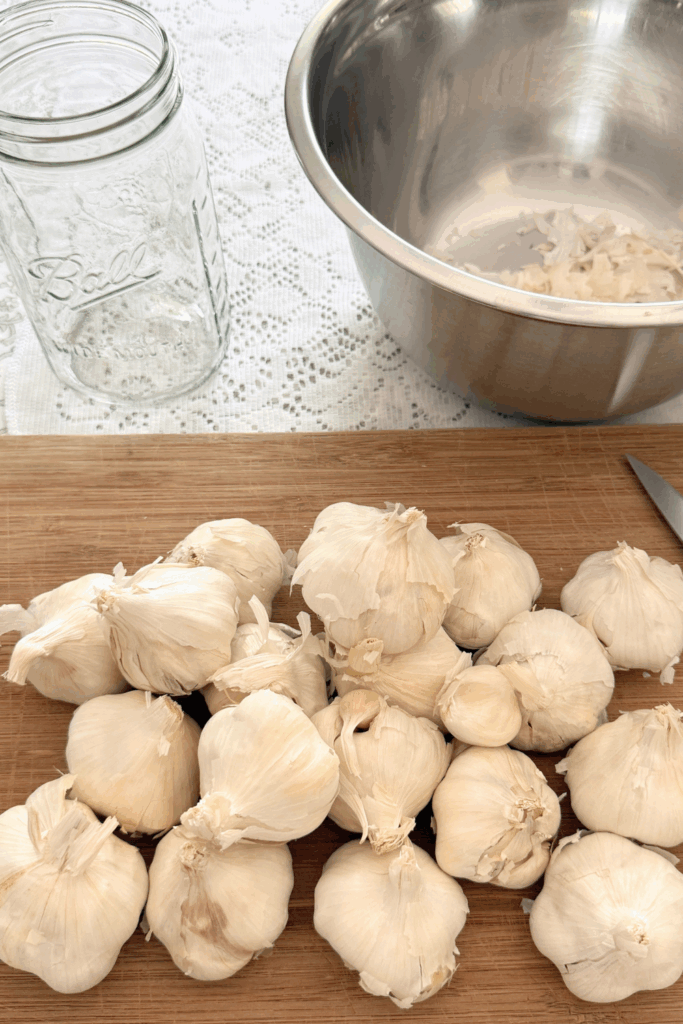
What You Will Need
- 10 to 12 heads of garlic
- 12 ounces raw honey
- Clean glass jar and lid
- Knife
- Cutting Board
How to Make Fermented Garlic Honey
The fermentation process to make garlic honey takes 2 to 3 months (on average) until it is ready for use. If you notice you are running low, start a new jar before you think you will need it.
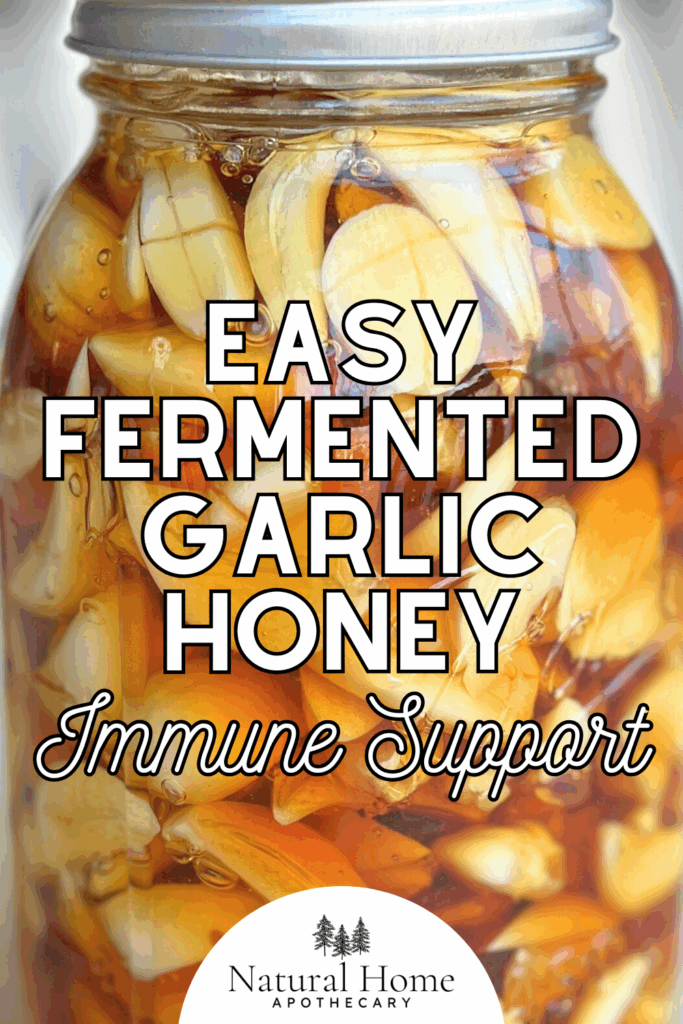
Find yourself a clean jar with a good lid. A quart-sized mason jar or recycled pickle jar works well.
Next, peel all of the garlic. If you have kids who are old enough, you can have them help you with this while you tend to other things.
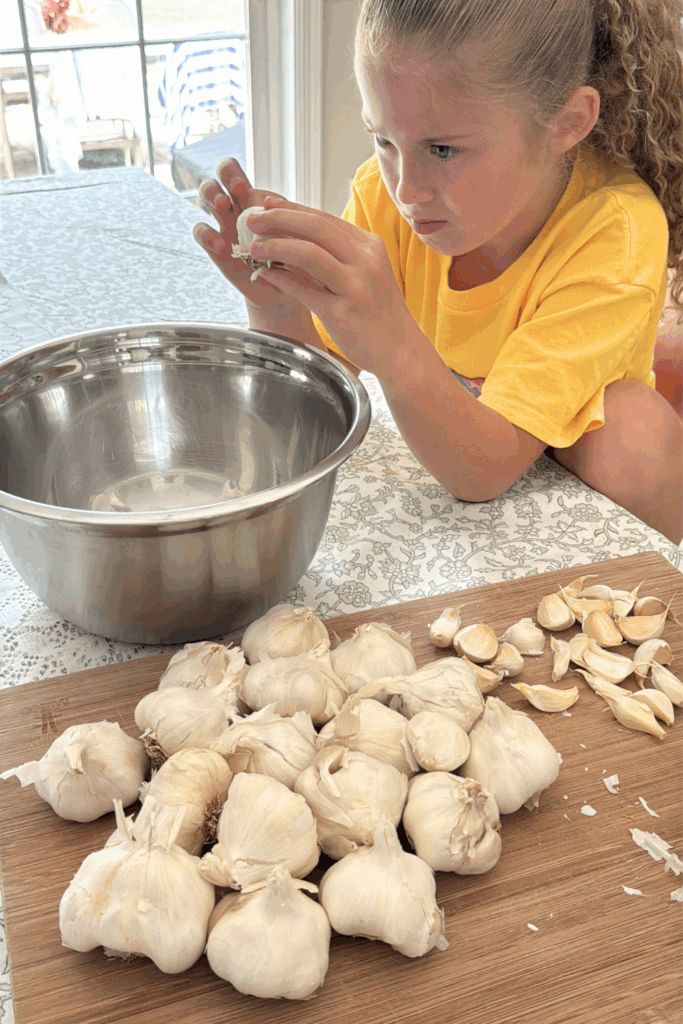
Cut away any visible blemishes and do not use a clove if it is discolored, over-ripened, or soft. You want to use pearly white or ivory-colored, firm garlic cloves.
Inflict Tissue Damage to Release the Allicin
Before filling the jar, it is important that you damage the garlic in order to release the allicin. As mentioned earlier, allicin is the chemical that gives garlic its antibacterial superpowers and is only activated when damage occurs to the raw garlic clove.
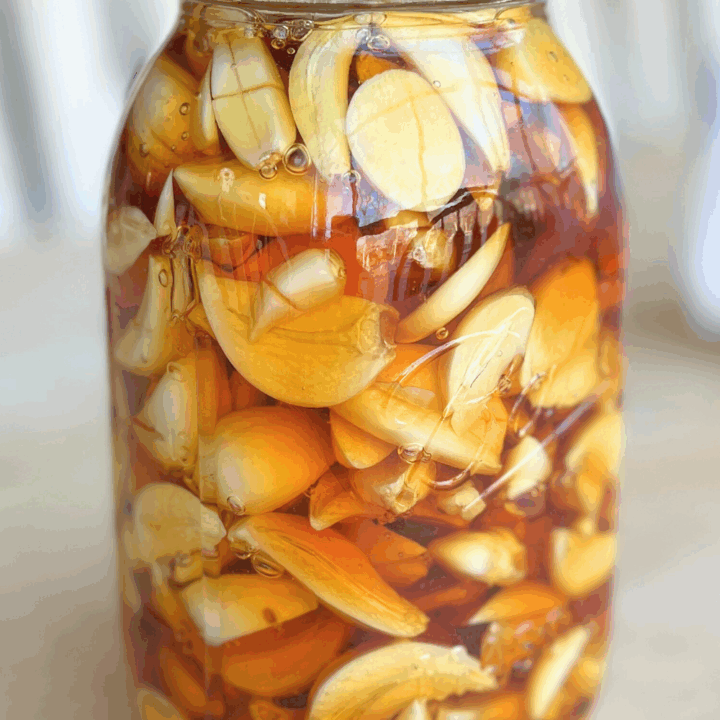
You can achieve this by cutting the garlic in half or thicker bulbs into thirds. When you come across the smaller thin bulbs, just score with a blade to create some grooves. Peel and slice enough garlic to fill your jar 2/3 of the way.
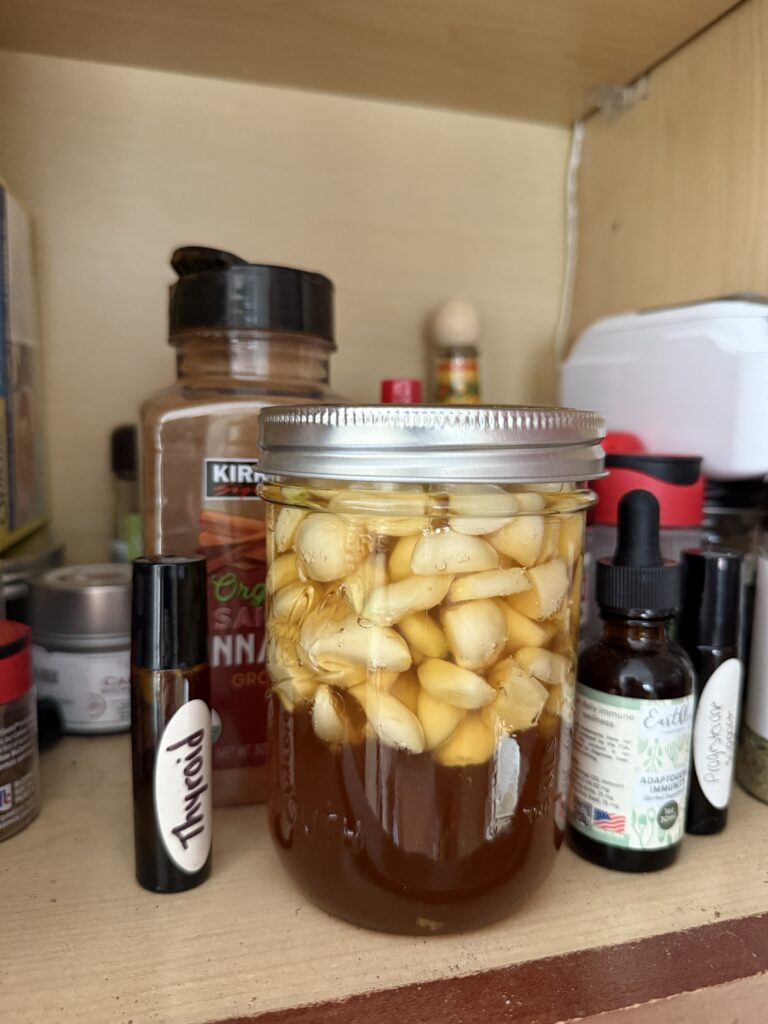
Fill the jar with honey until you have covered the garlic with a good inch of honey above the cloves. Use a BBQ skewer, knife, or long-handled spoon to poke around in the garlic and encourage the honey to get to the bottom of the jar. This also helps to remove any trapped air bubbles.
Put the lid on the jar so that it is finger-tight and place it in a cool, dry place for 2 to 3 months.
How to Burp your Jar
Every few days, you will have to “burp” your jar to let out any carbon dioxide that may have built up. All you have to do is loosen the lid to let the gas out, then lightly tighten the lid.
Once the lid is secure, tip or swirl the jar so that the honey coats the cloves that were previously exposed towards the top, and return the jar to the cabinet.
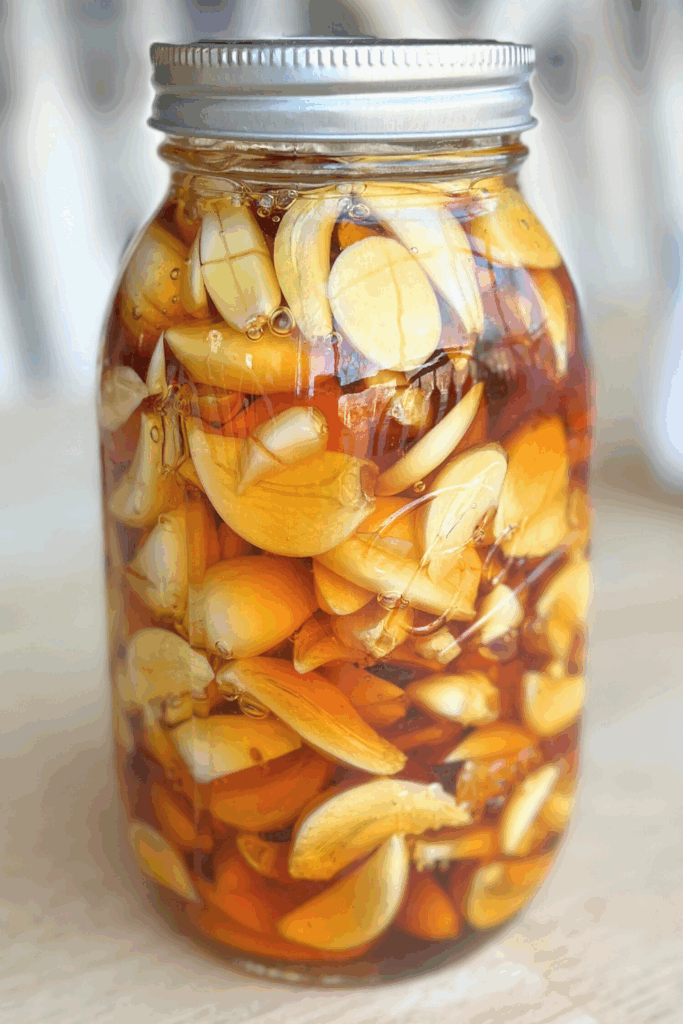
How To Know When It Is Ready for Use
After a few weeks have gone by, there are a few visible signs that your fermented garlic honey is ready.
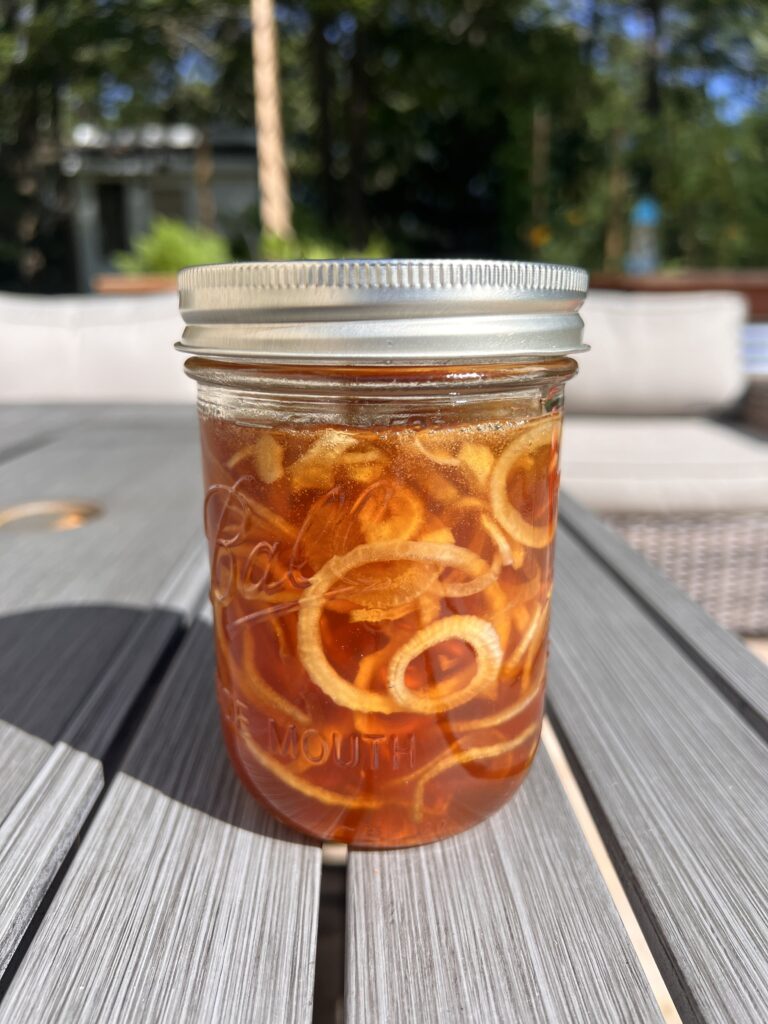
- The color of the garlic has become golden and the texture softened.
- The honey is now loose, and the flavor of the cloves is no longer spicy.
FAQ’s and Troubleshooting
Yes. Pasteurized (regular store-bought) honey has been heated, which kills the enzymes and good bacteria that help with fermentation. Raw honey keeps everything alive and active—and it’s what makes this work.
Not really, unless you sealed it too tightly too soon. I always start with the lid just loosely screwed on to let it breathe. If you ever do put the lid on tightly, just unscrew it every couple of days in case gases build up.
Yes! They mellow out a lot and take on a sweet and spicy flavor. I’ve tossed them in dressings, blended them into sauces, or just eaten them straight off the spoon if I feel something coming on.
A long time. Raw honey is naturally shelf-stable, and fermentation preserves the garlic even more. We keep ours in a dark pantry, cabinet, or the basement indefinitely until it is all used up.
Yes! Bubbles are a sign that it’s fermenting. You might see a few at the top or notice the honey becoming runnier – that’s all normal. If it smells sharp but pleasant like garlicky sweet pickles, you’re in good shape.
Nope. That’s a normal reaction between garlic’s sulfur compounds and acidic environments like vinegar or honey. It’s harmless and safe to eat. If it bothers you visually, just slice the garlic instead of crushing it – it happens less often that way.
If it smells rotten, yeasty, or like nail polish remover, it may have gone bad. Trust your nose. If it just smells like strong garlic and sweet funk, that’s normal.
If it’s fuzzy or colorful, toss it. If it’s just a bit of separation or cloudiness from the garlic, you’re fine. This is why I like to stir or tip the jar gently every couple of days. It keeps the garlic coated and prevents anything weird from forming on the surface.
No, natural separation happens. Just give it a stir or shake before you use it. If it ever crystallizes after long storage, you can gently warm the jar in a bowl of hot water to loosen it up.
Can Fermented Garlic Honey Cause Botulism?
The concern of “will my fermented honey garlic end up containing botulism?” is a common one.
Honey can contain a bacteria called clostridium botulinum, which is why it should never be given to infants under 12 months of age.
Fermented garlic honey is absolutely safe if made correctly. Botulism cannot grow in a pH lower than 4.6 due to the acidity.
To keep your mind at ease, there are litmus test strip kits that can be used to test the pH level of your honey. The pH level of honey ranges between 3.2 to 5.4. This number varies depending on which plants the bees use to make their honey.
How to Use Fermented Garlic Honey
You can use the honey in recipes as you like. For immune support, adults should take 1 tablespoon daily and children over 3 years of age can take 1 teaspoon. Toddlers can be given 1/2 teaspoon. Do not give to babies under 1 year old.
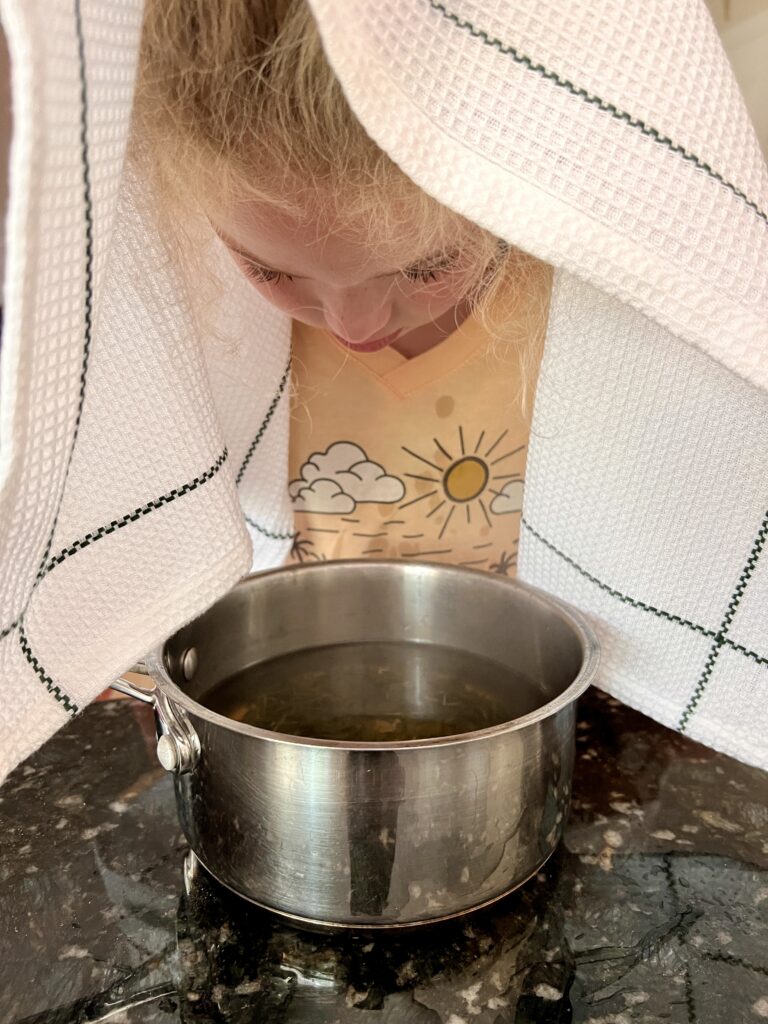
If you start to feel run down, develop obvious cold or flu symptoms, or feel foggy and fatigued, pair the honey with elderberry syrup, Amish cough syrup, strong vapor rub, ear ache oil, or fire water.
Our Favorite Cold & Flu Remedies
Amish Cough Syrup with Flaxseed, Honey, and Lemon
Homemade Elderberry Gummies for Kids
Strong Vapor Rub with Menthol Crystals
Fast Onion & Honey Cough Syrup
Amish Fire Water (Immediate Use)
My Family’s Powerful Fire Cider
Save It For Later!
This information is intended for educational purposes only. The content created for www.naturalhomeapothecary.com has not been evaluated by the Food and Drug Administration and is not intended to diagnose, treat, cure, or prevent any disease. Consult your healthcare provider for personal healthcare decision making guidance.
Easy Fermented Garlic Honey
The fermentation process to make garlic honey takes 2 to 3 months (on average) until it is ready for use. If you notice you are running low, start a new jar before you think you will need it.
Ingredients
- 10 to 12 heads of garlic
- 12 ounces raw honey
Instructions
- Find yourself a clean jar with a good lid. A quart-sized mason jar or recycled pickle jar works well.
- Next, peel all of the garlic. If you have kids who are old enough, you can have them help you with this while you tend to other things.
- Cut away any visible blemishes and do not use a clove if it is discolored, over-ripened, or soft.
- Slice the garlic in half or thicker bulbs into thirds to release the allicin. When you come across the smaller thin bulbs, score them with a blade to create some grooves.
- Peel and slice enough garlic to fill your jar 2/3 of the way.
- Fill the jar with honey until you have covered the garlic with a good inch of honey above the cloves.
- Use a BBQ skewer, knife, or long-handled spoon to poke around in the garlic and encourage the honey to get to the bottom of the jar. This also helps to remove any trapped air bubbles.
- Put the lid on the jar so that it is finger-tight and place in a cool, dry place for 2 to 3 months.
Be Sure to Burp Your Jar Every Few Days: All you have to do is loosen the lid to let any carbon dioxide build up out, then lightly tighten the lid again.
Once the lid is secure, tip or swirl the jar so that the honey coats the cloves that were previously exposed towards the top, and return the jar to the cabinet.
For Immune Support: Take 1 tablespoon for adults daily. For kids 3 years and up, take 1 teaspoon daily. For toddlers, 1/2 teaspoon daily. Do not give to children under 12 months due to risk of botulism.