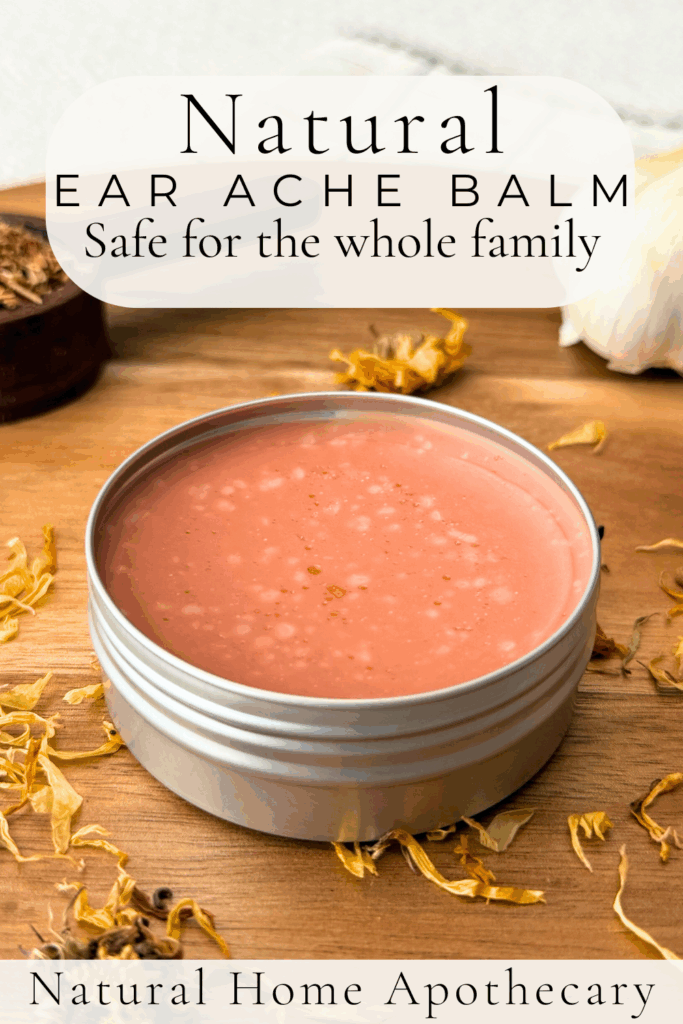
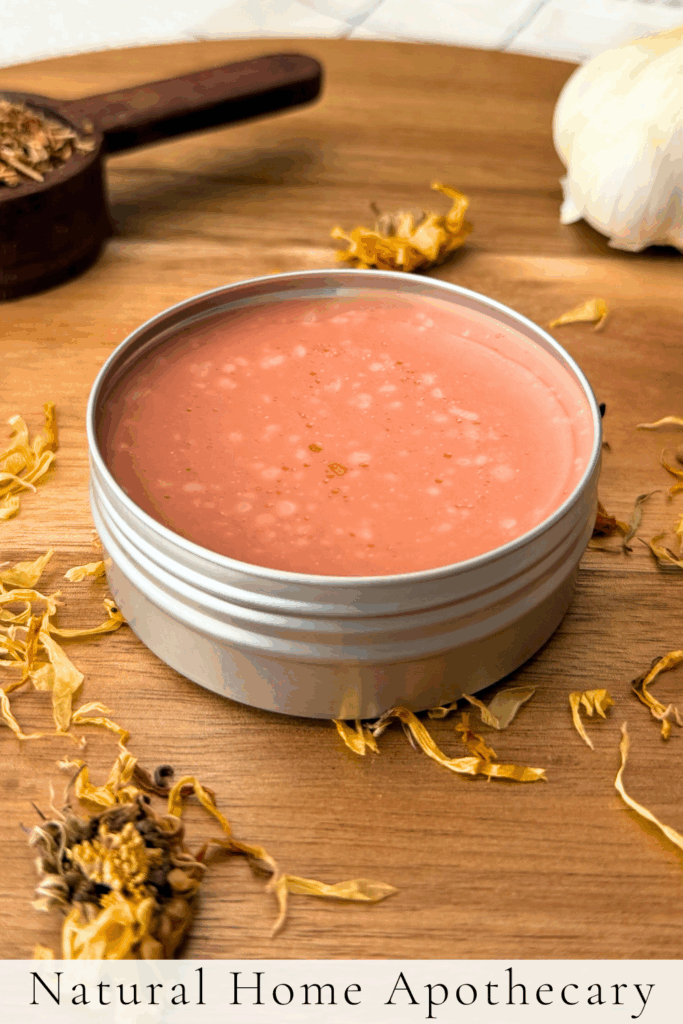
Natural Ear Ache Relief Salve (No Drops Needed)
Last Updated on September 5, 2025 by Kiersten James
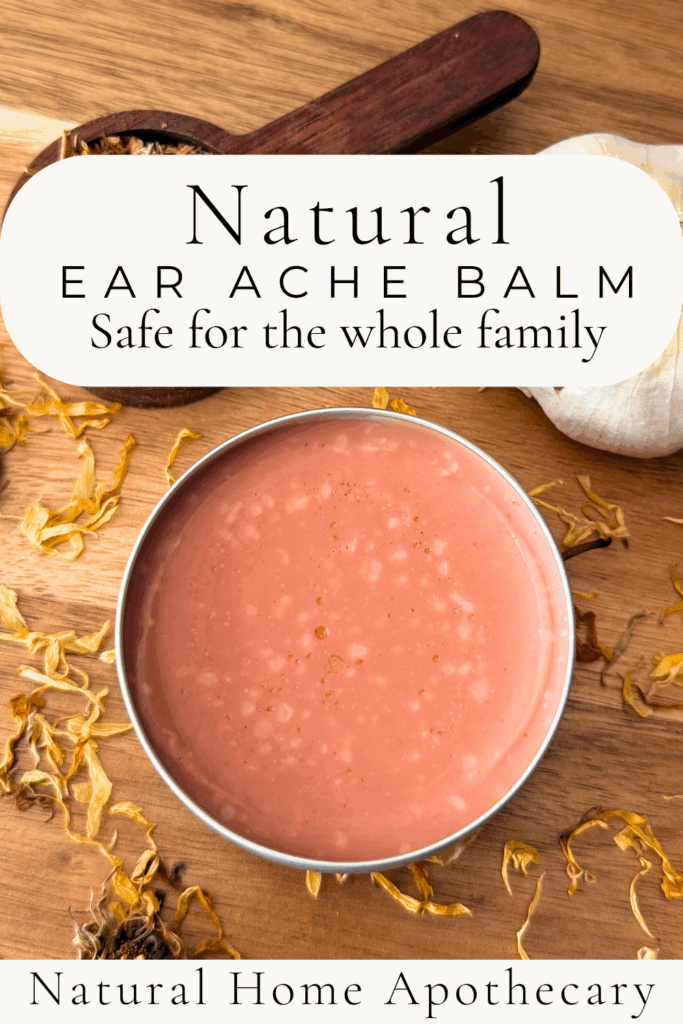
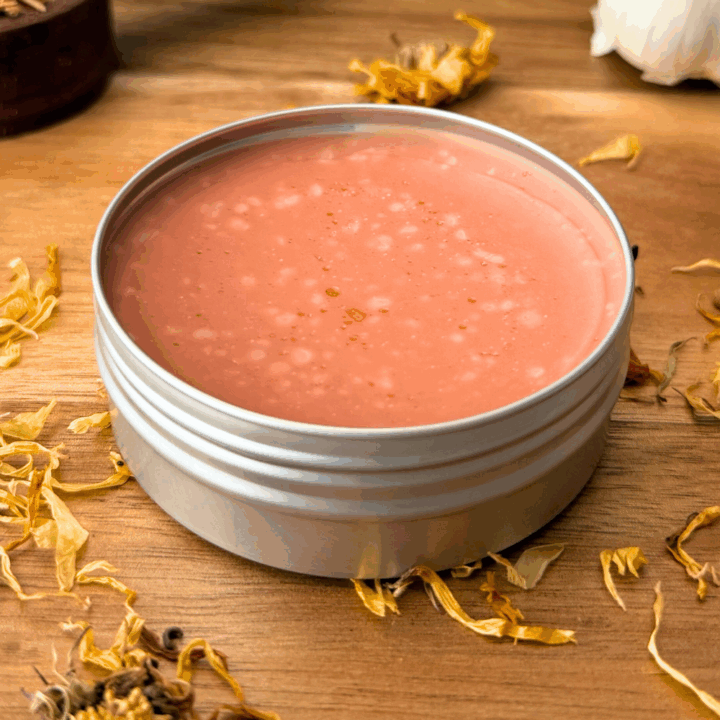
This natural ear infection salve is perfect for anyone who is in pain but hates ear drops. Long shelf life, easy to make, and highly effective.
There’s always one, right? One child who refuses eye drops, nose sprays, nebulizers, roller blends, or ear anything. In our house, it’s my current youngest. The moment he sees me pull out the dropper bottle (or anything, really), Luke has left the conversation.
I’m met with tears, screaming, running through the house with one sock on. No matter how soothing or helpful a remedy was, it didn’t matter if it involved entering his ears, mouth, or nose.
That’s when I started making this salve.
It’s a soothing, warming ear balm that you rub just around the outer ear and along the jawline. I make it with the same healing herbs I use in my St. John’s wort and garlic ear oil, but in a thicker form that alleviates inflammation from the outside in. It doesn’t sting or tingle, and it doesn’t mess with their trust like a surprise squirt of oil does.
It’s not meant to replace drops entirely, but for early twinges of ear pain or as a companion to internal remedies, it’s saved us from several sleepless nights.
Why It Works
This natural ear infection salve focuses on easing pain and inflammation externally while letting the body do what it’s designed to do on the inside – heal.
St. John’s wort: helps calm nerve pain and inflammation. This is especially helpful when the ears are throbbing.
Garlic: our natural antimicrobial champion and is used in everything from fermented honey to fire cider.
Calendula: soothes the skin, helps reduce surface inflammation, and supports tissue repair. It’s especially helpful when the outer ear is red, irritated, or sore from tugging or rubbing.
Beeswax: thickens the oils into a balm and helps the salve stay put on the skin so it can work longer. If your family is vegan, you can swap this for soy pastilles instead.
Lavender essential oil: helps calm cranky moods and alleviates headache pain.
Vitamin E oil: helps to extend the shelf life. Slows down oxidation to keep the oils from going rancid too quickly. It’s not a preservative in its true definition but acts similarly.
How to Make a DIY Ear Infection Salve
Ingredients:
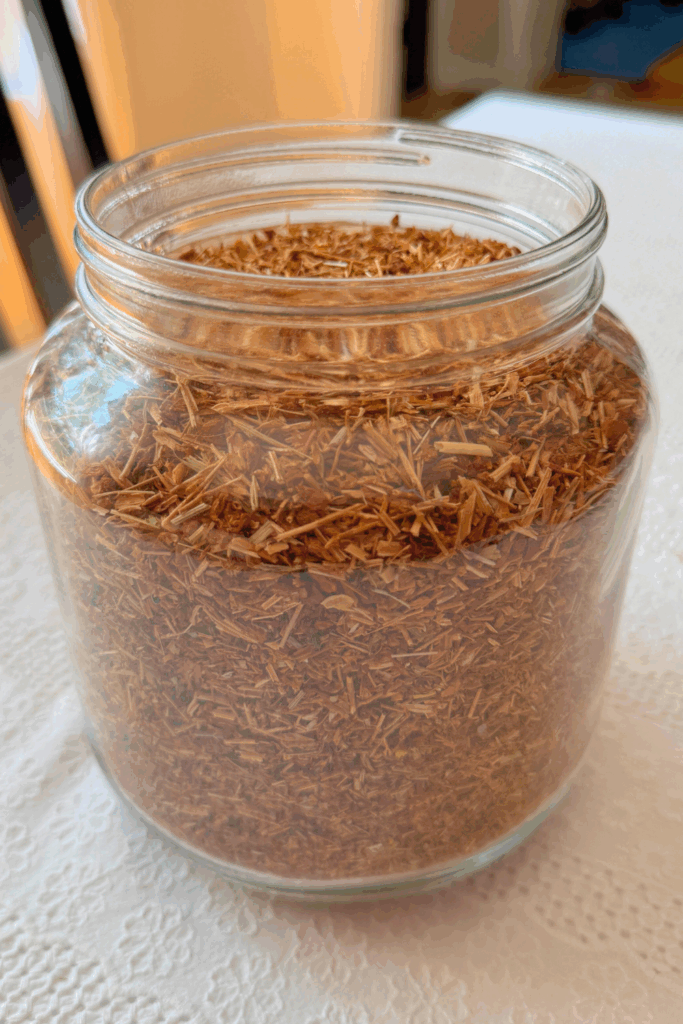
- 2 tablespoons St. John’s wort infused oil
- 1 tablespoon garlic infused oil
- 1 tablespoon calendula infused oil
- 1 tablespoon beeswax pastilles (swap for soy pastilles to make it vegan)
- 3 drops lavender essential oil
- 15 drops of vitamin E oil or one capsule, optional
Instructions:
1. Add the infused oils and beeswax to a small mason jar or double boiler.
2. Warm gently in a water bath until the beeswax is fully melted.
3. Remove from heat and stir in the lavender oil and vitamin E, if using.
4. Pour into a small tin or glass jar and let it set at room temperature. Label and store in a cool, dark place.
How To Use:
Do not put this salve directly into the ear canal.
Apply a small amount around the outer ear, behind the ear, and along the jawline – especially over the lymph nodes. Use 2 to 3 times a day or whenever your child seems uncomfortable.
To be more discreet, have the child lie on your lap to “cuddle” while you watch TV or read a book and rub their face/neck. Add a little salve to your finger here and there. There’s a good chance they’ll never even realize what you’re doing.
This is safe for children over 18 months and soothing enough for adults, too. I use it on myself when I have an earache from swimming, airplane travel, or pollen-related sinus pressure.
Extra Tips:
- If allowed, pair with a warm compress over the ear for even more relief.
- I make a double batch to keep one jar in the medicine cabinet and one in the travel kit.
Shelf Life and Storage
If stored in a cool, dark place with the lid on tight, this will keep well for about 6 to 9 months. I’ve stretched ours close to a year when using well-strained, dried herb oils.
The garlic oil is the most fragile part. If you infused olive oil yourself using fresh garlic, you’ll want to keep the salve in the fridge and use it within 4 to 6 months just to be safe. Fresh garlic in oil can carry a very rare risk of botulism if stored at room temperature for too long. If you bought a shelf-stable infused oil like this one, it will last on the longer end.
To extend the shelf life even more, you can stir in a few drops of vitamin E oil before pouring it into the jar. If you’re using vitamin E capsules, one capsule pricked and squeezed is plenty for this salve. It’s not a preservative, but does help slow down oxidation so the oils stay fresh.
Always check for signs of spoilage. If it smells off or looks funky, throw it away and make a fresh batch.
What’s In My Medicine Cabinet
Black Drawing Salve for Splinters, Stings, and Shards
Save It For Later!
This information is intended for educational purposes only. The content created for www.naturalhomeapothecary.com has not been evaluated by the Food and Drug Administration and is not intended to diagnose, treat, cure, or prevent any disease. Consult your healthcare provider for personal healthcare decision-making guidance.
DIY Ear Infection Salve
This natural ear infection salve is perfect for kids who are in pain but hate ear drops. Long shelf life, easy to make, and highly effective.
Ingredients
- 2 tablespoons St. John’s wort infused oil
- 1 tablespoon garlic infused oil
- 1 tablespoon calendula infused oil
- 1 tablespoon beeswax pastilles (swap for soy pastilles to make it vegan)
- 3 drops lavender essential oil
- 15 drops vitamin E oil or one capsule, optional
Instructions
- Add the infused oils and beeswax to a small mason jar or double boiler.
- Warm gently in a water bath until the beeswax is fully melted.
- Remove from heat and stir in the lavender and vitamin E oils.
- Pour into a small tin or glass jar and let it set at room temperature.
- Label and store in a cool, dark place for 6 to 9 months.